Players can get a lot of useful in-game tips in Days Gone if they pay attention to the loading screen text and NPC advice. However, since it’s such a massive game, there are a lot of mechanics and unique elements that come into play, so it can be difficult for gamers to apprehend all key information at once.
Related
Days Gone Remastered: 6 Best Skills to Unlock First
Here are the best early-game skills to unlock first in Days Gone Remastered, perfect for surviving Hordes, ambushes, and everything in between.
This list compiles some of the most practical tips that beginners can learn in order to ensure that they have an easier time riding through the Oregon wilderness in Days Gone Remastered.
6
Craft As Often As You Can
Keep Your Inventory Stocked in Terms of Materials and Items
While players will find abandoned locations riddled with resources that they can collect, sometimes they simply won’t have the time to loot at all – this will be increasingly common once gamers start taking down their first hordes.
This is why players should make the most of their situation whenever possible, and to do this, they need to make sure that they always make as many craftable items as they can. This way, they can continue to gather materials, and they’ll only find themselves with ingredients slots maxed out if they have already maxed out craftable items as well.
5
Check for Speakers at NERO Checkpoints
Look for Speakers Before Turning On the Generator
Players will come across dozens of NERO Checkpoints while traversing the map of Days Gone. They’re scattered all over, and inside the checkpoint med units, gamers will be able to find one of the most valuable rewards: NERO Injectors, which are used to increase Deacon’s health, stamina, and focus stats.

Related
Days Gone Remastered: How to Defeat the Horse Lake NERO Checkpoint Horde
Restoring Power at the Horse Lake NERO Checkpoint in Days Gone Remastered isn’t easy with a bloodthirsty horde nearby, so here’s how to defeat them.
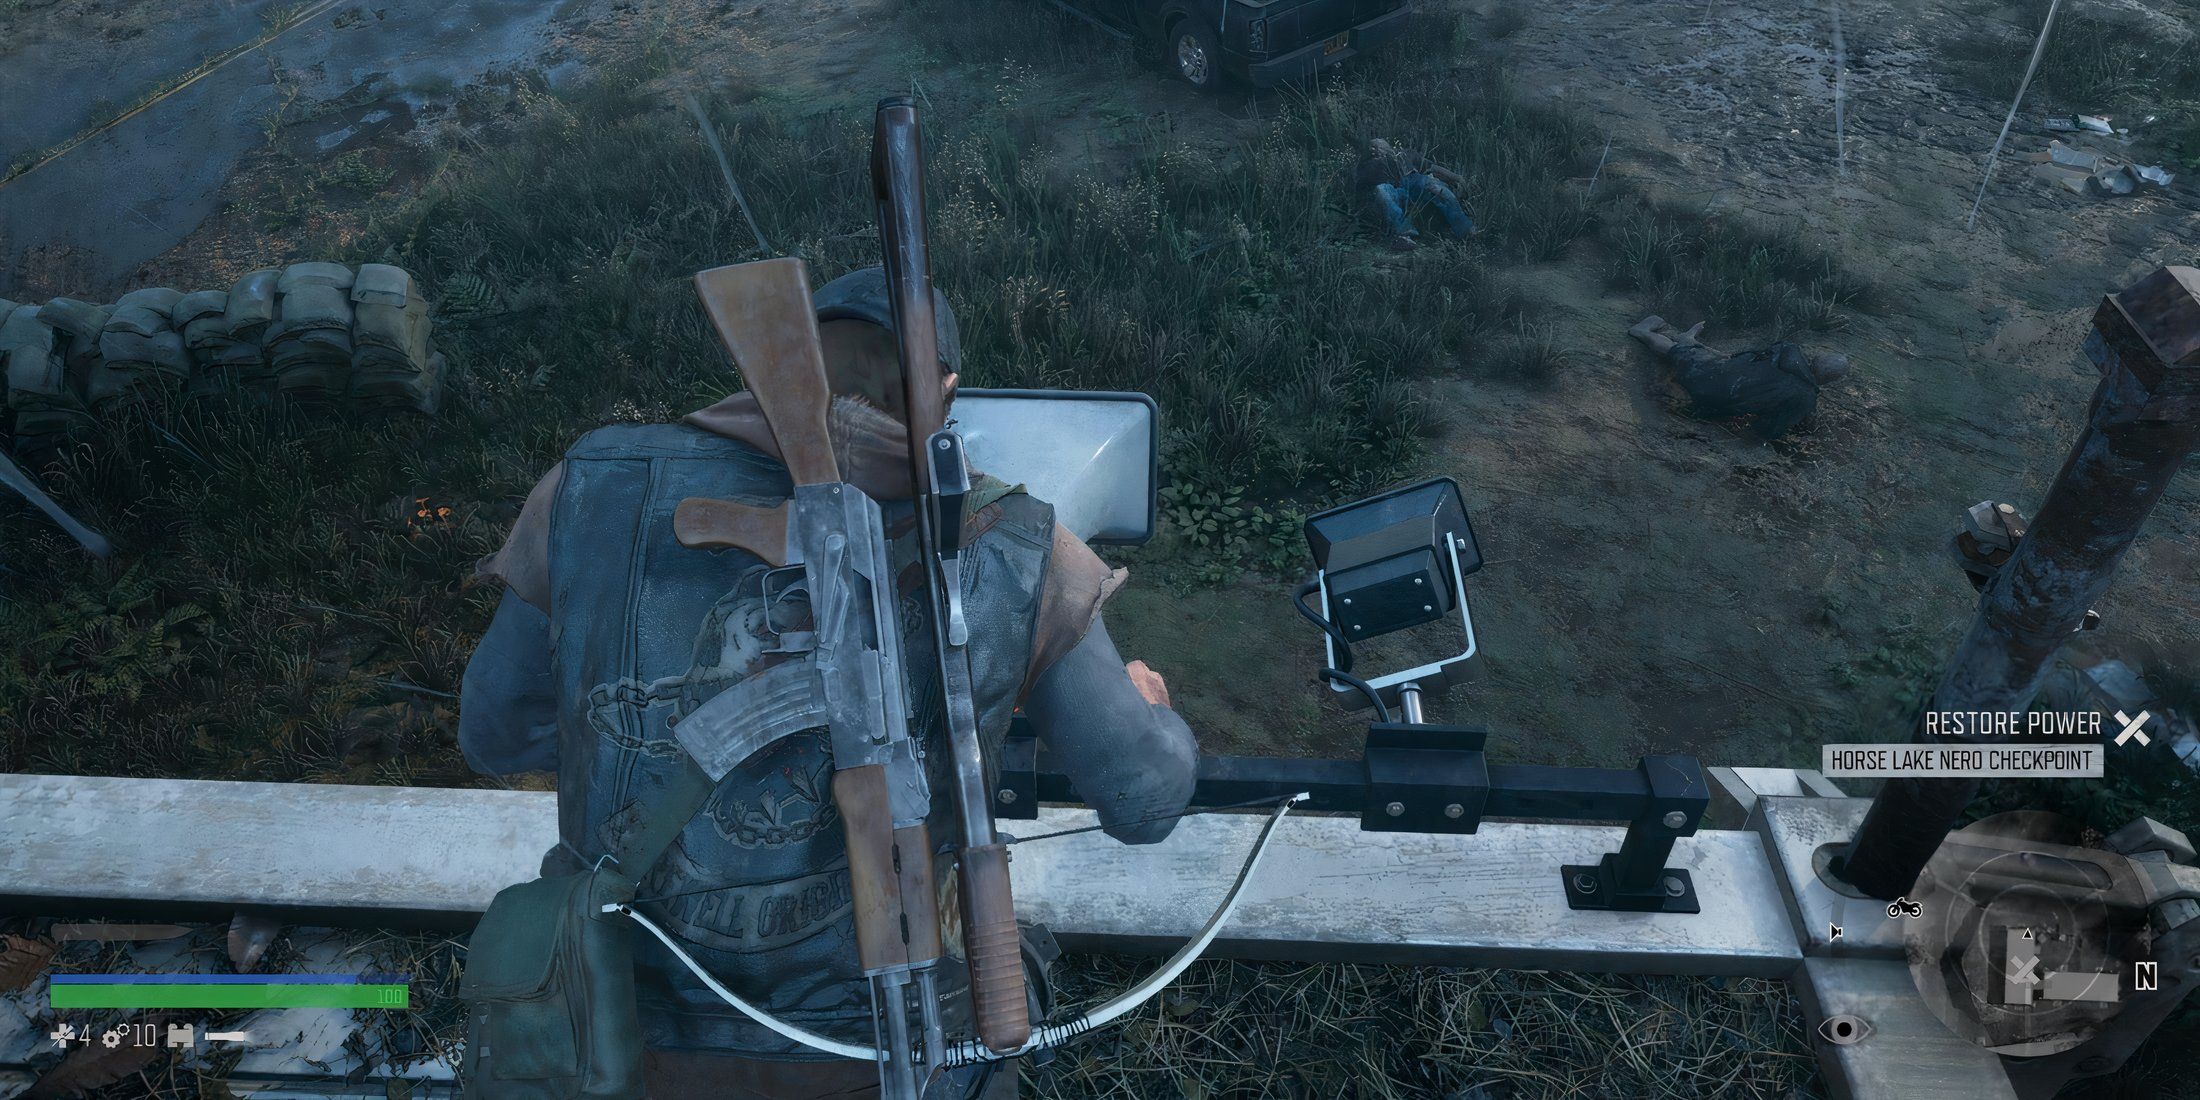
The doors at checkpoints are locked, as they require energy to work. Therefore, to break into a medical unit and grab the injector, players must find fuel and bring it to the generator in order to restore the power. However, many NERO Checkpoints have speakers that will begin to blast a terribly loud announcement as soon as players turn on the generator. This will, of course, get the attention of any nearby Freakers, which is why it’s so important to check for speakers before activating the generator.
Players can find speakers by looking up and checking the corners of the medical units, as well as the security station near the entrance of the checkpoint, and the light poles. They can get rid of the speakers at NERO Checkpoints by climbing up to them and disconnecting them with the Square button, or, if they’re unreachable, by shooting them – preferably if they have a suppressor attached to their weapon.
4
Clear Nests at Night
Fewer Freakers Will Come Out
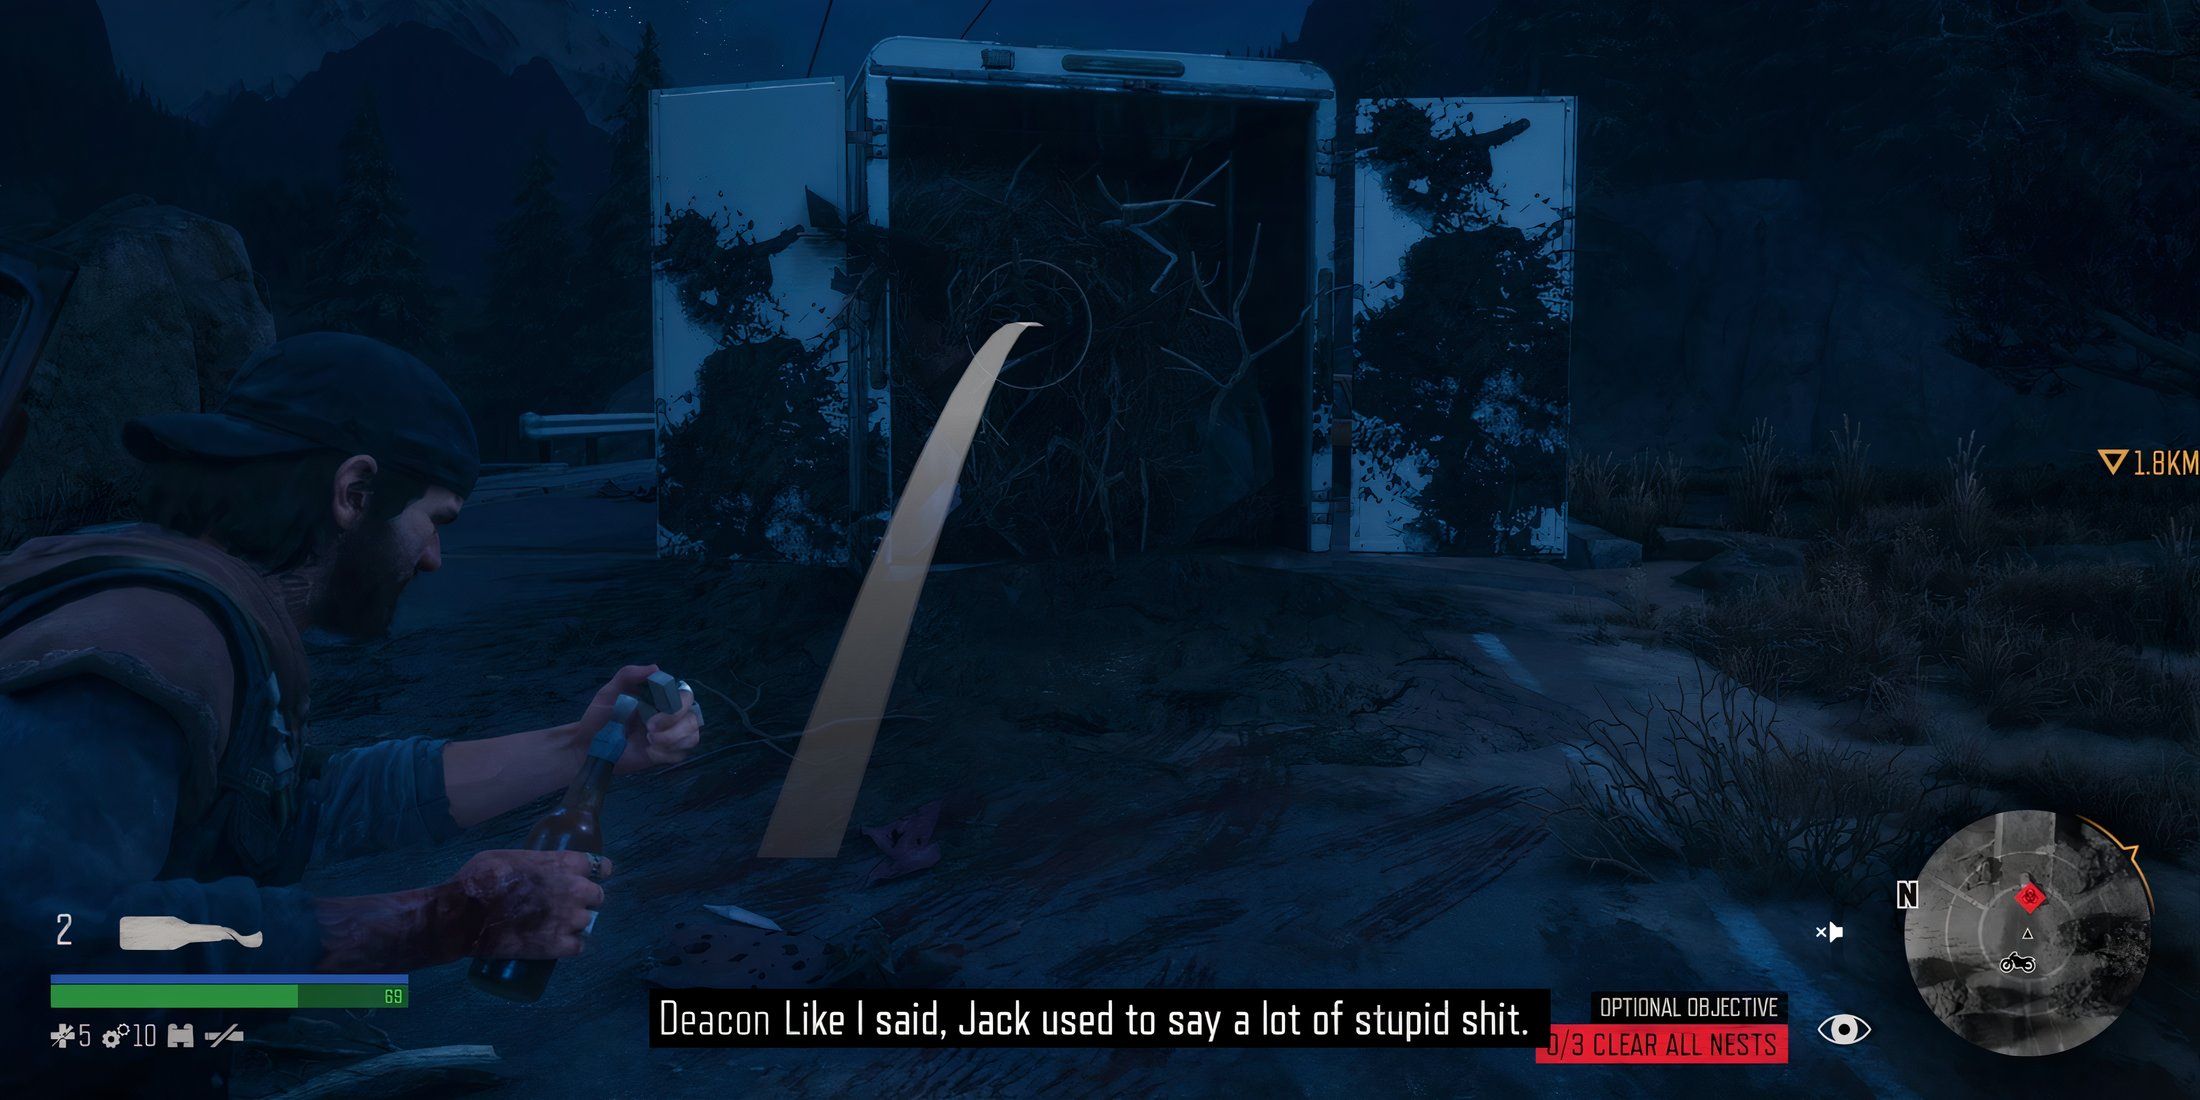
It may sound counterproductive to approach an infestation zone at night, as this is arguably the scariest time of the day in Days Gone. Freakers are stronger during the night, which makes it harder to face them down and kill them.
However, since they hibernate during the day, they tend to leave their nests around 7 PM. This means that if players burn nests at an infestation zone during the night, not as many of them will be home. So, players can clear a nest and only have to deal with two or three Freaks.
3
Stock Up at O’Leary Mountain
An Easy Way to Fuel Up and Get Materials
Boozer will constantly restock the supplies available at the O’Leary Mountain safehouse. So, if players are low on crafting materials, fuel, or ammo, they should return to the safehouse.

Related
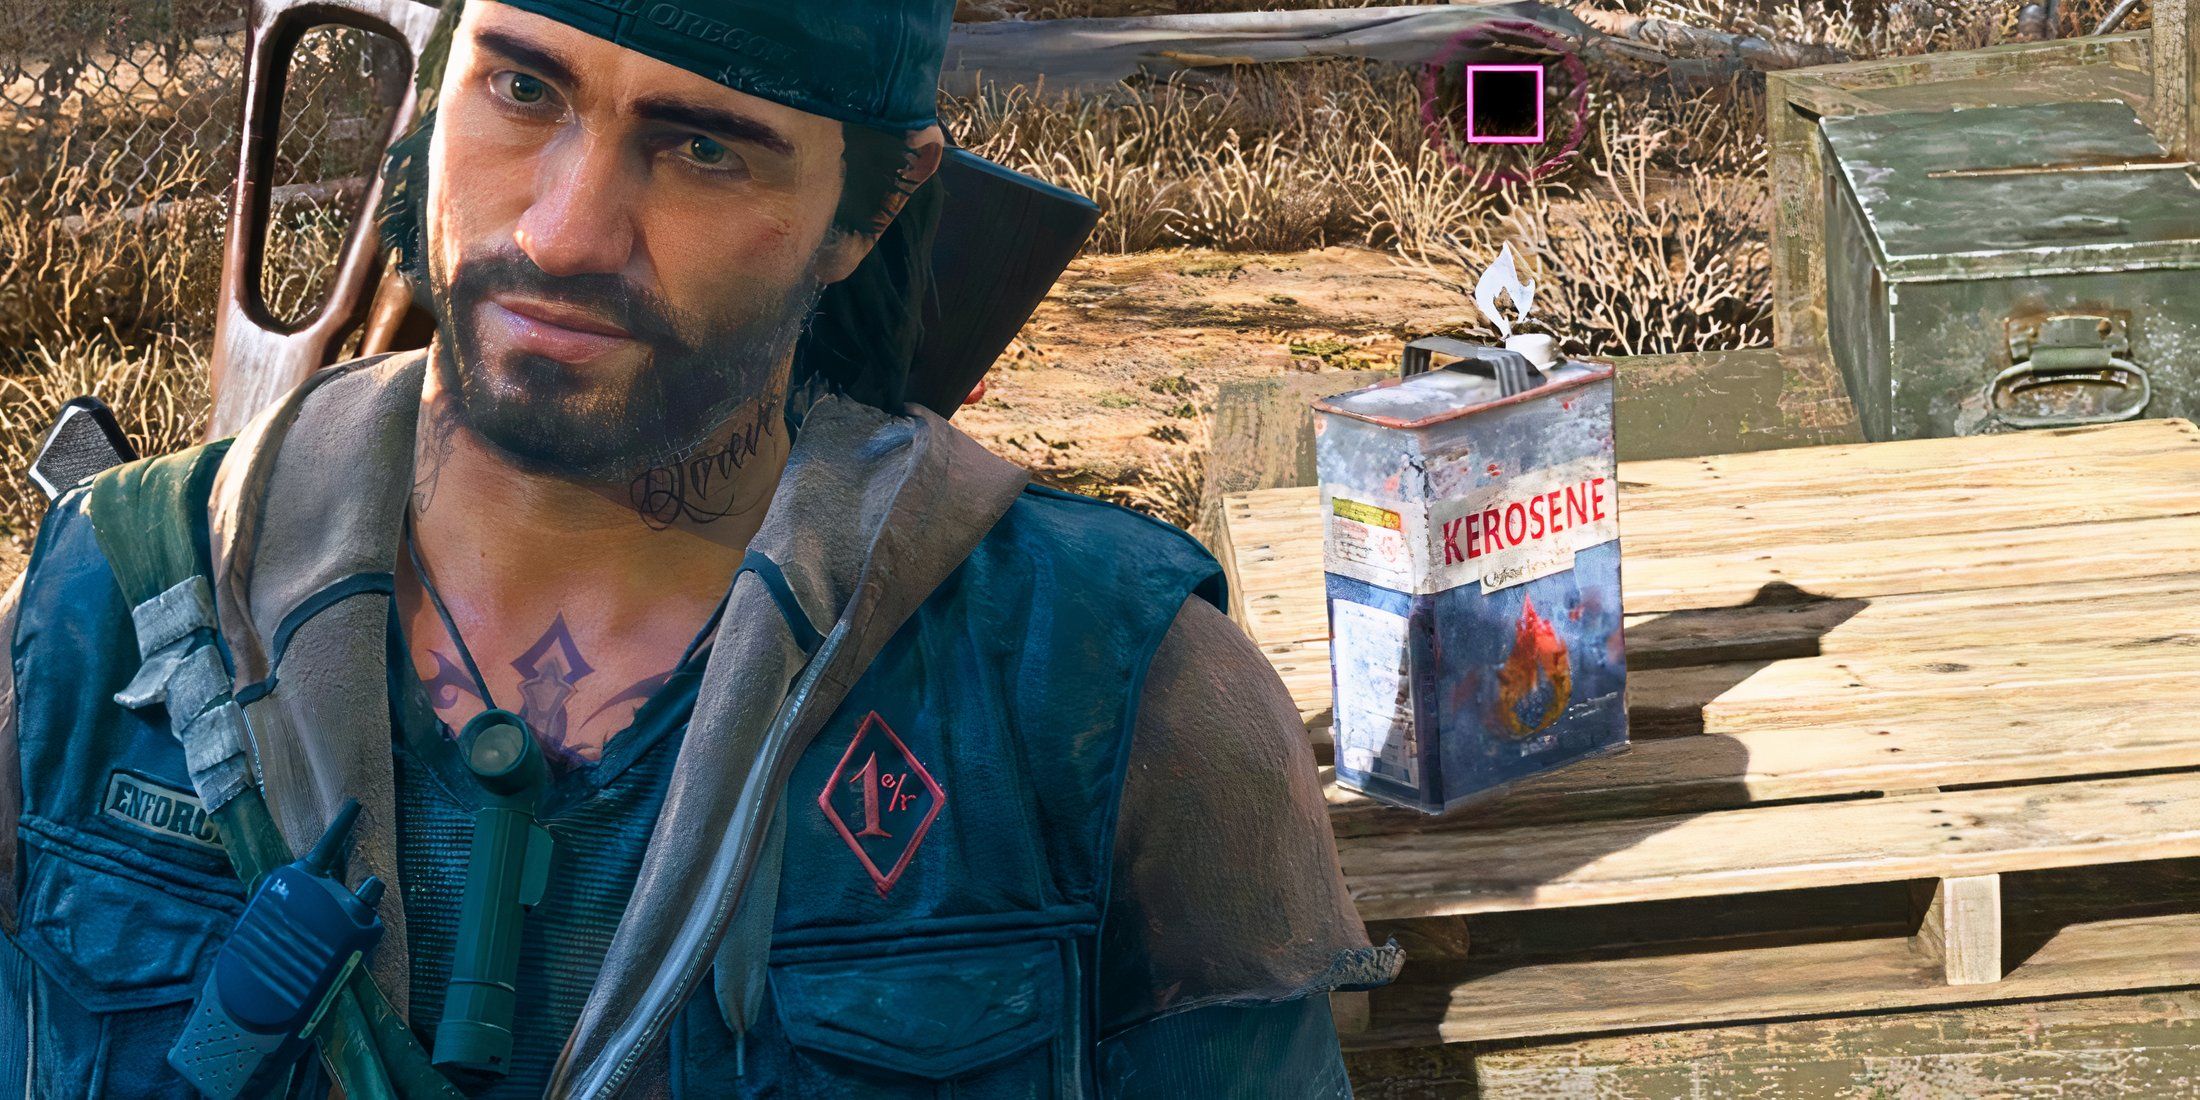
Days Gone Remastered: Where to Find Kerosene
Kerosene is a valuable resource in Days Gone Remastered, and players can utilize this guide to locate it and discover its recipes.
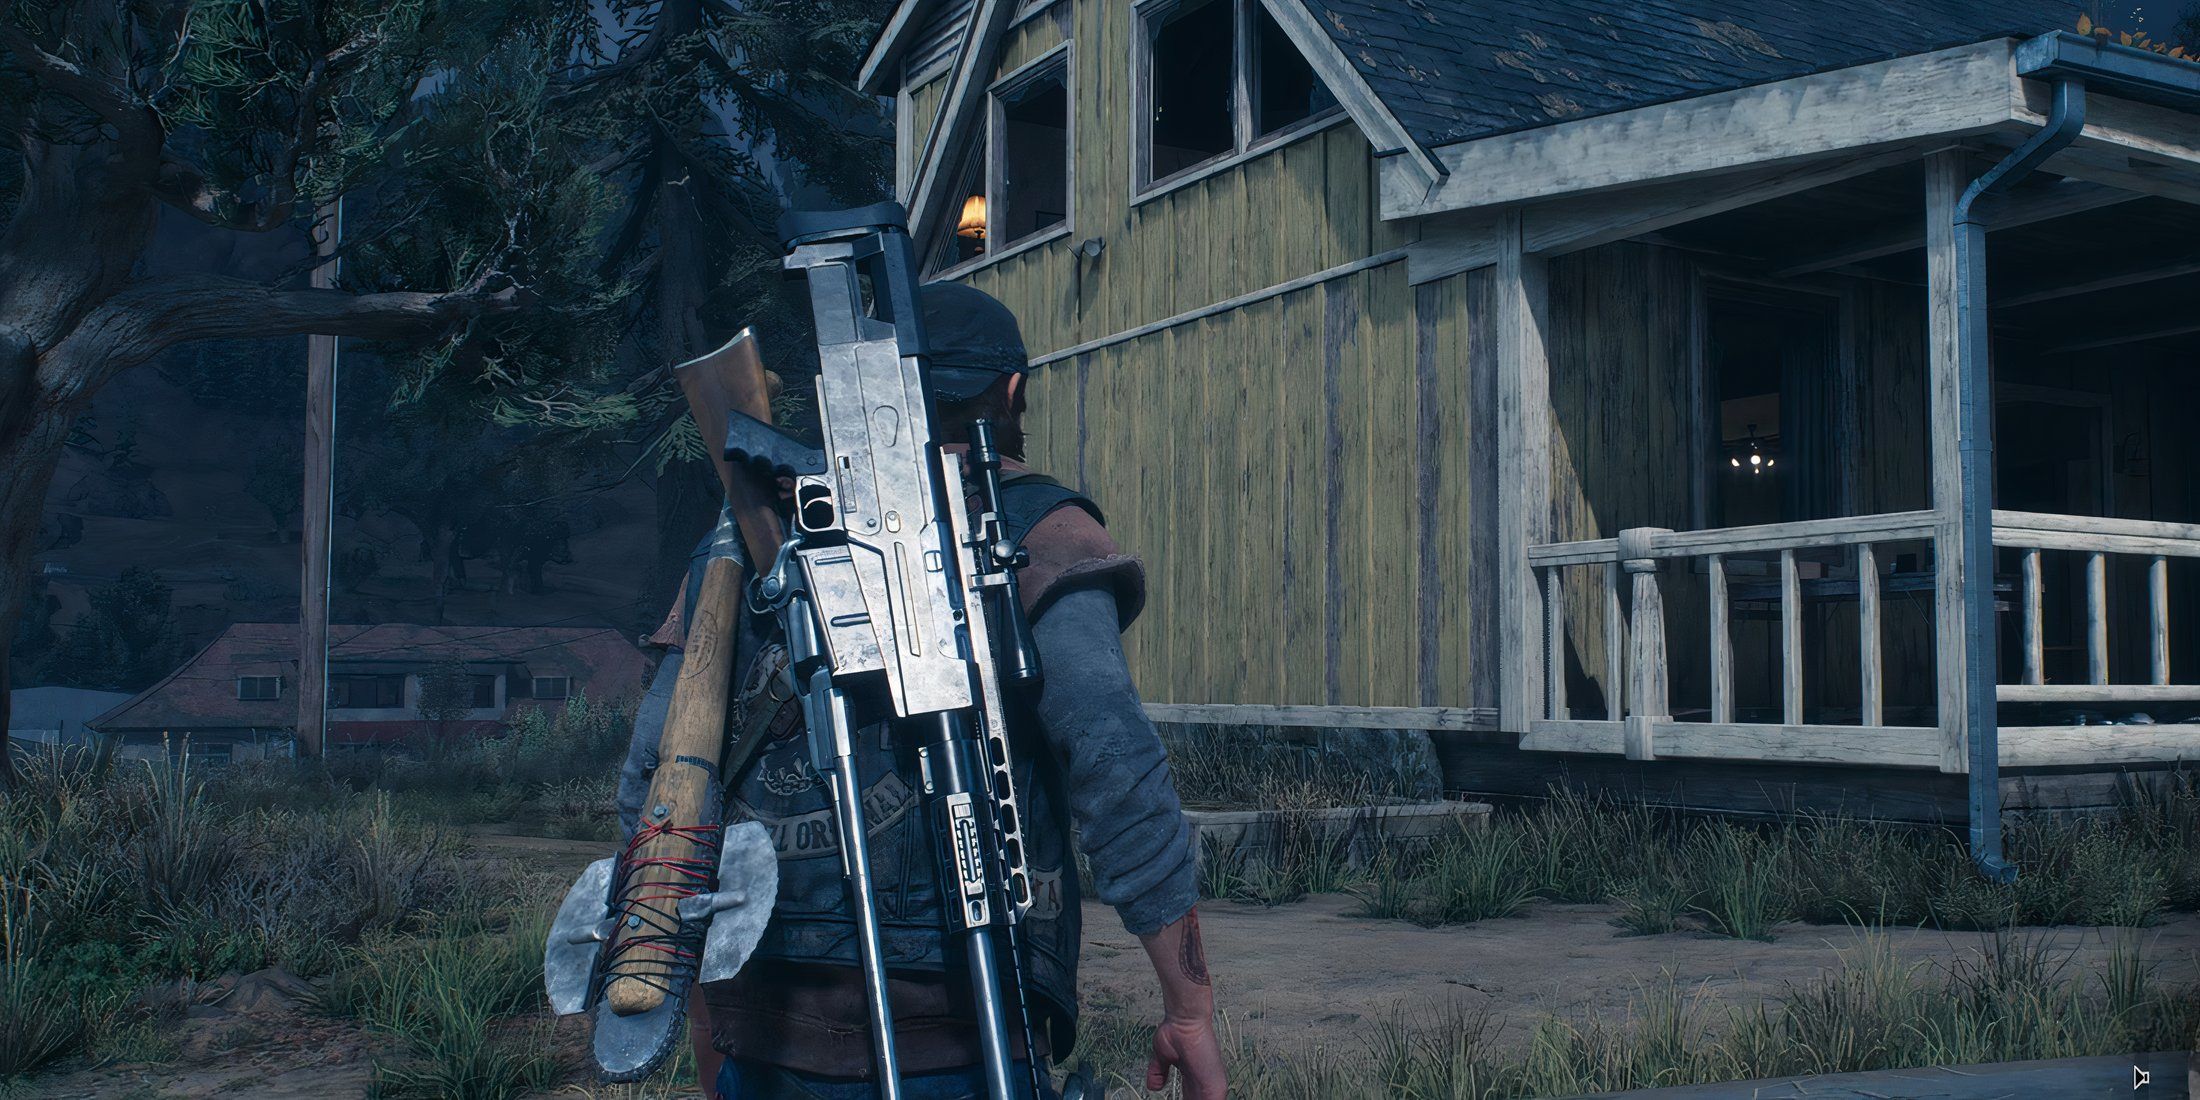
They can check the supply storage near the stairs for materials and melee weapons, they can bring their bike up to the fuel container to fill it up, and visit the locker in the watchtower to get more ammo. This way, players won’t have to stock up at encampments and save their credits for weapons or bike upgrades.
2
Certain Vehicles Have Guaranteed Loot Spawns
Memorize Which Vehicles Carry the Loot You Need
In Days Gone, players might find themselves running out of meds, gas, or ammo while they’re out in the middle of nowhere, far from any place where they would be able to stock up. In situations like these, knowing which cars are worth looting will save gamers a lot of time. Here is what gamers will find in each car in Days Gone:
- Regular cars: scrap, suppressors, alarms, airbags
- Police cars: ammo
- Ambulances: medical supplies
- Tow trucks: gas
1
Make Ambush Camps a Priority
Unlock Tons of Useful Recipes
Players will find it easy to completely submerge themselves in the main story of Days Gone, and this can result in diving straight into it and leaving some side content for the post-game. However, they should definitely make a stop whenever they drive by an Ambush Camp.

Related
Days Gone Remastered: Every Character Collectible Location
This guide will show you where to find every character collectible spread out across Days Gone Remastered’s Freaker-infested map.
Clearing Ambush Camps will count towards progress in the Ambush Camp Hunter, which is how gamers gain access to some of the best crafting recipes in the game, such as the Incendiary Bolt, the Proximity Bomb, and the Focus Cocktail. Players will unlock a total of ten recipes if they get through all the Ambush Camps in Days Gone.


