
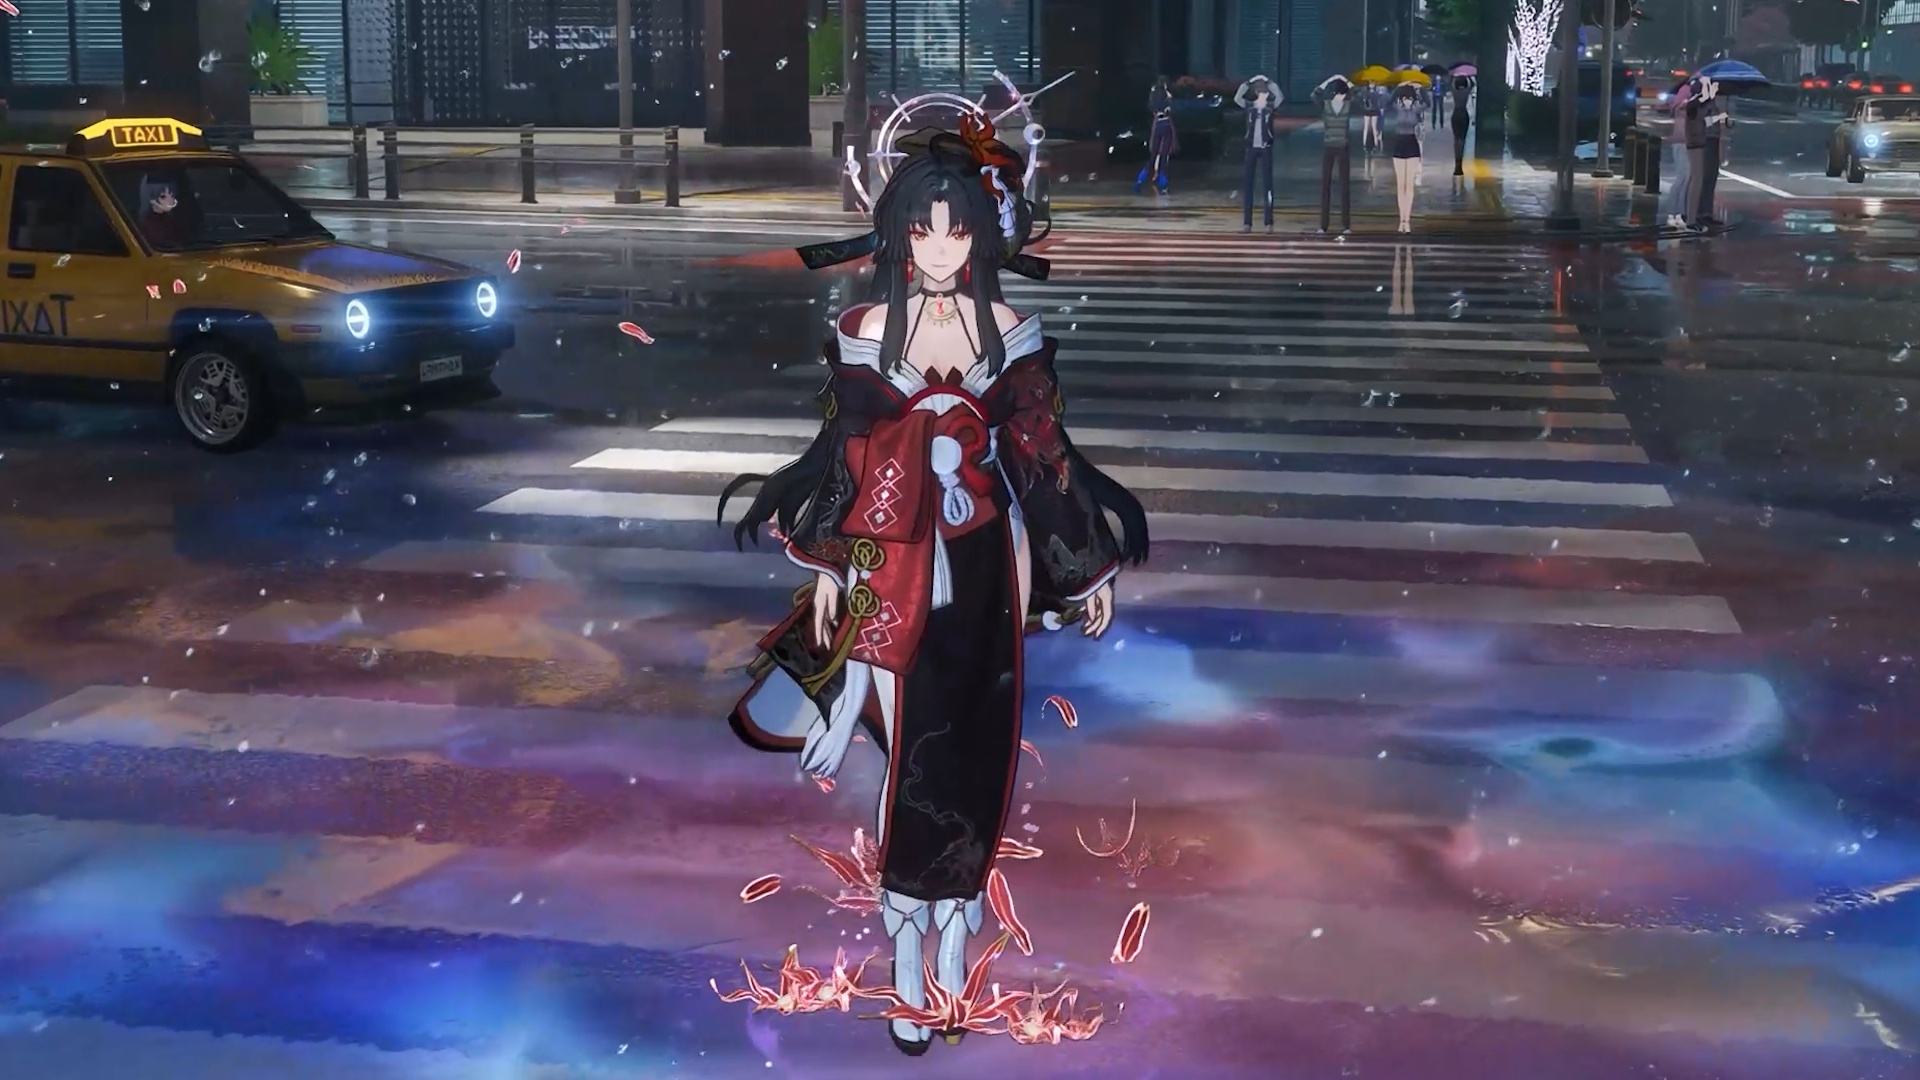
Neverness to Everness isn’t the type of gacha where you need to keep up with the meta to clear its mid and endgame challenges, but playing with the best characters and teams still makes combat a heck of a lot easier. With so many characters with unique roles, Esper types, and annoying new gacha terminology to study, building teams can quickly become overwhelming.
Once you finally finish reading all the kit descriptions, it becomes apparent that most characters are actually rather easy to understand. They’re easy to play, too, with only a few notable exceptions. Whether you’re aiming to breeze through general content like commissions, or master the Beyond the Rails endgame mode, this Neverness to Everness tier list for the best characters can help you optimize your roster.
Neverness to Everness tier list
|
Tier |
Characters |
|---|---|
|
S |
Daffodil, Fadia, Haniel, Nanally, Sakiri, Zero |
|
A |
Baicang, Chiz |
|
B |
Jiuyuan, Hathor, Adler |
|
C |
Mint, Skia, Aurelia |
|
D |
Edgar |
S-Tier
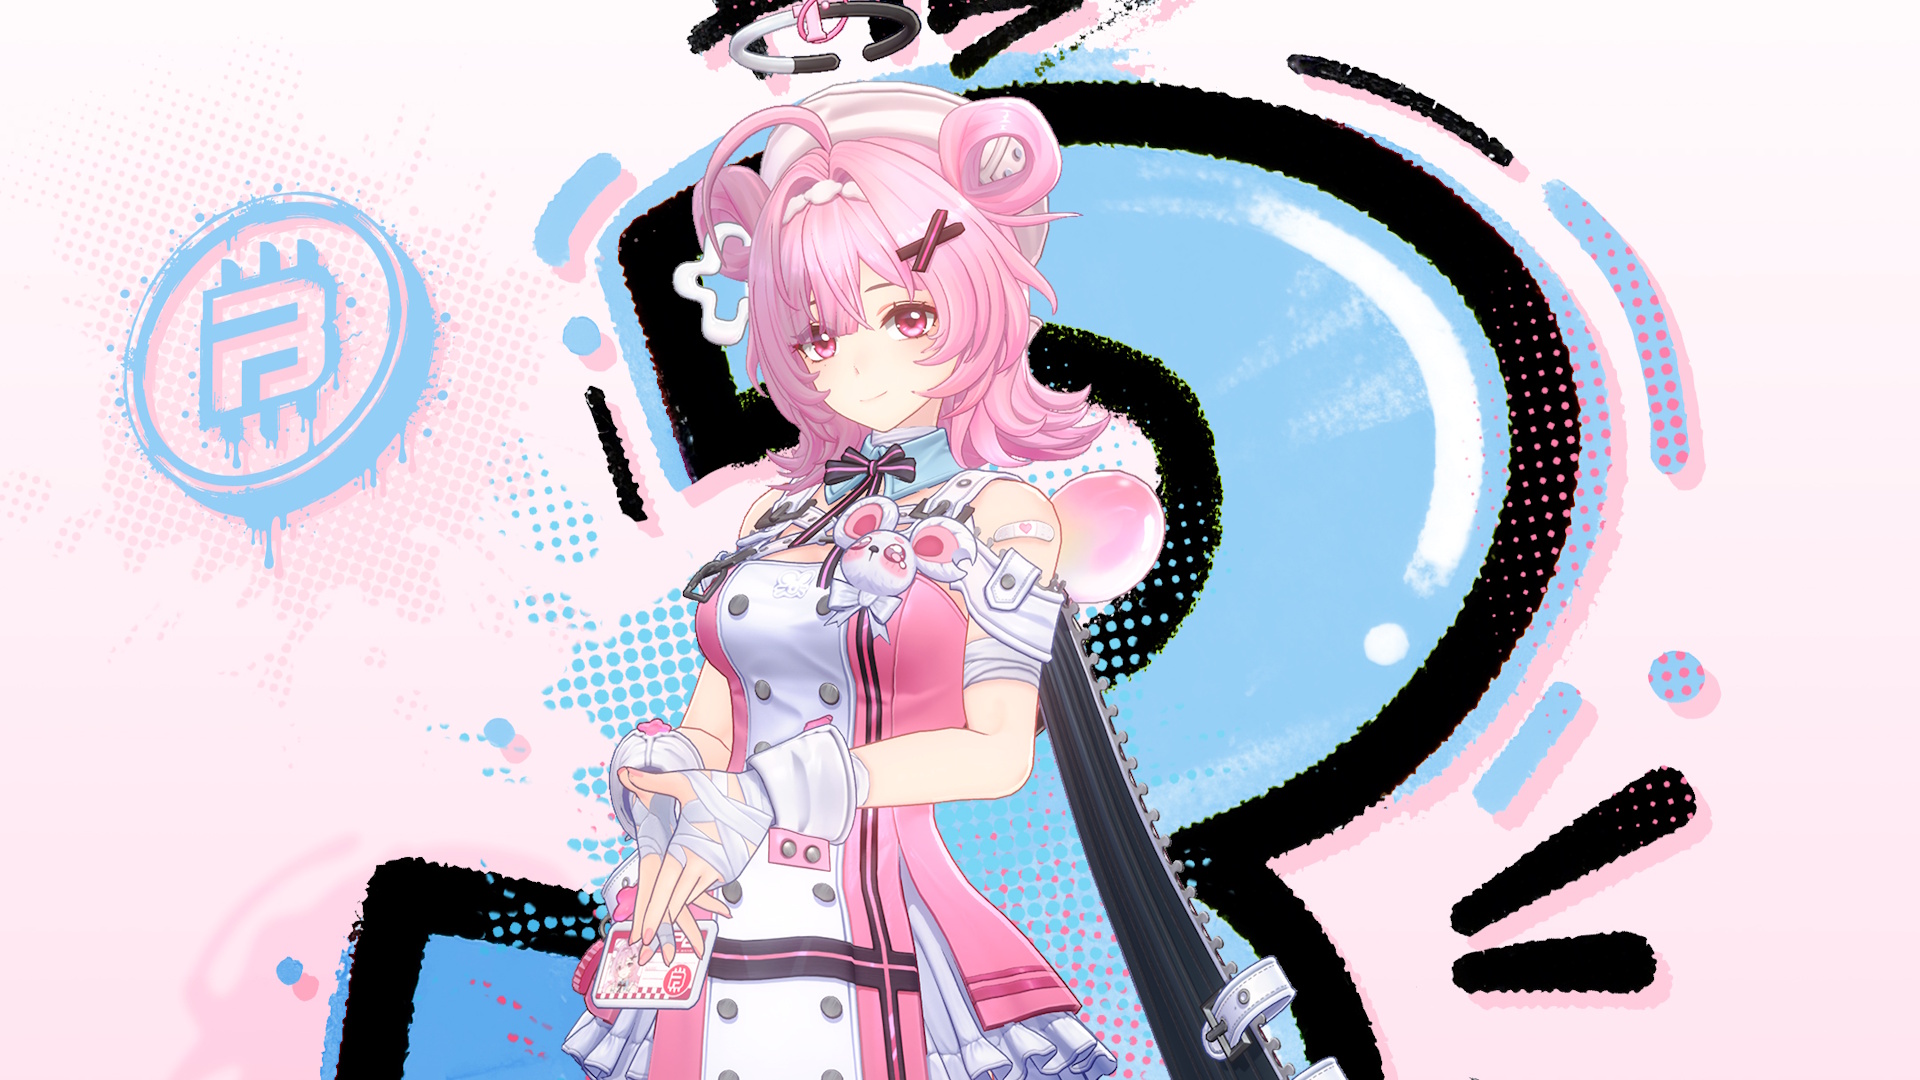
Daffodil

Esper: Chaos
Role: Damage
Arc: Liquid
Her damage isn’t the best, but Daffodil is a burst DPS attacker who excels at lowering the Break bar in Nova, Scorch, and Discord teams, so she’s more suited in a sub DPS role anyway. This means you’ll want to pair her with Psyche and Incantation characters. They can maximize Daffodil’s damage and restore energy so she can use her Ultimate as much as possible. Daffodil’s also the only Chaos character in the game right now, so you need her to activate any Psyche, Incantation, and Discord Esper Cycle reaction. Just keep in mind that as a burst DPS who gains buffs when being switched-in, Daffodil works best when you’re quickly swapping between all of your teammates. So don’t bring along characters who need lots of field time.
Article continues below
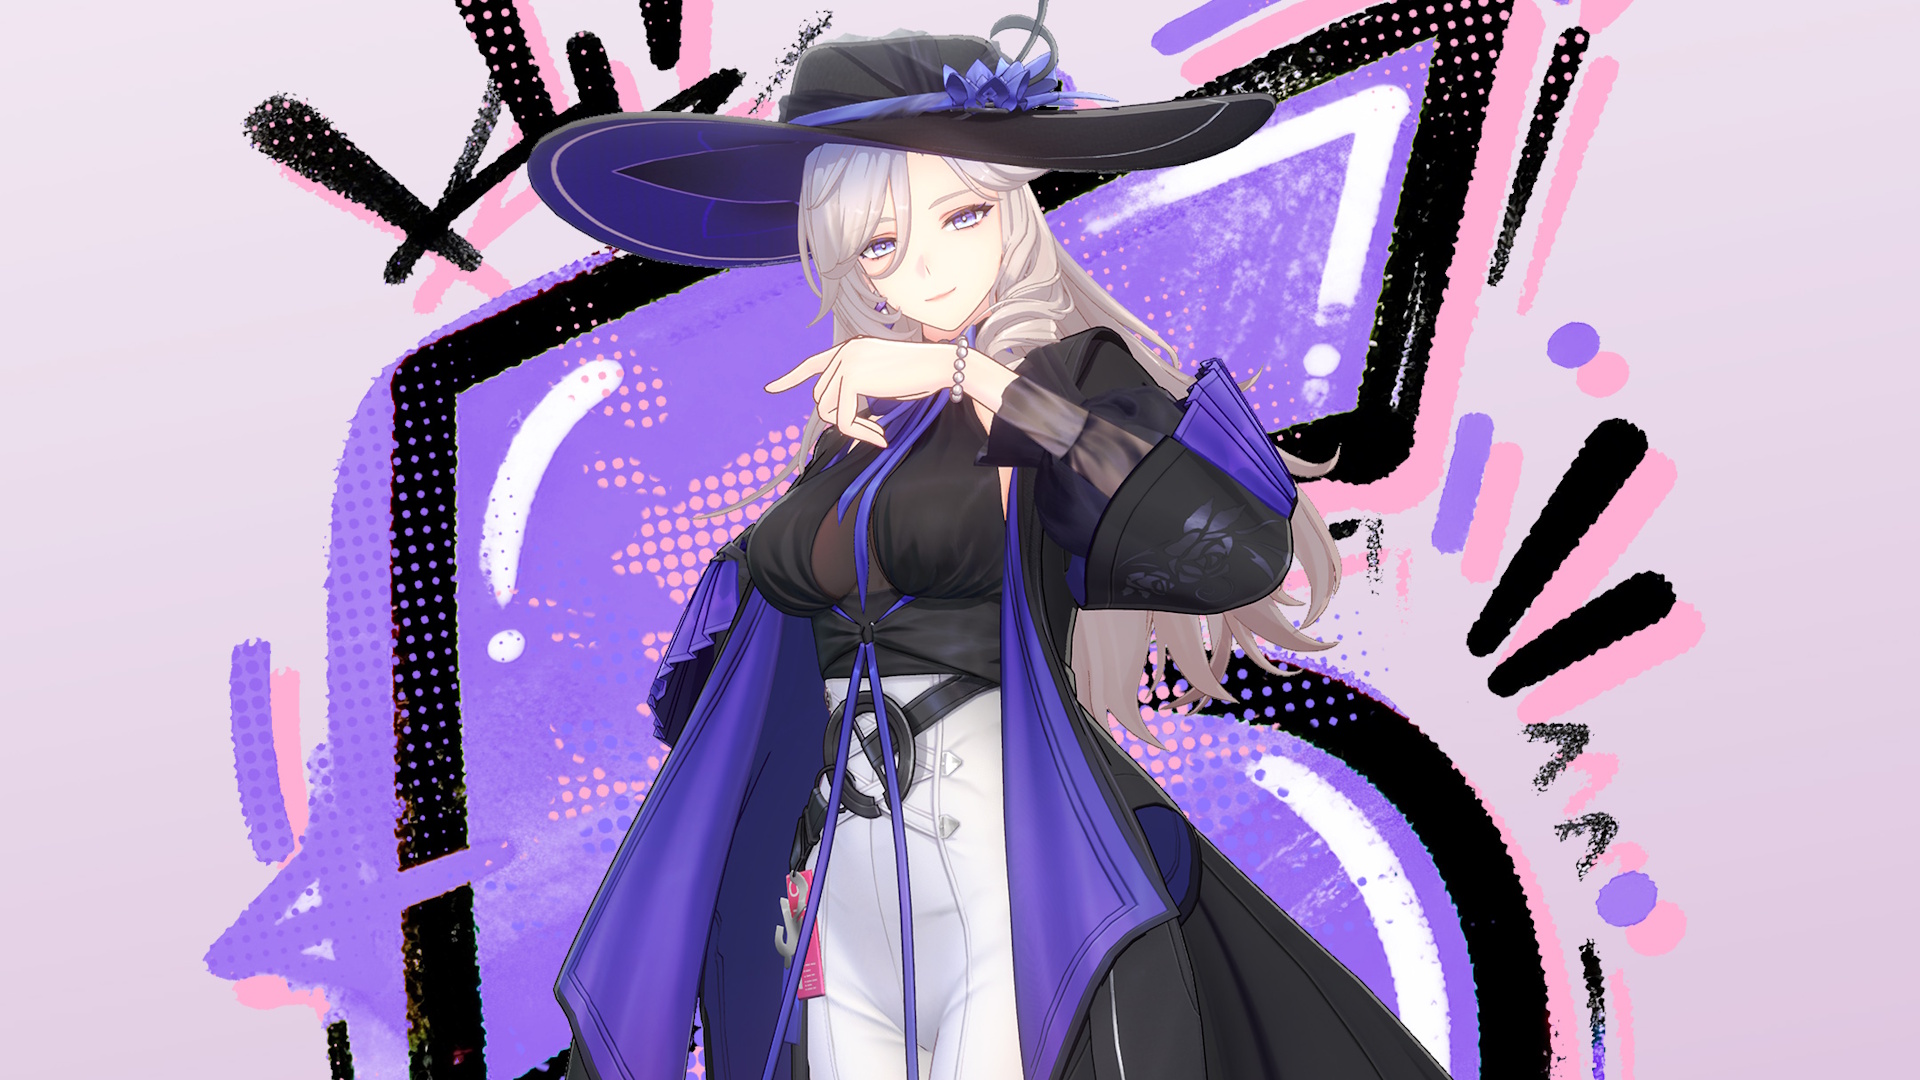
Fadia

Esper: Psyche
Role: Survival
Arc: Synthesis
Fadia redirects the damage your teammates take to her own health bar, then can self-heal by activating her Ultimate. If she gets down to only 1 HP, the damage is distributed between all your teammates, essentially making Fadia unkillable until the rest of your team dies. But with the right Arc weapon and Ultimate energy sources elsewhere, you should only need that Ultimate in really dire circumstances. Fadia is a casual player’s best friend. You can survive getting hit more often, if, say, perfect dodges aren’t your forte. Make sure to pair her with Chaos, Lakshana, and Incantation characters to open up the most Esper Cycle options for her.
Haniel

Esper: Psyche
Role: Buff
Arc: Solid
Every gacha game has its OP lower-ranked character, and Haniel is a textbook case as an A-Class damage booster. Plus, you get Haniel and a few extra Awakening copies for free just by playing. What makes Haniel so good is her inherent Nova Enhancement passive, her Skill, and her Ultimate—all of which buff the entire team’s attack. She also does decent Psyche damage, but that’s more just a bonus than anything. Make sure you pair her with a Chaos character to activate Nova, and Haniel’s Nova Enhancement passive, to create the absolute best teams. If not, Haniel also works with Laskshana characters, and in Discord teams.
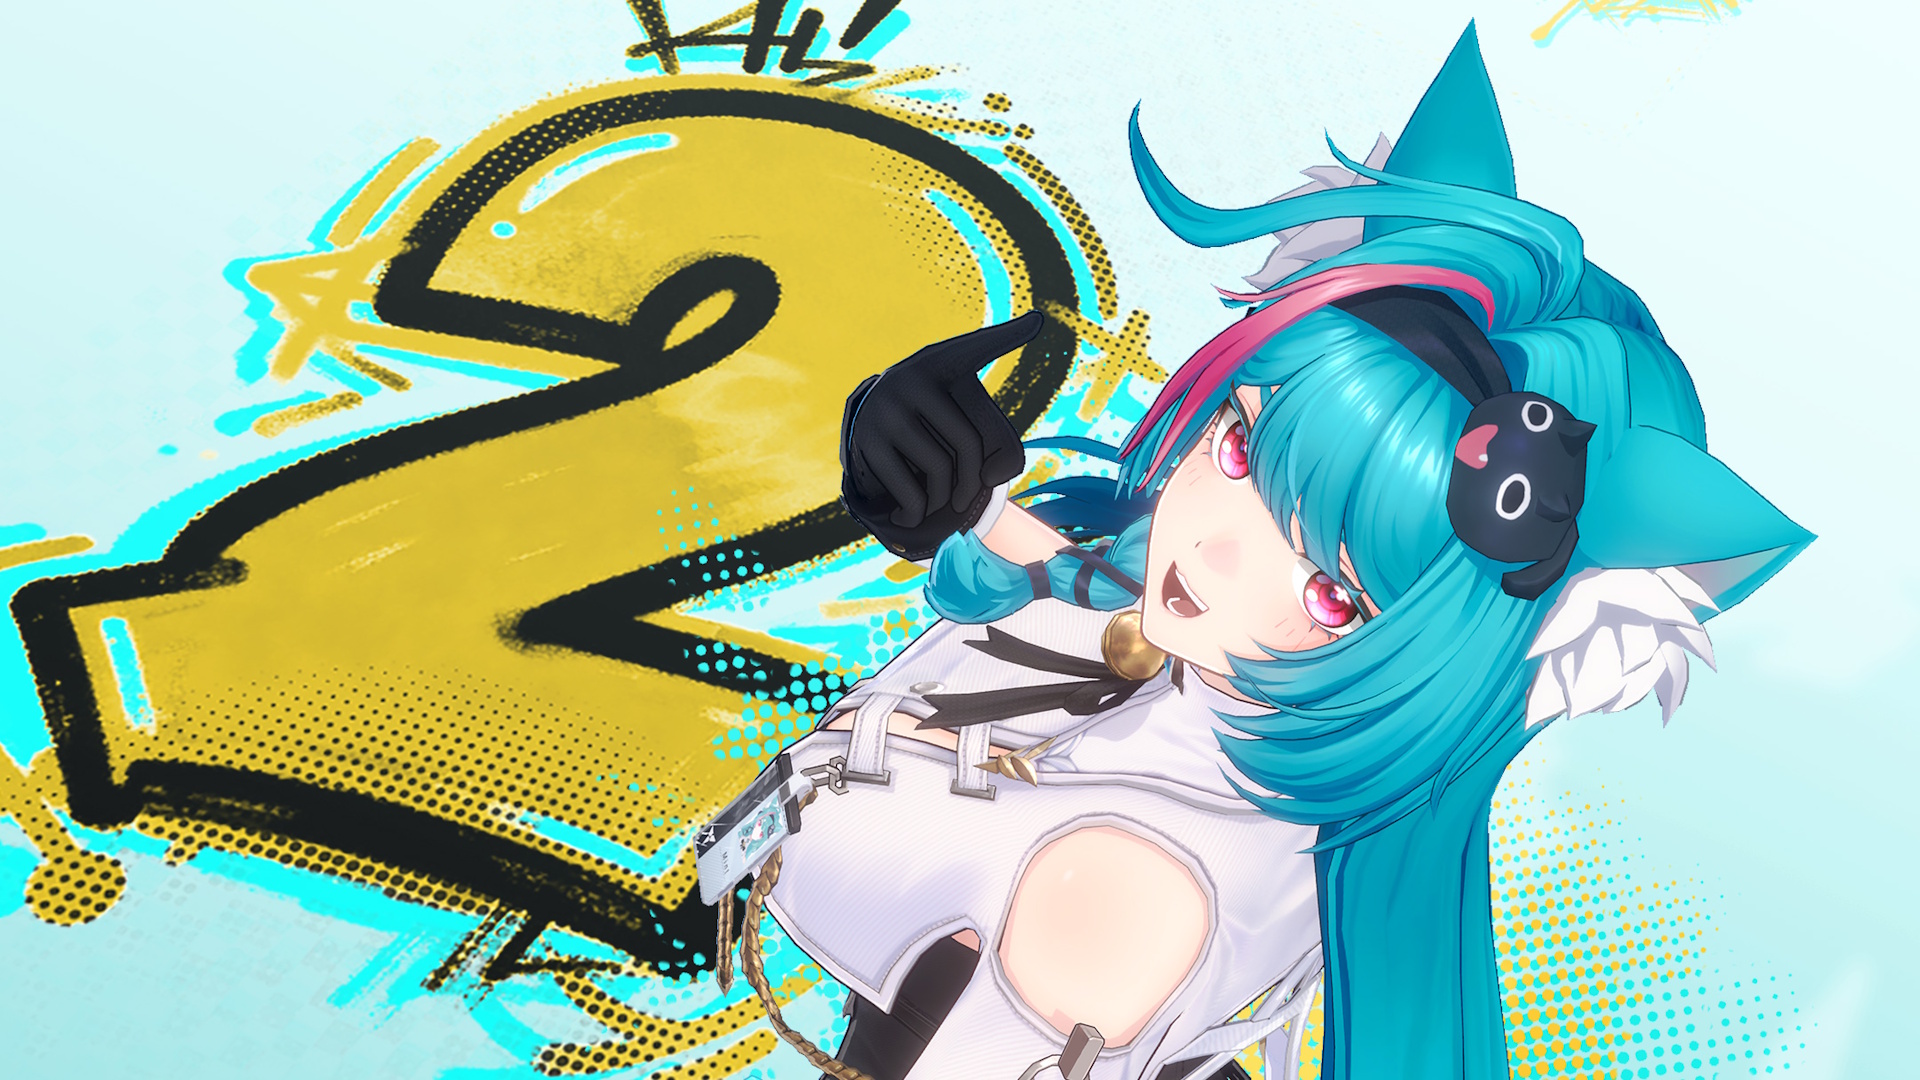
Nanally

Esper: Anima
Role: Damage
Arc: Plasma
Nanally is a main DPS who performs a lot of follow-up attacks, and is ideal for Blossom alongside Cosmos characters. As the first limited S-Class, the difference between her damage and the damage of standard DPS characters is immediately obvious, especially because you don’t have to perform any complicated rotations to get the most out of her kit. Just cast Nanally’s Skill, then her Ultimate, then smash that basic attack button to drain enemies’ HP—even in a free-to-play team without her signature Arc weapon. Nanally can also help produce Hexed Esper Cycles with Incantation characters, and Charge Esper Cycles by applying Anima to Remora (Cosmos + Lakshana). Oh, and you can use Nanally’s Skill to wall run up buildings in the open world.
Sakiri

Esper: Incantation
Role: Buff
Arc: Gas
Sakiri is basically there to buff any team with her Ultimate, and particularly boost Scorch teams with her passive skill. To make the most of her kit, ensure you bring along a Chaos character to get +25% DOT damage for each Scorch state applied. Then just use her Skill when it’s available, ideally before Sakiri’s Ultimate, and you’ve got one incredibly useful buffer on your team. To help with Sakiri’s Ultimate energy teams, you might want to run her in a Discord team, which requires you to apply both Scorch and Nova (Chaos + Psyche) on an enemy. Equipping a good Arc weapon can help too.
Zero

Esper: Cosmos
Role: Damage
Arc: Solid
Don’t you love it when the main character is actually usable in a gacha? Zero isn’t just usable, they’re one of the best characters in the game thanks to their Skill. It has a 100 Cycle Rate stat, meaning it activates an Esper Cycle as soon as you press it. You can switch to a Lakshana character to immediately apply Remora, or an Anima character to immediately apply Blossom. With a cooldown of only 16 seconds, Zero’s Skill ensures you’re consistently applying an Esper Cycle effect for maximum damage. Zero only gets better with all their free Awakening copies too, including an attack buff for the entire team. Whether you’re free-to-play, or the game’s mightiest whale, Zero is definitely worth investing your resources in.
A-Tier
Baicang

Esper: Incantation
Role: Damage
Arc: Synthesis
Baicang is a main DPS attacker who applies DOTs through Scorch, so you should pair him with a Chaos character. He also performs well against single-target bosses and groups of mob enemies. The tradeoff is that Baicang is a pretty difficult character to master. You have to perform specific combos to apply specific Power Words whether you’re up against a boss (hold basic attack on third hit), or mobs (hold basic attack on second hit), and try to only use his Skill after performing a perfect dodge—and that’s just the basics of Baicang’s kit. Doing just the basics can get you far enough to complete endgame challenges, as long as you bring along the right teammates and equip a good Arc weapon.
Chiz

Esper: Cosmos
Role: Damage
Arc: Gas
Chiz is another DPS attacker who does decent damage in Remora and Blossom teams, but suffers from a complicated kit. Just like Baicang, you can perform basic attacks to get by if you don’t want to study precisely when and where you need to activate her Skill for maximum damage. The basics of Chiz’ combat revolve around building Grain stacks by basic attacking, then using her Skill three times in a row. Make sure you’re also hitting Chiz’ Skill in her Ultimate state when the little chart visual that appears is at a high percentage, with 50% being the highest. As a bonus, you also get Chiz and all of her Awakening copies for free by playing through the Tycoon mode. She may be complicated, but having a free A6, S-Class character at your disposal is mighty helpful.
B-Tier
Jiuyuan

Esper: Anima
Role: Damage
Arc: Solid
She may not have the fanciest kit in Neverness to Everness, but Jiuyuan does have the fanciest hat. Plus, she’s a nice versatile burst DPS who can go up against lots of mob enemies, or single-target bosses, all while controlling the field by pulling enemies in with her Skill. Jiuyuan has a mercifully simple kit compared to her fellow standard S-Class characters Baicang and Chiz. Just use her Skill and Ultimate when available, and hold down the basic attack button when all those gun symbols at the bottom of the screen are filled, and you’ve learned all you need to know about Jiuyuan’s kit. She works best in Blossom teams—so bring along a Chaos teammate—but Jiuyuan can also activate Hexed with Incantation characters, and apply Charge by using Anima when Remora has been applied (Cosmos + Lakshana).
Hathor

Esper: Lakshana
Role: Damage
Arc: Plasma
Hathor is a burst DPS who works best in Remora teams. That’s it, that’s Hathor’s whole thing—but it works exceptionally well. You’ll want to activate her Ultimate and summon Hathor’s motorcycle as often as possible. That’s where the majority of her damage comes from. Apart from that, just remember that you can charge Hathor’s Skill to apply continuous Lakshana damage and build her unique Express Delivery Power stacks, which are then used to summon another sick motorcycle when you use her Skill within five seconds of activating her Ultimate.
Adler

Esper: Incantation
Role: Survival
Arc: Synthesis
As a free A-Class, Alder’s personal damage is lacking compared to S-Class characters, but he makes up for this by enhancing Scorch through his passive skill, providing the team with a temporary shield via his Skill, and working well against both mob groups and single-target boss enemies. Adler becomes more of a viable sub DPS after activating his first Awakening, but can only reach so far, as he doesn’t scale off attack. This means characters like Haniel and Sakiri can’t buff Adler. If a character releases in the future who buffs the defense stat instead, Alder would jump up this tier list, but as it stands, he’s a decent free-to-play option for your Scorch teams. So make sure you at least bring along a Chaos teammate to apply Scorch.
C-Tier
Mint

Esper: Anima
Role: Damage
Arc: Liquid
Welcome to the “why are my favorite characters always so mid?” club, Mint. Say hello to Sampo from Honkai: Star Rail for me. As a free, A-Class, main DPS, it was never good news for Mint, but she’s at least decent enough to clear tough challenges as long as you bring along good teammates and activate her first Awakening. Mint also has an exceptionally easy kit, where you only have to spam her Skill and Ultimate when available, and basic attack in between that. So bring along a Cosmos teammate to take advantage of Mint’s Blossom Enhancement passive skill, and you’ve got the bones of a good team. Not a great team, but good enough.
Skia
Esper: Lakshana
Role: Damage
Arc: Gas
Skia also suffers from being an A-Class main DPS, but he’s also free, easy to use, and works well in Remora teams thanks to his Remora Enhancement passive skill. The basics of Skia’s kit are implanting Fang Thrusts on enemies via his basic attacks and Skill, and then enhancing these Fang Thrusts by activating Skia’s Ultimate. He only gets good enough to compete with the big boys when you activate all of his Awakenings, though, which enhance Skia’s Fang Thrust damage.
Aurelia

Esper: Psyche
Role: Damage
Arc: Plasma
Boy does she need a lot of time on the field to deal decent damage, but Aurelia rides a jellyfish in combat. So you win some, you lose some. She’s best in Nova teams thanks to her passive skill, so bring along a Chaos character to activate this. Aurelia is pretty easy to play after that, because all you need to do is hold down the dodge button while moving to send out blasts while riding her jellyfish across the field. This attack is better with Aurelia’s Skill active; you can cause even more damage by using her Ultimate when available and performing a perfect dodge when the opportunity arises. As always with A-Class characters, you’ll want to unlock all of her Awakenings to make Aurelia viable against tough bosses.
D-Tier

Edgar

Esper: Cosmos
Role: Survival
Arc: Liquid
Being a healer is usually a surefire way to fit a character into just about any team composition in a gacha game, but Edgar has somehow managed to do the exact opposite. Yes, healing is good, but that’s all that Edgar does and he’s not even particularly good at it. You’re better off slotting in a character who shields, or tanks damage instead, as they at least provide other attacks and buffs for the team. If you’re still set on using Edgar, he’s best in Charge teams, which means you’ll need an Anima character to apply Anima to Remora (Cosmos + Lakshana).
Upcoming characters
What about Hotori?
Hotori will be added to Neverness to Everness when Nanally’s banner ends on May 14. Hotori is an S-Class burst DPS who also boosts the team’s damage. She’s a Cosmos Esper, and uses a Solid Arc weapon.
What about Lacrimosa?
Although she was playable in previous betas, Lacrimosa is not available in Neverness to Everness at launch. She’s very likely going to be a limited-time banner in version 1.1, however, as Lacrimosa’s drip marketing was revealed on social media in the same fashion as other gachas reveal their next banner characters. For reference, in the beta Lacrimosa was a DPS with a Chaos Esper Cycle who used a Liquid Arc weapon, but this might change in the future.


