When players first arrive in Lagoon Layer in Donkey Kong Bananza, their only objective will be to find bananas. However, as they explore, they will come across a strange structure in the center of a shallow pond. It appears that it is working as plug, preventing the water from reaching the layers down below. It is then that DK will be tasked with solving this shortage problem and getting the water levels in the other layers back to normal.
Related
Donkey Kong Bananza: All Fossils in Lagoon Layer
There are 72 fossils hidden across the Lagoon Layer map in Donkey Kong Bananza – here’s where to find them.
This guide will help players get through the story in Lagoon Layer so they can continue their descend to the layers farther down below in Donkey Kong Bananza. There are two more layers in Lagoon Layer and they must both be explored fully in order to move on to SL200.
Go Down to SL101
Players will be tasked with fixing the water shortage after eliminating the Crockoid near the large pool in the middle of Lagoon Layer’s SL100. Once the Crockoid has been defeated, a key will be placed in front of the plug with a mask, which players can turn (with a punch) to remove the protective glass encasing it.
Then, they must approach the plug and punch it so the water is able to reach the bottom sublayer. Along with the water, a set of three Banandium Gems will also descend down to Sublayer 101. When players reach SL101, they will notice that even though some water has gotten down there, the water levels are still not back to normal.
Destroy the Three Pillars
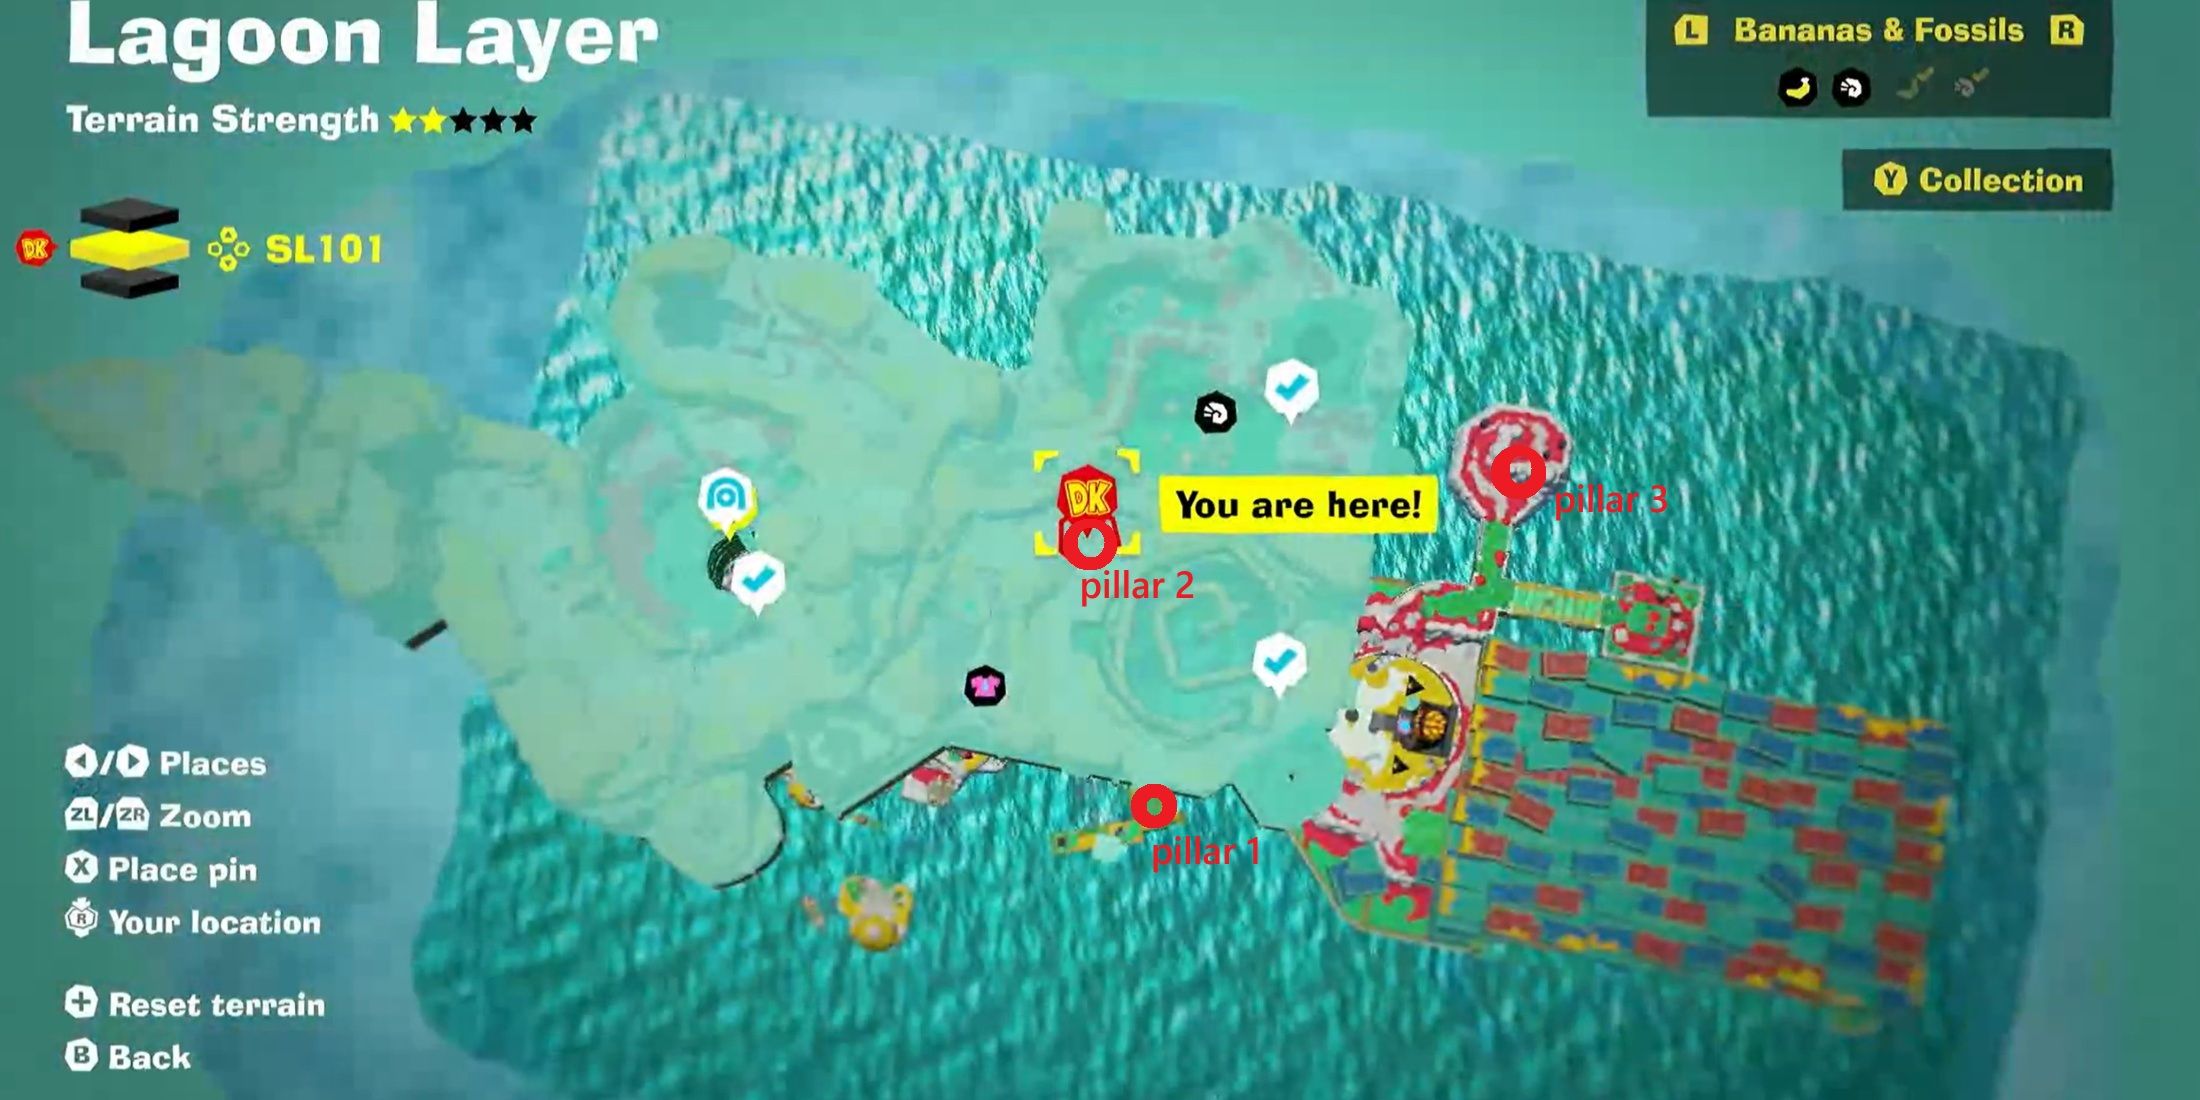
The water has been stored in a tank that hangs above the village. Players must break the three pillars that are keeping the tank’s plugs in place in order to get the water to flow down to where it belongs.
First Pillar
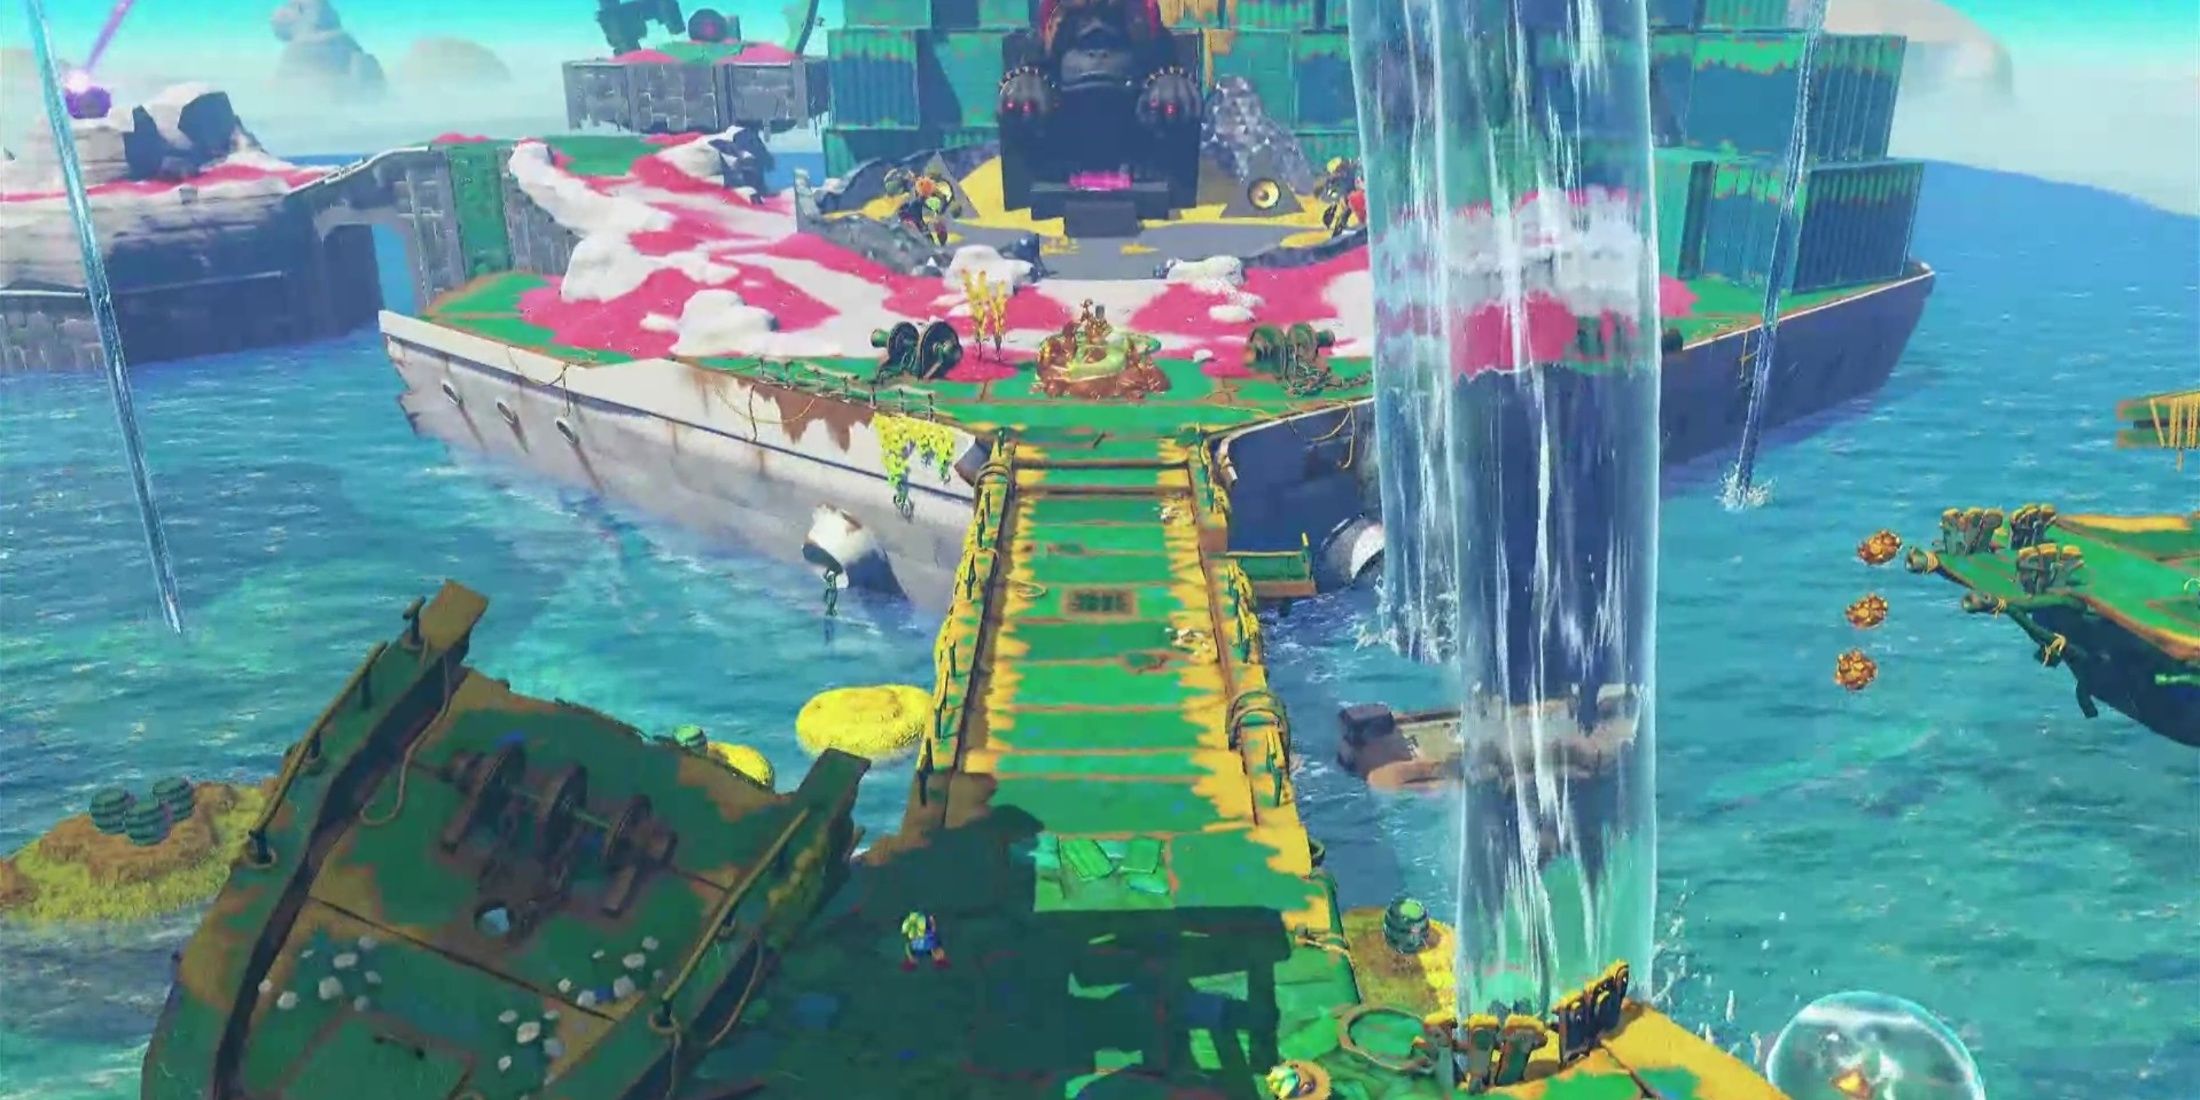
The first pillar can be accessed if players jump off a ledge with a water bubble beside it; the ledge is by the inaccessible bridge that used to connect the village to Elder Court.
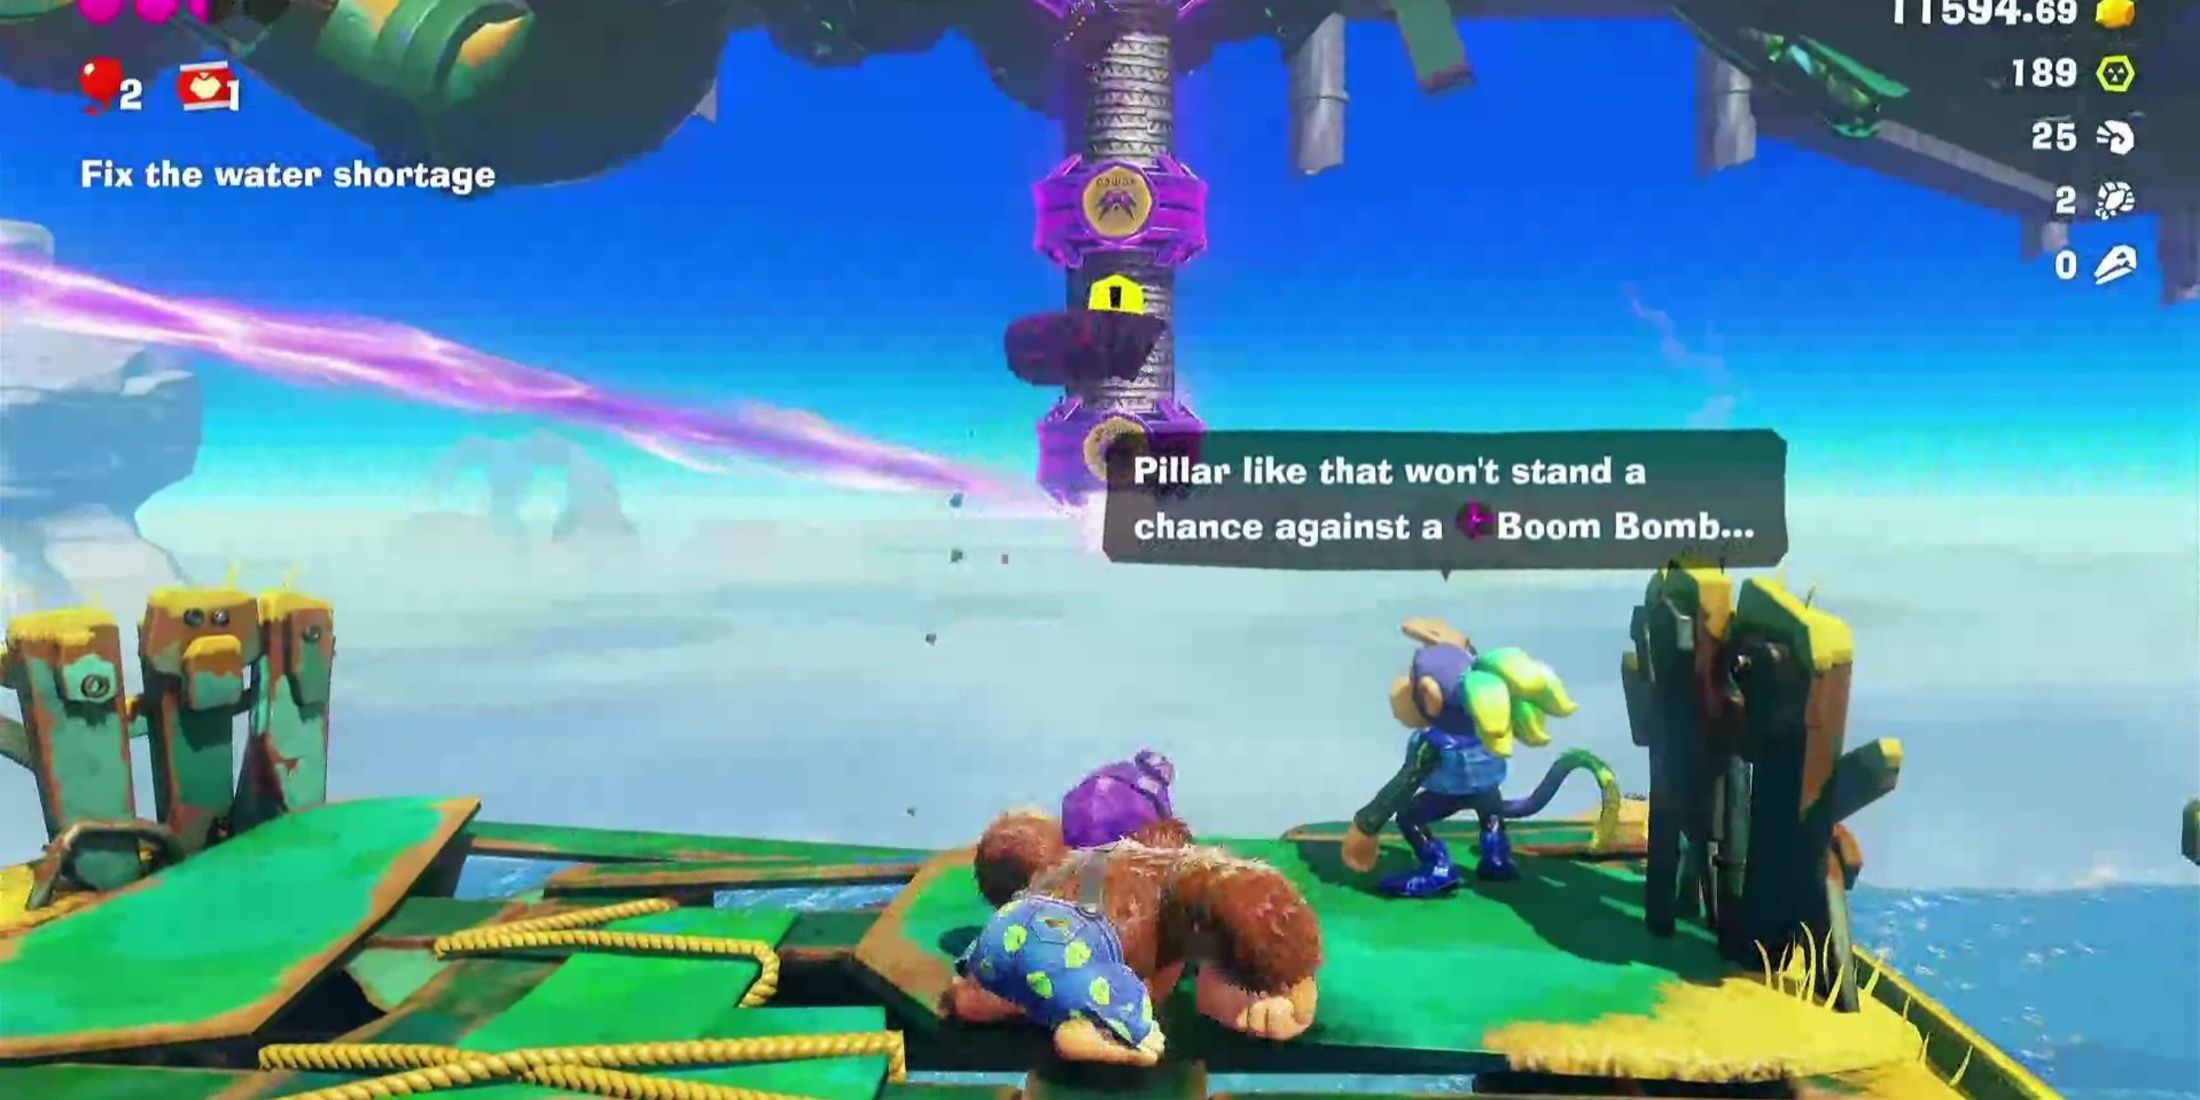
Once near the water, players must climb up the tall, green structure. However, they must be careful, as three flying, rock-throwing enemies surround it. At the top, there is a Boom Rock, that players can lift and use to take them out but also to destroy the pillar spewing purple energy. As soon as the pillar is destroyed, water will coming flowing out of tank and the water will rise slightly.
Second Pillar
The water rising will give players access to a small piece of land on the other side of the inaccessible bridge. Here, they will find two Antickoids that can be punched in order to retrieve the Boom Rocks on their backs. The rocks are crucial, as Donkey Kong can throw them and break the concrete platform preventing him from being able to climb the structure in front of him.
Players must then complete the climbing section and walk on the ceiling onto the next platform. At the end, they will find a barrel that will get them back to SL100. This is necessary, as players will need to remove another mask plug and dive back down in order to get close enough to the second pillar to destroy it.
Back on SL100, players must get themselves to the far side of the island and get to the plug to remove it. While reaching the location is simple enough, the structure where the plug has been placed is not climbable, and Donkey Kong will inevitably slip down.
There is a climbable area, but it has been blocked by concrete slabs. Thankfully, there is some Boom Rock right in front of it that can be used to break it. However, players must watch out for the dozens of Peekaboopoids that will spawn and attack them.
Once a path is clear, they must climb up, as they continue to fight off the Peekaboopoids. At the top, they must destroy the mask and dive back down. They will find themselves at Orangu-Hang Highway. Up ahead, there is a climbing section an enemy that will continously jump out of the ceiling. Players must attempt to avoid this enemy and safely reach the other side.
On the other side, there will be another one of these enemies, but this time around, he is made of Boom Rock. Up ahead, players will notice the second pillar. They must grab some Boom Rock, while evading the enemy’s attacks, and throw it at the pillar to destroy it.
Third Pillar
Destroying the second pillar will bring the water level up some more and put the bridge back where it’s supposed to be, giving the player and the villagers access to Elder Court. On the left of Elder Court, not too far from the Ancient Record location, players will be able to easily access the final pillar. They can break it using the nearby Boom Rock and proceed with the story.
Go Down to SL102
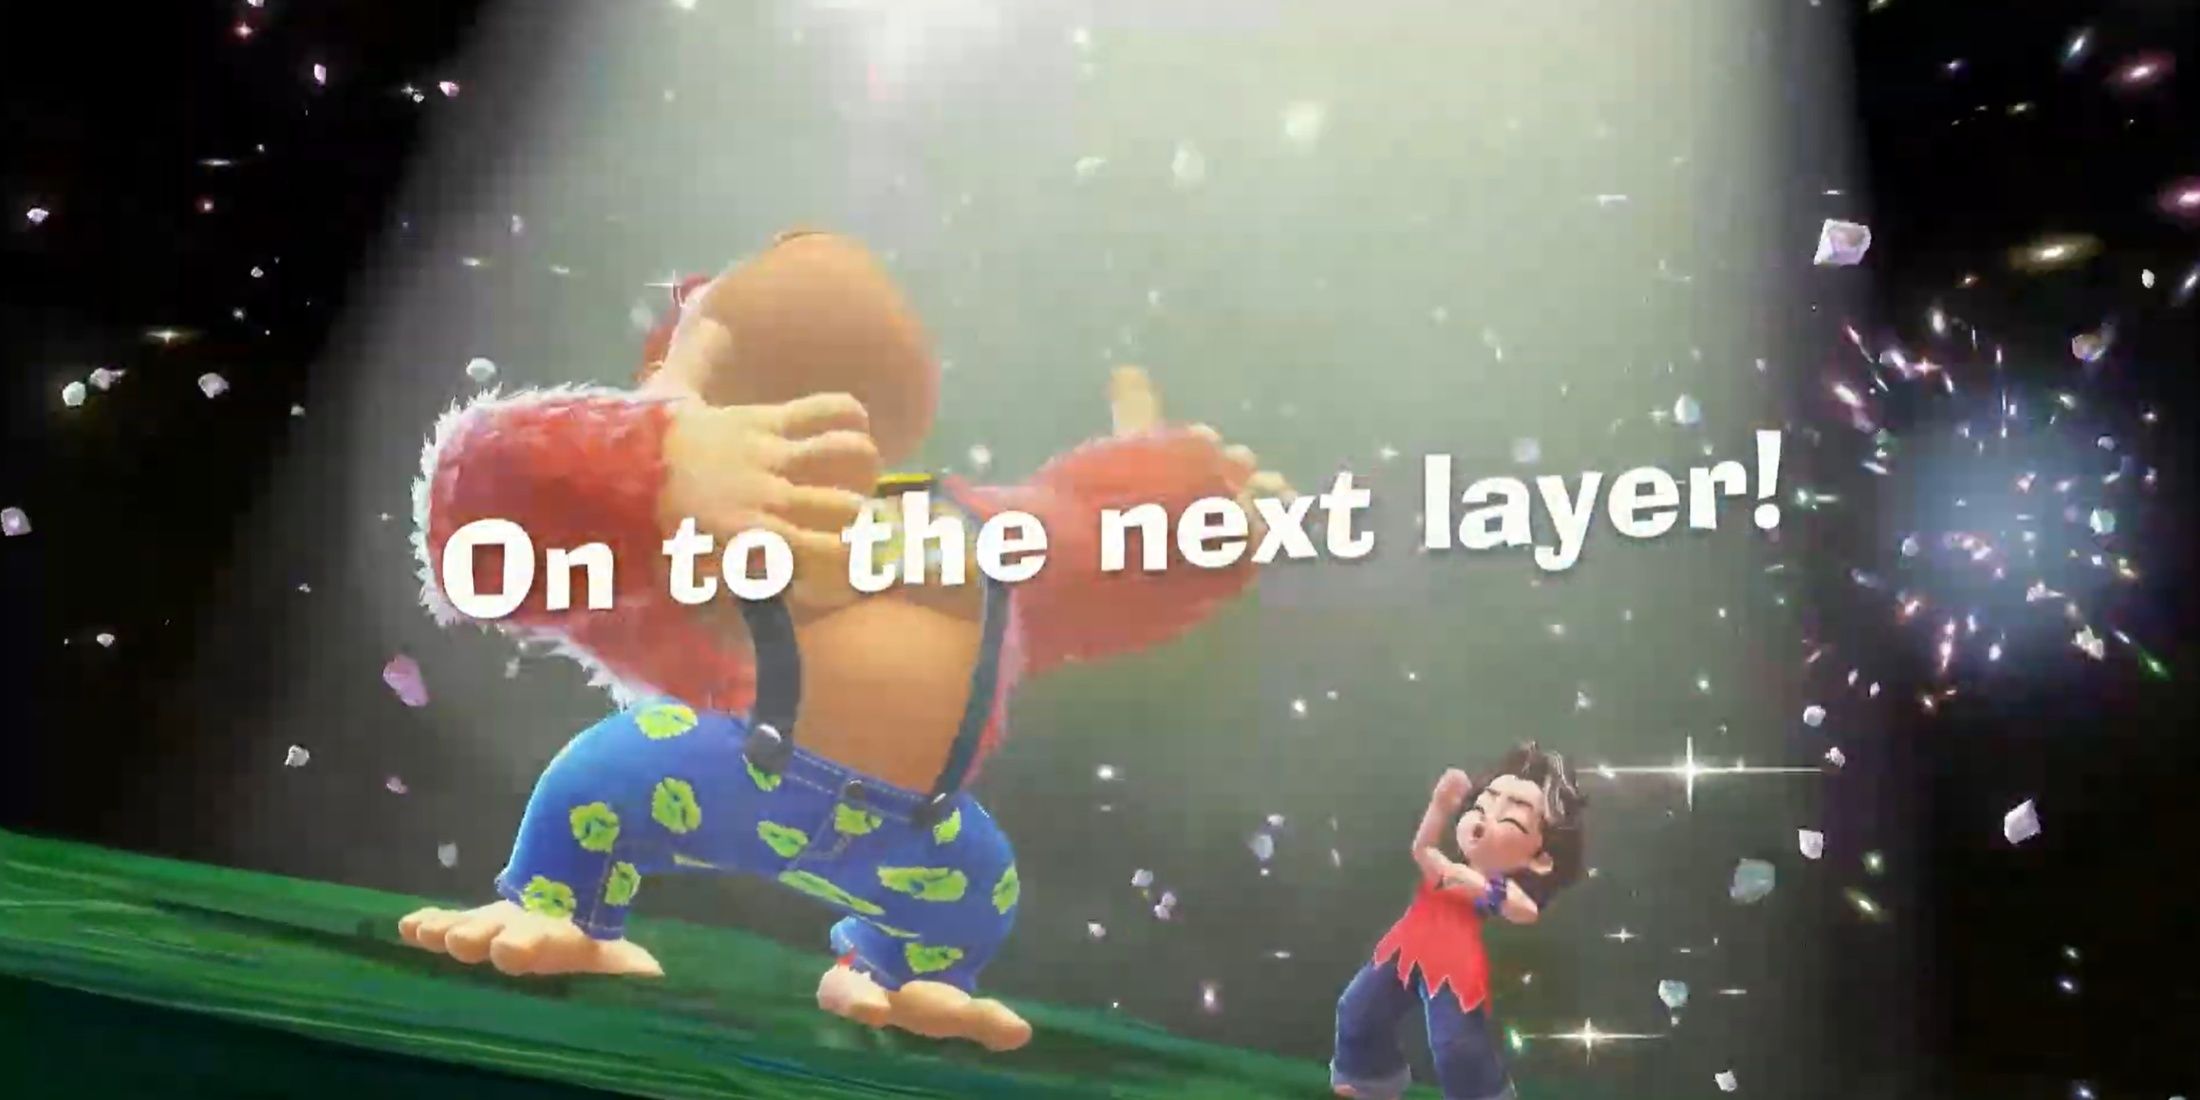
Players must retrieve the Ancient Record located on the piece of land beside the third pillar’s location and bring to Kong Elder. As soon as it starts playing, the Odd Rock will turn into Pauline. When Donkey Kong drumbeats and encourages her to sing, he will turn into Kong Bananza. A tutorial level for this transformation will then ensue,giving players an opportunity to learn how to use Bananergy to unleash Kong Bananza’s impressive strength.
At the end of the tutorial, Kong Elder will advise players where to go next, and that’s the Planet Core. To reach it, they must continue to dive deeper into the lower layers. To reach SL103, players must enter the container area behind Kong Elder. They will come across several enemies and concrete walls, so it is best that they collect a lot of gold so they can turn into Kong Bananza and easily get past them.
At the end of the tunnel, they will find a mask plug, which they must beat up in order to gain access to SL102 – this is the bottom of Lagoon Layer, the last sublayer that players will be able to explore before moving on to Hilltop Layer.
Fight Peekabruiser
Players must head to the center of Chimpy Channel. They will be able to reach it by climbing the structure near the exit of the tunnel and jumping down onto the other side. They must fight their way through the Peekaboopoids until they reach the Chimpy Channel Exit area. A cutscene will begin followed by a boss fight against Peekabruiser.
-
-
Once Peekabruiser has been defeated, players must destroy the mask plug, which will turn into a bundle of bananas and open up a hole in the ground that will give Donkey Kong and Pauline access to Hilltop Layer, SL200. Players can Punch Downwards to increase their speed or they can Brake to enjoy the ride or get better control of DK.
Donkey Kong Bananza

- Released
-
July 17, 2025
- ESRB
-
Everyone 10+ // Fantasy Violence
- Developer(s)
-
Nintendo
- Publisher(s)
-
Nintendo
- Number of Players
-
Single-player

