
Screenshot by Destructoid
Dive into the past with ease.
|
Exploration is key if you want to see everything there is in Cronos: The New Dawn. If you’re not relying on the objective markers to get through this adventure, then make sure to leave no note unread, no stone unturned. Thankfully, ND-3576 remem bers everything you look at and pick up, so you don’t need to worry about taking notes.
All codes in Cronos are either three to four digits long, meanwhile puzzles focus more on fetch quests that can and should be gradually completed as you’re exploring a location in full. Puzzles can unlock new weapon variants, naturally progress the story, or introduce you to the next boss.
All keypad and safe codes in Cronos: The New Dawn
Surplus

Location/save point: Tailor Shop
The first keypad in Cronos leads to a surplus with supplies and crates you can break. The code is on the Heading Forward Travelog in the ground floor lobby, next to the generator that needs two fuses. The code is 3 6 7.
Apartment safe

Location/save point: Edward’s Apartment
After defeating the first boss in Cronos, Traveler ND-3576 wakes inside Edward’s messy apartment. There’s a safe here which you have to unlock to get the target’s location. The answer lies inside the bathroom, where a photograph of Angela shows the code (her birthday), written 8 1 1.
Hall B

Location/save point: Furnace Control Room
Enter the Loading Bay next to Hall B, defeat the standalone large Orphan in this area, and use Bolt Cutters on the door at the back of the Loading Bay. Enter the Warehouse and reach the upper floor to get the note with the code to the Hall (be wary of the Orphans in the viscera walls that will grab you). You can skip this section completely by entering 3 6 4 into the Hall B keypad.
Isolation Zone

Location/save point: Cauldron Control Room
You get this code after walking through Hall B. We recommend you avoid running, picking anything up, or shooting in this area so that the Orphans stay docile. Use the key from the Cauldron Control Room on the Warehouse door and reach the other side of this area to drop down and face two large Orphans that’ll spawn in. Find the Locker Room to get the Isolation Zone code 7 2 9. Again, just input this code into the Isolation Zone to bypass the entire Quarantine Zone, bringing you one step closer to the Gravity Boots.
Director’s Office
Location/save point: Unity Hospital
This is a difficult codes to get as multiple Orphans roam in this narrow corridor spawn near the Director’s Office. Found in the Administration Wing, you need to be in the Office corridor on the opposite side to where you find the heart you need the toxin for. This is to the right of the Director’s Office and near Weronika’s Office. There’s a wall of viscera you can duck under, but don’t rush to it as a hardened Orphan bursts through the door just before it. The code is inside the room you need to use a Pyre through the hole in the wall to reach. Alternatively, just enter 9 5 0 9 into the Director’s Office keypad to get inside. (THIS CODE IS NEEDED FOR CHALICE PUZZLE).
How to solve all Cronos puzzles
Hospital puzzle

Location/save point: Unity Hospital
The alter inside the Unity Hospital safe room requires two Chalices to give you the Chapel Key.
You need grab the Access Card from the Meeting Room in Administration. From here you can enter the Operating Theater next to Administration. Sprint down to the end of the corridor, evading the monsters that spawn here and interact with the knocked-over filing cabinet to avoid an unnecessary fight. You will find Bebola the cat and the Chalice behind her.
The second Chalice is inside the Director’s Office of Administration. Use the code 9509 to get inside. Bring both items back to the Unity Hospital safe room and place on the altar. Make sure you have room to carry both as they’re relatively near one another, that way you don’t have to make multiple trips. Get the Chapel Backroom Key to unlock the Mace JER-5120 (double-barrel shotgun).
Church door puzzle

Location/save point: The Abbey
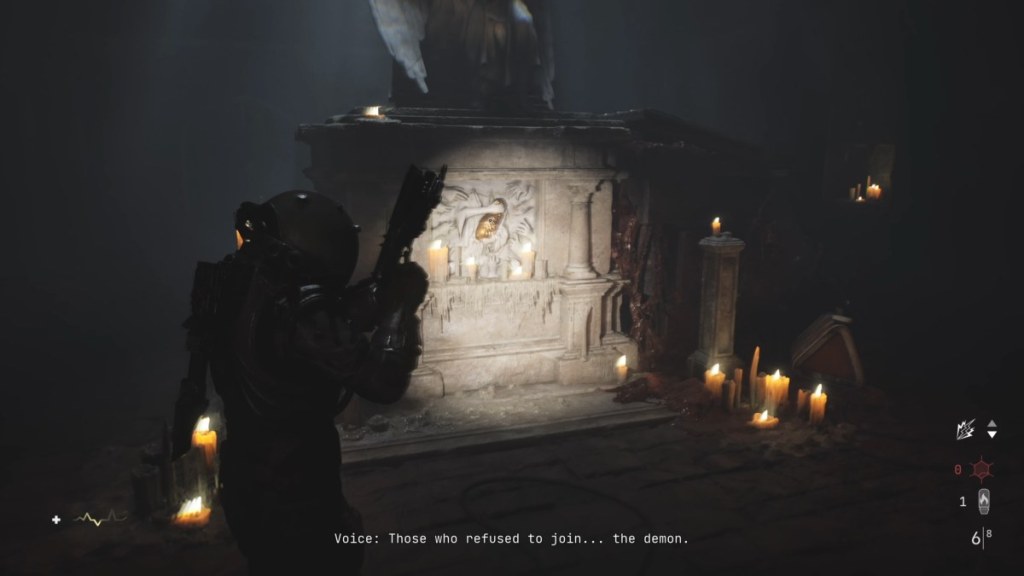
With three out of six Statuettes missing for the Church doors, you need to locate the rest of them in the tombs and back area of the Cemetery. Make sure you have space to pick them up or be able to dispose of any/all inside the safe room storage boxes when you’re passing by one. The Child Statuette is located underneath the Angel statue inside the Catacombs that has gates (requires a lever from the safe room in this area to lift). Power up the generator in this room upstairs and prepare for conflict.
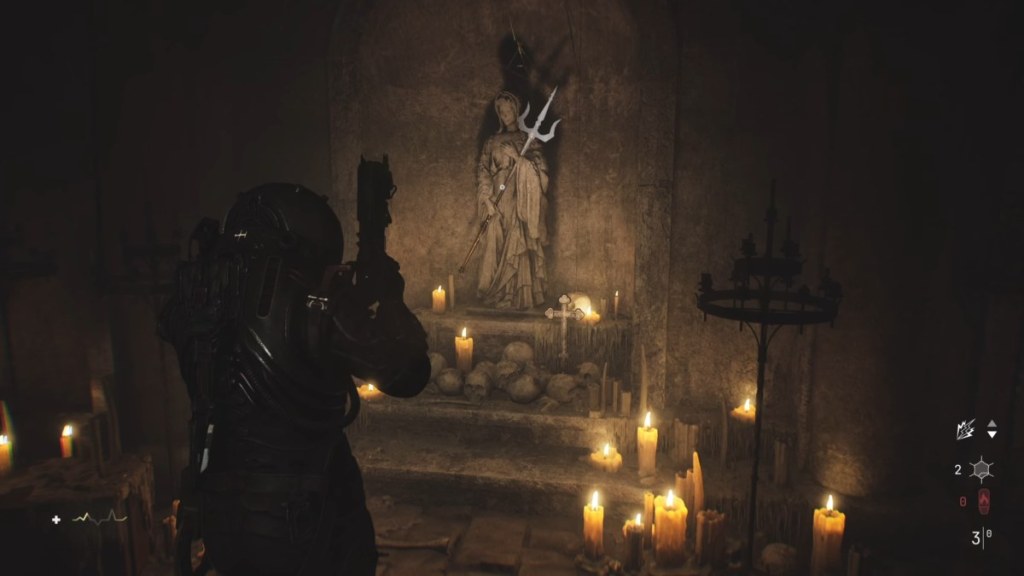
The Trident is at the furthest point within the Catacombs, near the ladder leading back to The Abbey safe room. The Sword is in the back area, accessible via The Abbey safe room. You need to first complete the Catacombs to then power the generator on the locked side of the safe room (get the Electrical Fuse off the fallen Traveler). Use the Gravity Boots to reach the final Statuette.
You can always refer to the white objective markers to take you to each Statuette.

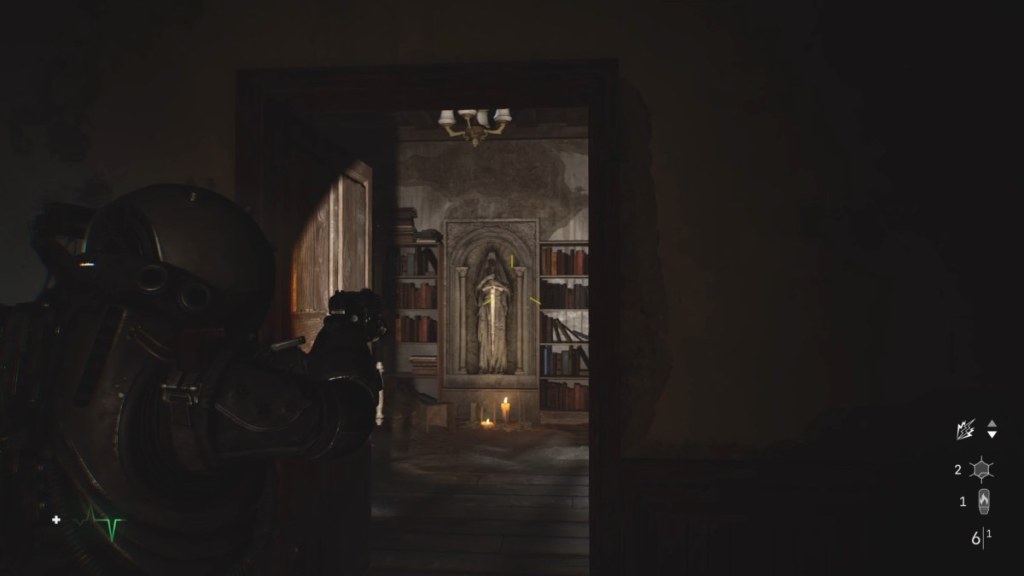
Bring all Statuettes to the Church door and leave space in your inventory to move them around. Order the Statuettes from left to right: Cauldron, Child, Shield, Sword, Sickle, and Trident.
Like our content? Set Destructoid as a Preferred Source on Google in just one step to ensure you see us more frequently in your Google searches!


Published: Sep 4, 2025 04:55 pm