Patch 8 of Baldur’s Gate 3 offers new subclasses for each of the game’s classes. These typically offer a new playstyle not found among any of the existing subclasses for that class, such as the Arcane Archer Fighter and the Death Domain Cleric.
The new Wizard Subclass added in Patch 8 of Baldur’s Gate 3, Bladesinging, offers proficiency with light armor and certain martial weapons, along with access to Bladesong. Bladesong is a powerful ability that raises the Wizard’s AC and Saving Throws while active, and also allows them to build up damage charges and healing charges. They can then spend a Bonus Action and some movement to cause an AOE damage/healing blast via Bladesong Climax. This guide describes a solid Bladesinging build that utilizes a variety of magical items to further empower a melee magic playstyle.
Related
Baldur’s Gate 3: 8 Best Multiclass Builds Introduced In Patch 8, Ranked
These are some of the best multiclasses to try in Patch 8 when building your next character in Baldur’s Gate 3.
Best Bladesinging Wizard Build in Baldur’s Gate 3
Race, Stats, Background, and Skills
Several races work well with the Bladesinging Wizard subclass. This guide will use a Seldarine Drow for largely thematic reasons (Eilistraee is a Drow Goddess associated with Song and Dance, among other things, and many of her Priests are Sword Dancers), but Half Orc would also be an excellent choice due to their Savage Attacks skill strengthening critical weapon attacks. At the same time, their Relentless Endurance helps with survivability.
Drow do have advantage against being charmed and are entirely immune to sleep effects, which is also nice, and their Perception proficiency helps spot traps. In terms of stats, the Bladesinger Wizard needs lots of Dexterity and lots of Intelligence, so we’re going to use items, and then a bonus accessible in Act 3, to reach 20 in both. The table below shows the stats we’re going for, and the Leveling guide will go into greater detail on where to spend your Ability Score Improvements.
|
Stat |
Value at Level 1 |
Value at Level 12 |
|
Strength |
8 |
8 |
|
Dexterity |
16 |
20 |
|
Constitution |
14 |
14 |
|
Intelligence |
16 |
20 |
|
Wisdom |
10 |
10 |
|
Charisma |
10 |
10 |
Without items or late-game bonuses, we’d have 18 Dexterity and 20 Intelligence. For our background, we went with Acolyte to continue the Eilistraee theming, which also gives us proficiency in Insight and Religion for more options in dialogue. For our remaining skills, we took Arcana and History to make us better at investigating mysteries, both magical and historical.
Leveling Guide
At first level, we take the following spells: Shield, Chromatic Orb, Longstrider, Enhance Leap, Expeditious Retreat, and Feather Fall. We can cast Longstrider on every party member at the start of each day without even using a spell slot. Shield will help us avoid damage from particularly dangerous incoming attacks, while Chromatic Orb is a versatile elemental damage spell for attacking at a distance and creating dangerous terrain effects. Enhance Leap and Feather Fall are both excellent for exploring. We’ll also take the Cantrips Ray of Frost, Shocking Grasp, and Booming Blade.
At second level, add Thunderwave and Mage Armor to your Spell List, giving you a way to push enemies away from you and to improve your AC considerably. It’s also where you’ll gain access to Bladesong, along with proficiency in martial weapons and light armor. We recommend picking rapier as your new casting focus, though we’ll replace it with a very special longsword later. At third level, pick up Misty Step for better traversal and Blur to make it harder for enemies to hit you.
At fourth level, pick up Knock for cracking locks and Gust of Wind for pushing enemies around, and use an Ability Score Improvement to get your Dexterity to 18. We’ll also add the Cantrip, Mage Hand.Then, at fifth level, pick up Vampiric Touch as a source of healing and damage, and Blink to vanish into the ethereal plane and make it harder for you to take damage. Sixth level is the time to learn Counterspell and Haste, both valuable utility spells that can be a boon in combat.
At seventh level, pick up Conjure Minor Elemental so you can bring in an ally to draw enemy attention and dish out extra damage, and Ice Storm to deal tons of cold damage and set up ice surfaces to slip your foes. At eighth level, you should grab Fire Shield and Greater Invisibility, the former to punish any enemy that tries to hit you, and the latter to get the jump on enemies and attack with advantage/give enemies disadvantage on attacks against a target. You should also use an Ability Score Improvement here to get your Intelligence to 18.
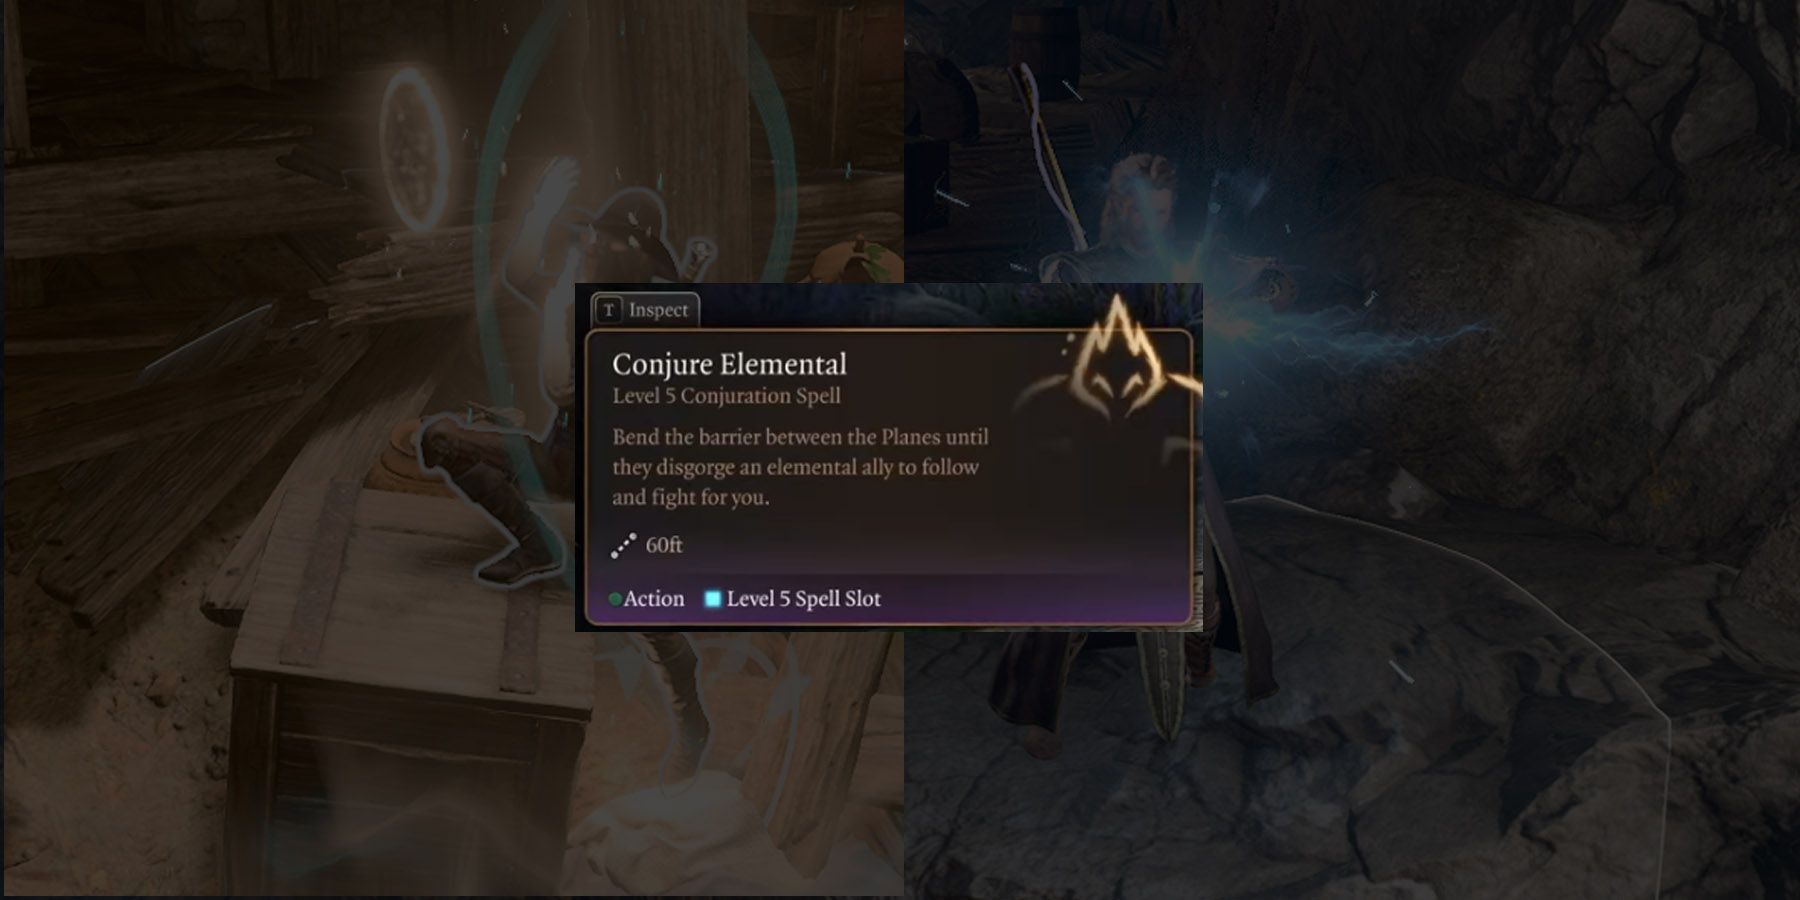
At ninth level, you can learn Conjure Elemental and Hold Monster, allowing you to bring in a stronger elemental ally and lock down dangerous foes regardless of creature type (as long as they fail the saving throw). At level 10, you can add Cone of Cold and Telekinesis to your spell list, allowing you to blast groups of enemies with frost and throw objects and enemies into each other to damage them and set them up for other attacks/spells. This is also when we pick up our final Cantrip, Minor Illusion.
At level 11, you can pick up Wall of Ice to block off and damage enemies, and Disintegrate to vaporize single targets in a flash of destructive energy. Level 12 is where we grab our last Ability Score Improvement, getting our Intelligence to 20, and then pick up Otiluke’s Freezing Sphere and Otto’s Irresistible Dance for more cold damage and a way to guarantee a target loses their next turn.
Equipment
Our weapon for this build will be Phalar Aluve, a longsword with the finesse property that can be acquired in the Underdark during Act 1. By using its Shriek ability, enemies within 6m/20ft of you will take 1d4 Thunder Damage whenever they take damage from any source. Since you’ll be in melee most of the time, this will provide extra damage to all party members attacking your target(s).
Our Robe for most of the game will be the Graceful Cloth, which is purchased from Lady Esther in Act 1 and provides a +2 bonus to Dexterity, allowing us to reach 20 Dexterity in the early game and keep it that way until we can reach the Mirror of Loss in Act 3. We should also buy Winter’s Clutches from Lady Esther so we can apply the Encrusted with Frost condition with our cold damage spells. After gaining access to the Mirror of Loss, we should swap the Graceful Cloth for the Robe of the Weave to improve our Spell Attack Rolls and Save DCs, and also improve our AC by 2.
Grab the Ring of Arcane Synergy from Crèche Y’llek during Act 1 to gain the Arcane Synergy Buff whenever you use a Cantrip, and the Ring of Elemental Infusion (also found in the Creche) to apply elemental damage to your weapon after using an elemental damage spell. Pair these with the Necklace of Elemental Augmentation, found in the Inquisitor’s Chamber in Creche Y’llek, to add your Intelligence Modifier to your elemental cantrip damage. Finally, the Diadem of Arcane Synergy (also found in Creche Y’llek) will provide stacks of Arcane Synergy whenever you apply a condition to an enemy, including the condition applied when a creature enters the radius of Phalar Aluve’s Shriek Aura.
Our cloak of choice until Act 3 will be the Vivacious Cloak (found in the Grand Mausoleum during Act 2), which provides 8 temporary hit points whenever you cast a spell in melee, helping to make the Bladesinger a little less squishy. On entering Act 3, we can replace this with the Cloak of Displacement to impose Disadvantage on attackers each turn, or the Cloak of the Weave for improved Spell Attack Rolls, Spell Save DCs, and the ability to Absorb Elements once per short rest.
Two pieces of footwear suit this build well: The Bonespike Boots and the Disintegrating Night Walkers. The former is a shockingly good option, providing +1 to AC and Saving Throws as long as you aren’t wearing armor, and allowing you to use the Brutal Leap. Brutal Leap’s DC is based on the wearer’s spellcasting stat, so jumping toward a target becomes a very efficient means of knocking them prone, further aided by the boost in jump distance the boots provide. These Boots can be found in Act 3.
The Disintegrating Night Walkers can be found during Act 1 by killing Nere, and grant immunity to most harmful terrains (excluding damaging terrains like lava or spike growth), while also allowing the wearer to cast Misty Step once per short rest. This makes them incredibly useful to a lot of different characters, and especially helpful in navigating Ice surfaces you’ve created without slipping and breaking concentration on your spell.
You should also make sure to grab a Pearl of Power, Spellcrux Amulet, and The Pointy Hat. The first two can be used to restore spell slots as needed, and should be worn long enough to activate their effects when outside combat. The Pointy Hat allows you to add your Intelligence Modifier to Persuasion checks, and should be swapped in before starting conversations where possible.
Bladesinging Wizard Playstyle
The goal of this build is to be a frontline fighter who mixes damaging elemental spells (particularly those that deal cold damage) with melee strikes, all while having high enough AC to dance through enemy attacks unharmed. At the start of each adventuring day, cast Longstrider on the Party(including you) and Mage Armor on yourself, allowing everyone to maneuver more easily and getting your AC even higher. You should also conjure a Frost Elemental to provide backup in combat.
In combat, you’ll want to use Ray of Frost while moving toward the enemy, buffing your weapon with extra cold damage and generating Arcane Synergy stacks in the process. Once in melee range, you can hit enemies with your sword and/or utilize Booming Blade to take advantage of those buffs, using spells like Shocking Grasp or Vampiric Touch to build more Arcane Synergy Stacks as needed. Use Shield or Song of Defense when dealing with particularly dangerous attacks.
When facing dangerous foes, you’ll want to activate Bladesong and then cast Blur, Blink, or Fire Shield during your approach, depending on the situation and your preference. Activate Phalar Aluve: Shriek before you move into range of the enemy to generate extra Arcane Synergy Stacks via the Diadem of Arcane Synergy. Then, you can utilize your spells to build up damage charges and your melee attacks to build up healing charges, before using Bladesong Climax to tear through foes while healing any allies in range.








![Plants vs Brainrots Admin Abuse Schedule [October 2025] Plants vs Brainrots Admin Abuse Schedule [October 2025]](https://i0.wp.com/www.destructoid.com/wp-content/uploads/2025/10/plants-vs-brainrots-admin-abuse-schedule.webp?quality=75&w=100&resize=100,100&ssl=1)

