
Image via Hypixel Studios
Here’s how you can get started with Hytale mods.
|
Hytale is an exciting new game that’s been long in development, having been suspended in a sort of stasis at Riot Games before being rescued by its original creators.
Very much like Minecraft in both looks and gameplay, Hytale, too, is built with mods in mind, as players are invited to tailor their experience to their liking. With that in mind, thousands of mods have already been released for this early-access title, with many more to come as the game continues toward full release.
Installing these mods is rather straightforward, so here’s everything you need to know.
How to download and install Hytale mods

Mods for Hytale are most readily available on CurseForge, where over two thousand mods have been posted since early access started. With over four million downloads thus far, it’s the primary platform for hosting Hytale mods, overshadowing the likes of Nexus Mods.
Like many other platforms, CurseForge offers its own mod manager, which you can download and use to install mods. Simply go to the CurseForge website and press “Get CurseForge app,” download it, and install it. Then, whenever you want to install a mod, open it up and click “Install via App.”
If asked to navigate to the game’s directory, you can find it by going into the Hytale launcher, pressing the gear icon, and clicking on “Open Directory.”
Mods can also be installed manually. To do so, open up the CurseForge website, navigate to a mod of your choice, then press the arrow next to the “Install via App” button. There, you’ll get a prompt to manually download the mod’s files, which you will then have to place in the proper folder.
Keep in mind that some mods cannot be installed via the app nor by being added to the Mods folder and have their own set of instructions that you need to follow. This is usually indicated in their mod descriptions, so be sure to thoroughly read them.
After you’ve downloaded the necessary files (and verified that the mod can, indeed, be installed the traditional way), navigate to your game’s directory, then UserData, then the Mods folder. Simply place the file(s) (usually with the .jar extension) into the folder, and you’re set.
Now you need to activate any installed mods.
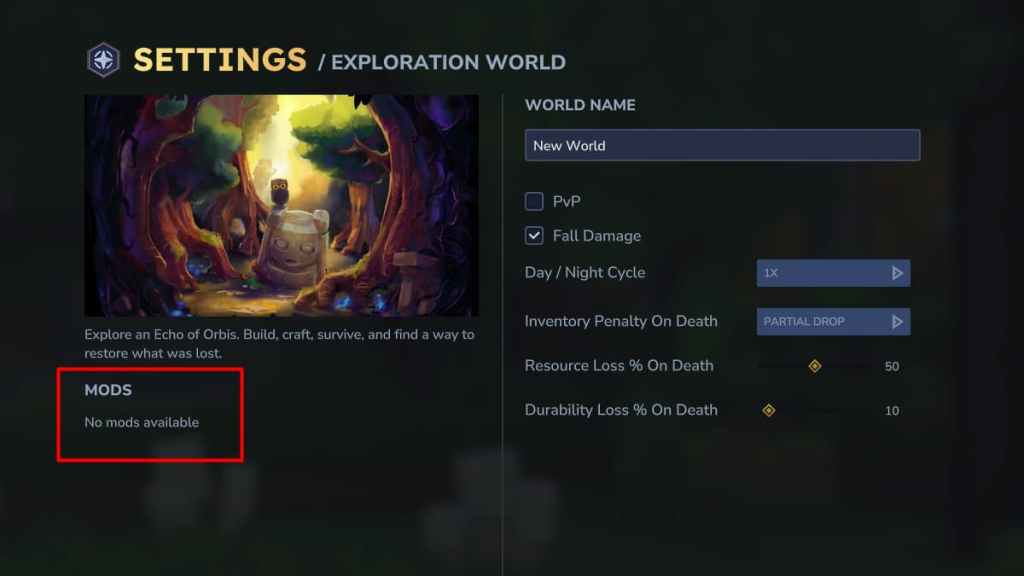
You first need to create a world and, once you’ve done so, quit and navigate back into the “Worlds” tab. Then, right-click the world you wish to modify, and you’ll find that a new “Mods” tab shows up under the image on the left, showing all the mods you have installed. Simply enable those that you want present in that world and press “Save world settings.”
And that’s it, the installed mods should be active on that world. You can change this at any time, toggling mods on or off, though be aware of the implications of removing crucial mods without starting a fresh world.


: Hints and the Answer for March 6, 2026 Puzzle Out Now")

Published: Jan 20, 2026 11:14 am