Ninja Gaiden Ragebound is the first game since Ninja Gaiden (2004) to revisit the story of the original NES game. Rather than follow Ryu Hayabusa on his journey to America, however, this game instead tells a separate story occuring at the same time as Ryu’s first adventure. While Ryu sets off for America, Kenji hunts down the Demons who led the attack on their home. The game relies heavily on two core mechanics: Guillotine Boost, which allows Kenji to use enemies and incoming projectiles as stepping stones to bounce higher into the air, and Hypercharge, which allows Kenji to perform a powerful instant-kill attack when certain conditions are met.
As Ninja Gaiden Ragebound continues, players will also take control of Kumori, a Kunoichi from the Black Spider Clan who specializes in throwing weapons and an assortment of special Spider Weapons, and who can traverse the Demon Realm. After forming an unlikely but necessary alliance, the pair sets out to defeat the Demon Lord. Scattered throughout each of the levels are collectibles called Crystal Skulls, which are usually well hidden and designed to test the player’s observational skills and knowledge of the game’s platforming mechanics.
Related
Ninja Gaiden: Ragebound Shows Off Action-Packed Gameplay
Sure to be one of the summer’s hottest 2D action games, Ninja Gaiden: Ragebound reveals a ton of new gameplay details weeks before its release.
All Crystal Skulls in Ninja Gaiden Ragebound’s Prologue
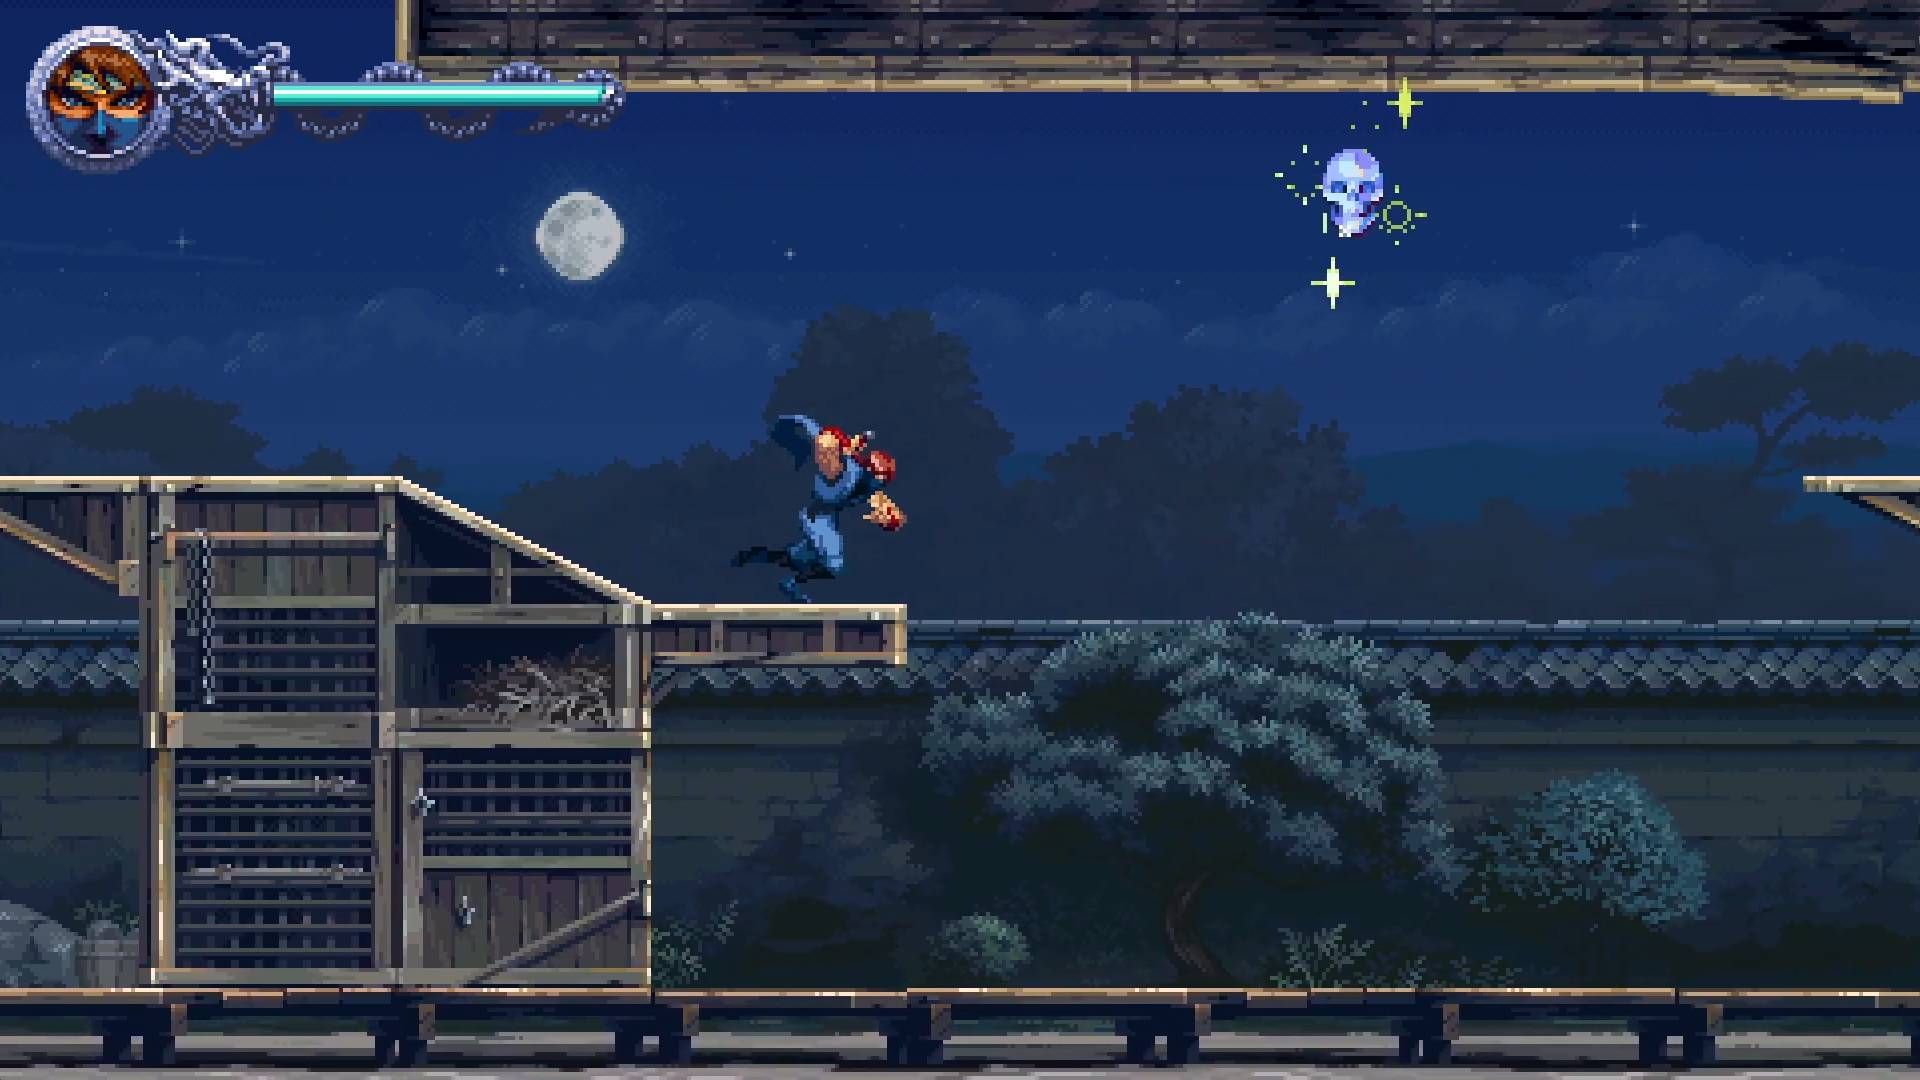
The Prologue follows Ryu’s Father, Jo Hayabusa, as he travels to the fateful duel that ends his life and begins the story of the original NES Ninja Gaiden Game (Not to be confused with the older Arcade Title). There’s only a single Crystal Skull to find here, and it’s easily spotted along the main path, as shown in the image above.
All Crystal Skulls in Mission 1-1 of Ninja Gaiden Ragebound
Mission 1-1 serves as a tutorial for more of the game’s core mechanics, offering a single Crystal Skull that, once again, is easily found along the main path. You’ll need to climb along the section of roof shown in the image above to collect it.
All Crystal Skulls in Mission 1-2 of Ninja Gaiden Ragebound
Mission 1-2 is the first mission of the game to contain multiple crystal skulls, hiding three in some surprisingly devious locations throughout the stage. You’ll need to traverse burning buildings and dodge raining fireballs to progress through this level, collecting the Crystal Skulls on your way to the game’s first boss fight.
Crystal Skull 1
A little after reaching the first checkpoint, you’ll be traversing through a burning building when an enemy climbs up through the floor below you. This is a hint that you can drop through the floor here, leading to a hidden room containing the first Crystal Skull, but picking it up will cause an ambush. Kill one of the flying skulls to gain Hypercharge, then slash one of the firebreathers with the shields. Rinse and repeat with the other skull and the other firebreather to escape safely.
Don’t worry too much about getting killed by the enemies after getting the Crystal Skull. As long as the animation showing it getting added to your collectibles finishes playing, you’ll keep the collectible even if you get reset to an earlier checkpoint. This can be especially helpful when dealing with some of the game’s trickier Crystal Skull and Golden Scarab placements.
Crystal Skull 2
This second Crystal Skull can be found by rolling through a small gap next to a checkpoint (image 1). To actually nab the Crystal Skull, you’ll need to use Guillotine Boost to bounce on the fireballs spewing from a jar in this room, allowing you to reach the Skull and bounce back safely.
Guillotine Boosts can be linked together indefinitely as long as you don’t miss the timing, so make sure you’re tapping the button just as you’re about to connect with the fireballs to bounce off them. Since Guillotine Boost creates a small damage zone around Kenji, you can use it from slightly further away than you might initially think.
Crystal Skull 3
The third and final Crystal Skull in this level can be found to the left of another checkpoint. Roll through the small gap shown in image 1 to reach a hidden section of the level. Head to the left, using Guillotine Boost and careful platforming to traverse the flames and reach the final skull. Grab it and then clear the level.
Rolling grants you invincibility frames, so you can also use it to dodge through attacks and through the flames on the ground, if your timing is right. Just be aware that the I-frame window is pretty small, so it won’t work very well on larger enemies and larger patches of flames.
All Crystal Skulls in Mission 1-3 of Ninja Gaiden Ragebound
Mission 1-3 is another mission with deviously placed Crystal Skulls, though overall they’re a bit easier to spot here than they were in Mission 1-2.
Crystal Skull 1
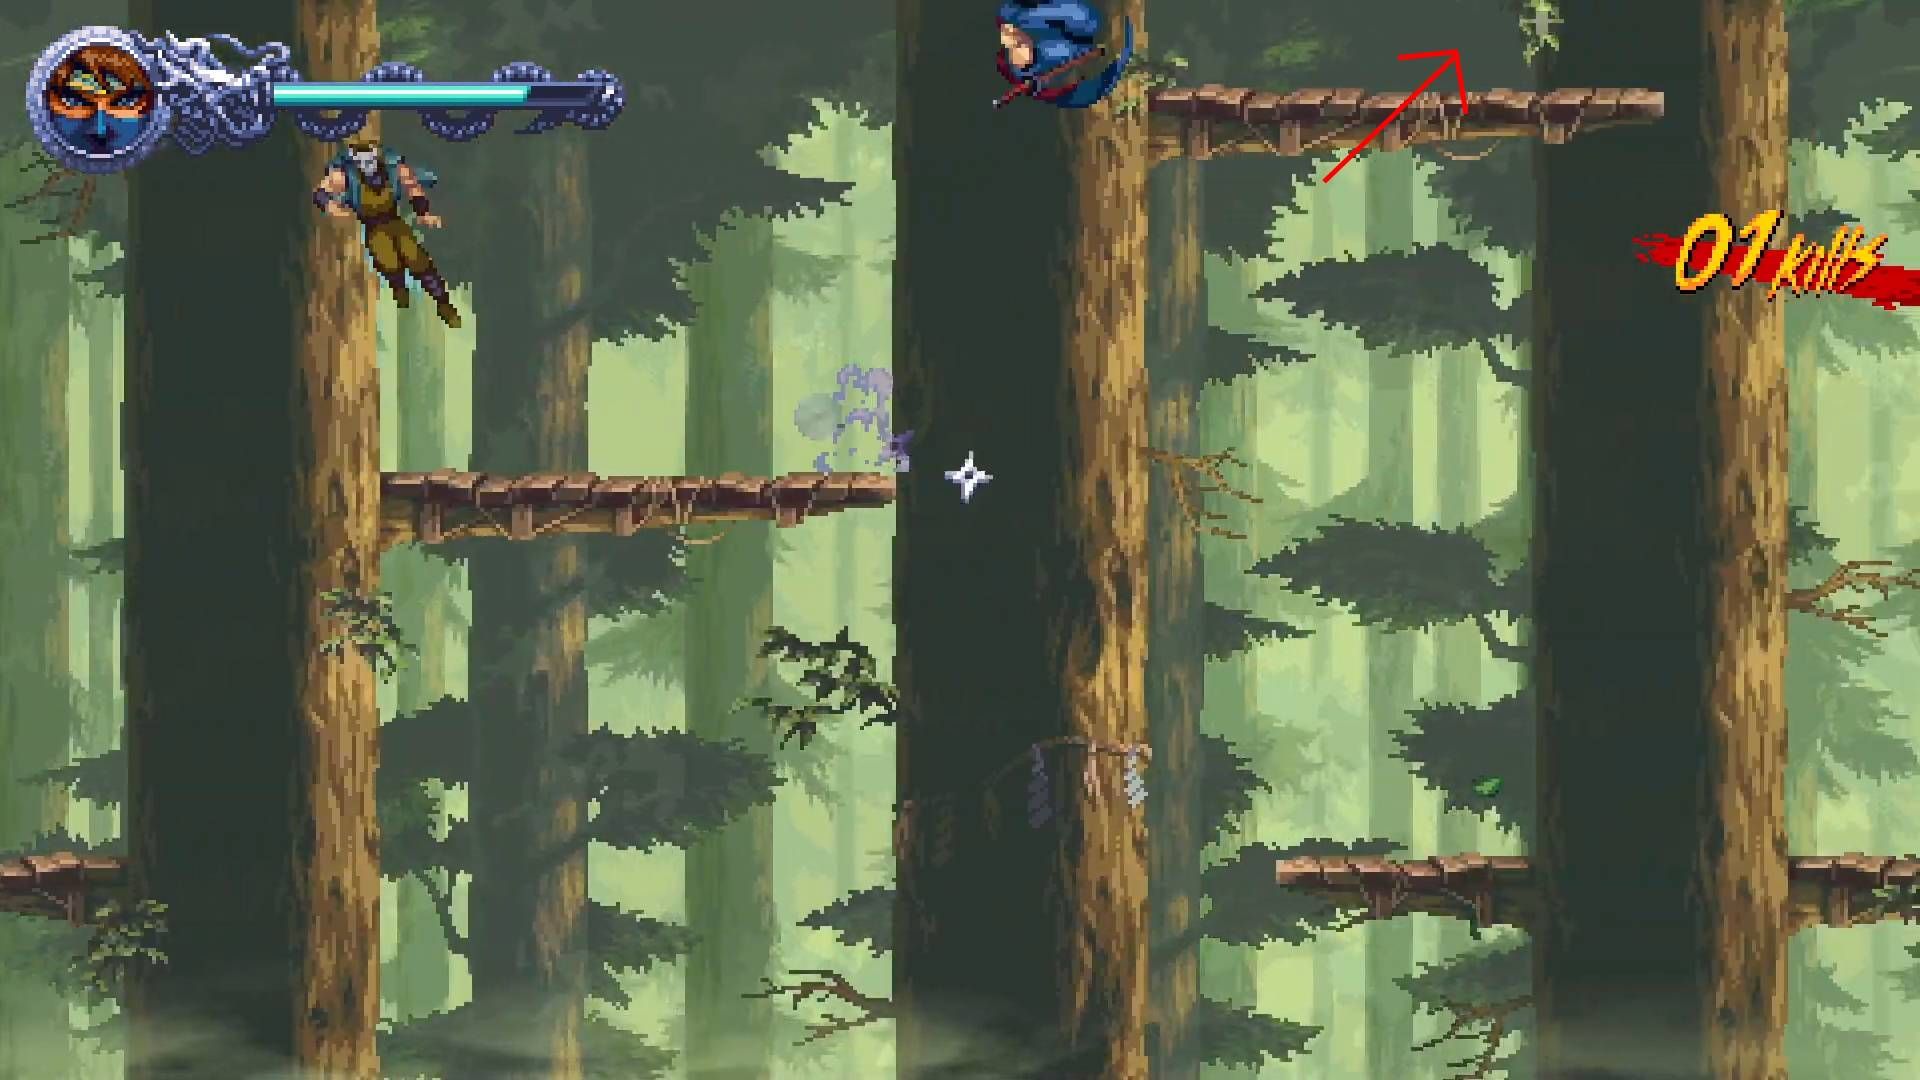
As you traverse the treetops halfway through the level, you’ll be able to climb up to a platform that hides this Crystal Skull. It’s near a patrolling jetpack enemy, and it’s not too hard to jump up there. Just watch your step, as falling into the bottomless pit below this section will send you back to your last checkpoint. Clearing this entire level without falling into a bottomless pit is one of the mission challenges too.
Crystal Skull 2
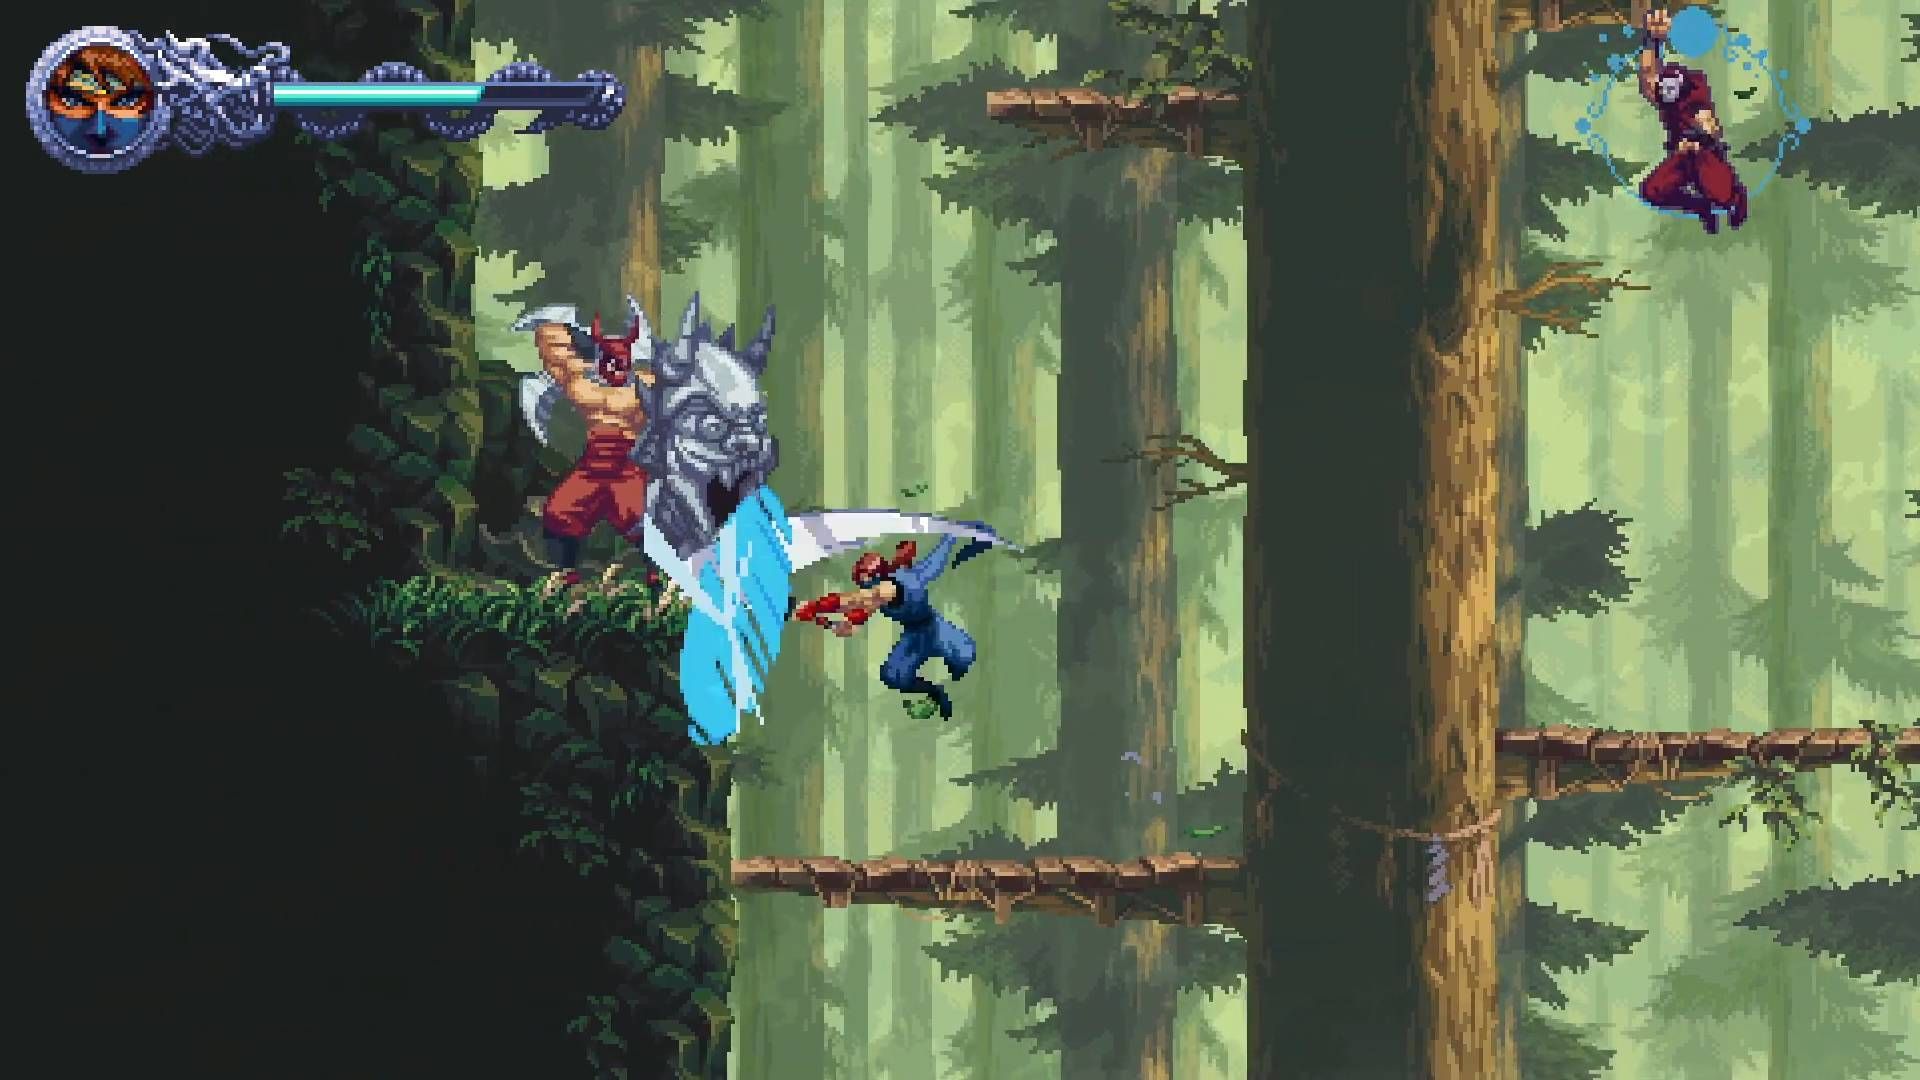
The second Crystal Skull in this level is currently held by an enemy. You’ll need to take out the shield-wielding enemy shown in the image above to get it. While it has a lot of health and can block attacks whenever it isn’t attacking you, you can cleave it in half in a single blow if you have Hypercharge. You can either manual charge at the cost of some HP, or take out the Ninja enemy in the upper right to get a Hypercharge instead.
This enemy throws a spinning blade out to attack you, and is only vulnerable to non-hypercharge attacks when it’s waiting for the blade to return and just before it throws it. This means it’s usually easier to just use a Hypercharge slash to kill this enemy, though if you’re patient and have good timing you can bounce off the thrown blade with Guillotine Boost and get in a swing, then jump and bounce off it again as it comes back.
Crystal Skull 3
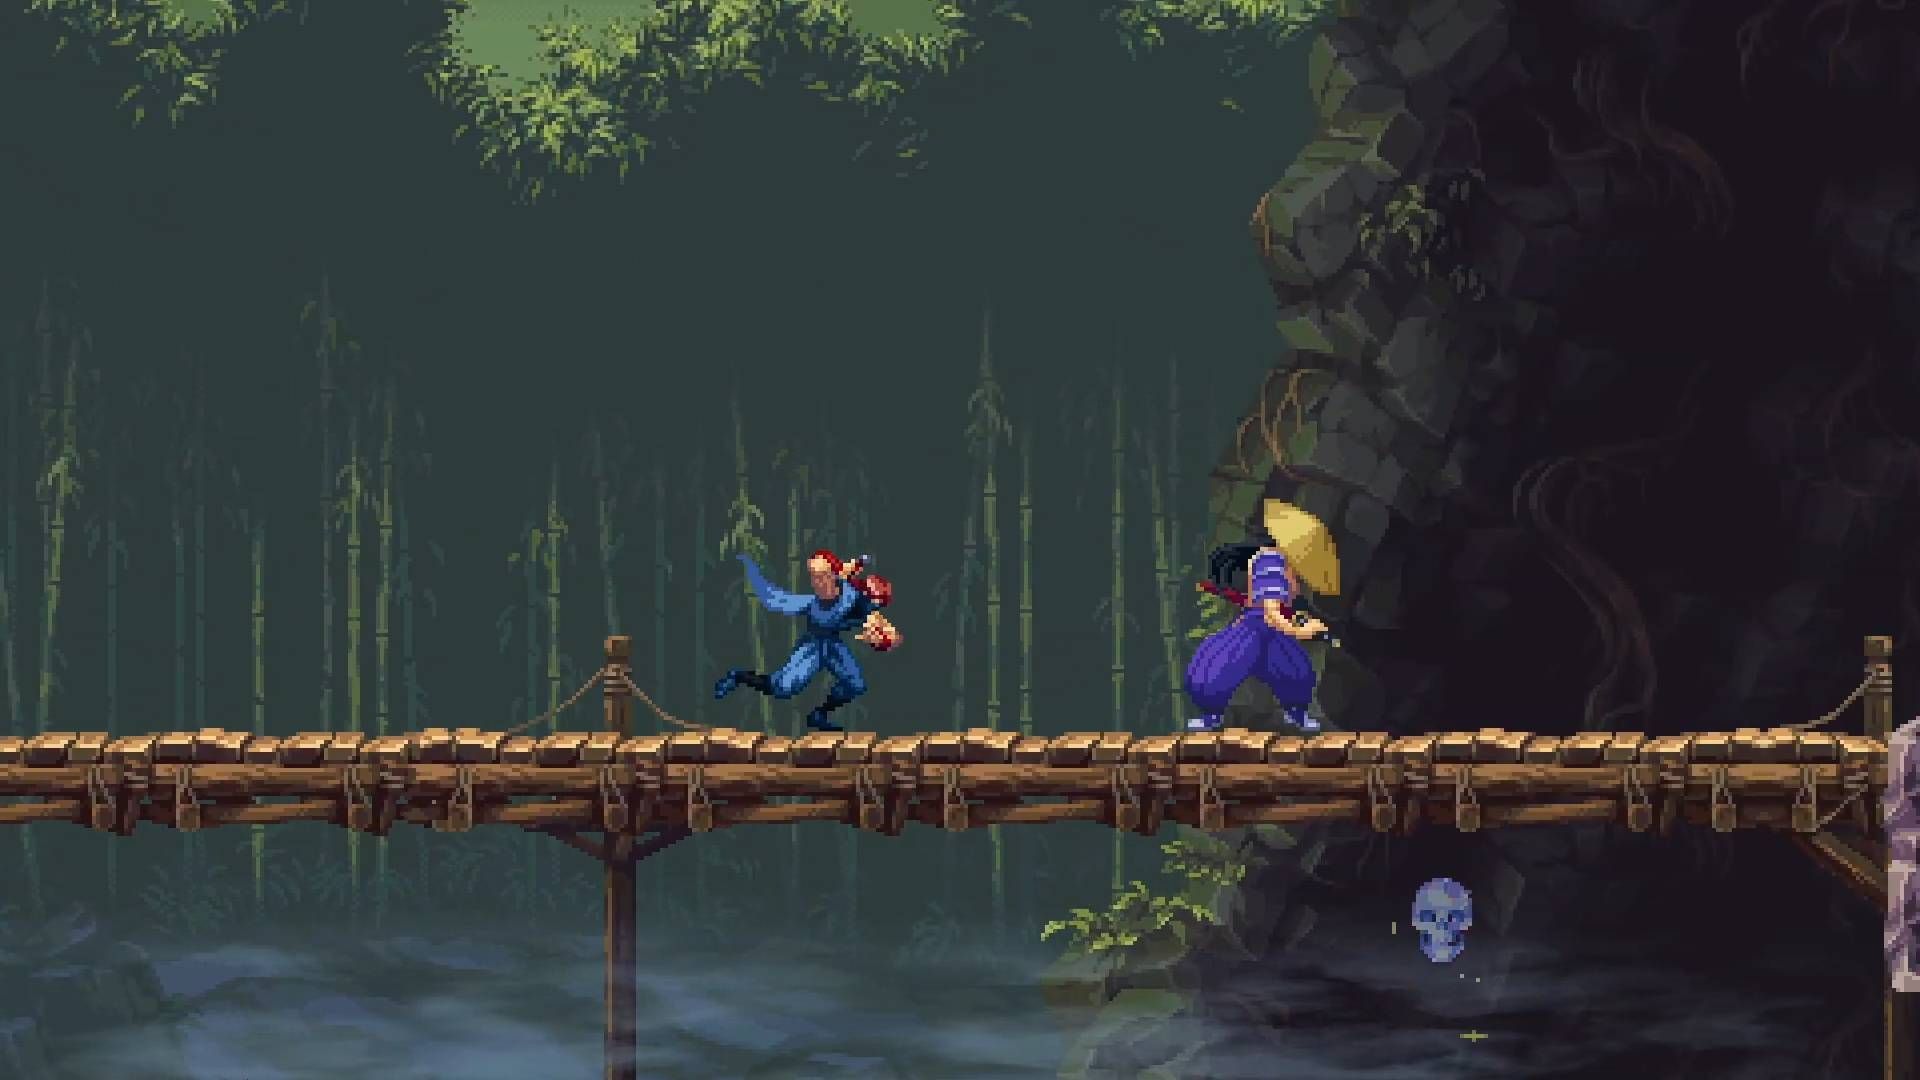
The third and final Crystal Skull for this mission is found toward the end of a bridge that a demon lights on fire when you start crossing it. You’ll need to quickly drop and hang from the bridge to pick it up. Dodge through the enemy on the bridge so they don’t clip you with their charging slash attack while you’re dropping down, and hop back up once you’ve nabbed the Crystal Skull to continue your escape from the advancing flames.


