
Co-op adventure title Big Walk has been making a massive impression in its first 24 hours, and it includes a host of different puzzles. Ideally, all the puzzles are best solved when you are playing in a party of four or more, with a minimum of two.
Disclaimer: Work in progress. You can find complete solutions for all puzzles in the opening area and the Red Tower that unlocks the map room.
Complete Big Walk walkthrough
For your convenience, I have broken down the puzzles into different sectors. The starting area will have the first puzzle you need to solve to open the drawbridge. This will then allow you to access the other parts of the map and proceed to the advanced towers.
Drawbridge
There are four puzzles to solve to get the gourd-like collectibles required to open the drawbridge. You can solve the puzzles in your preferred order.
Blue Room puzzle
One of you will be locked in the blue room, and you’ll then have to tell the other person the pattern displayed. They will need to use your spoken clues to recreate the pattern using tiles on a pegboard.
You can find the Blue Room by hugging the starting path and going left.
Green Structure puzzle
There will be switches at specific points. All the switches will have to be activated at the same time to unlock the gourd-like collectible. This is located on the left side of the map.
Mechanical Arm puzzle

You’ll find the Mechanical L-shaped structure right at the bottom of the starting path. You’ll need to stack other players one on top of another to reach the switch. Activate the switch, and you’ll get your gourd.
Cave puzzle

The final one is located in a sealed box around the rocks. Use the telescope located to the right of the map to activate the box and mark its location. One player needs to stay back to keep the box activated, while another one can pick up the gourd-like structure.

Once all four collectibles are placed, obtain the key, and put it through five key cutters located around the spot. Three of them are to the north, while the remaining two will be on the beach.
Place the key to open the drawbridge. Move to its end, and you’ll open the starting area. You’ll no longer have to travel the drawbridge. You’ll also notice a blue doorway with a key cutter and a locked door. This is the map room, and to open it, you’ll need to solve the Red Tower puzzle.
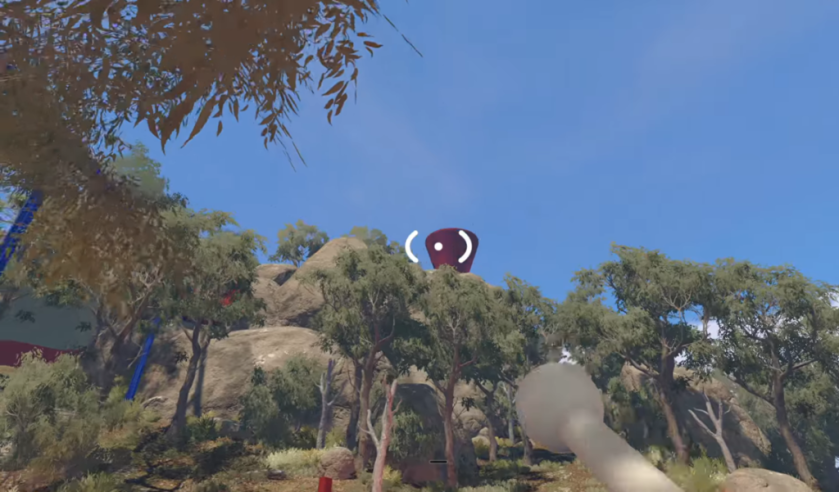
Red Tower
To reach the Red Tower, take the path going up the hill (easy to identify by the red-colored key cutter). Unlike the previous puzzle, you’ll need to solve five challenges to unlock the key placed on the roof of the tower.
Green Room puzzle
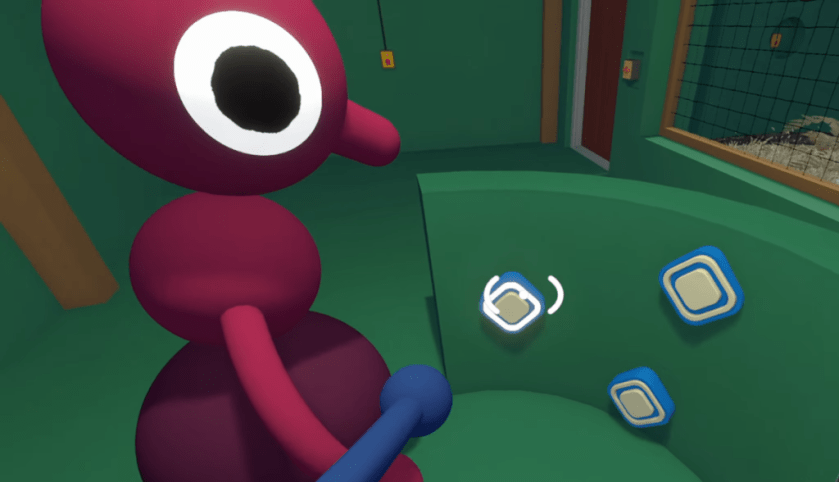
One player has to be locked in the green room with the terminal. They will have to call out the symbols that are displayed. The player outside the green room will have to press the same symbols to complete the puzzle. This will unlock a collectible.
Yellow Maze puzzle
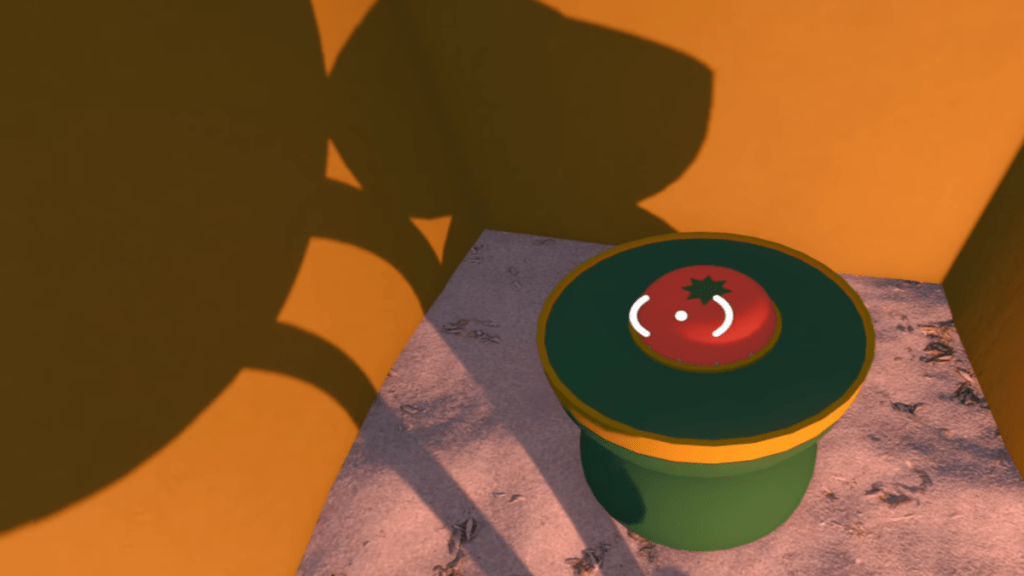
This is a rather simple one to solve. One player goes to the left, while the other moves to the right. The player on the left path will have to hand over the timer, while the other player needs to place it on the green pot to complete the puzzle.
Train Station Cannon puzzle
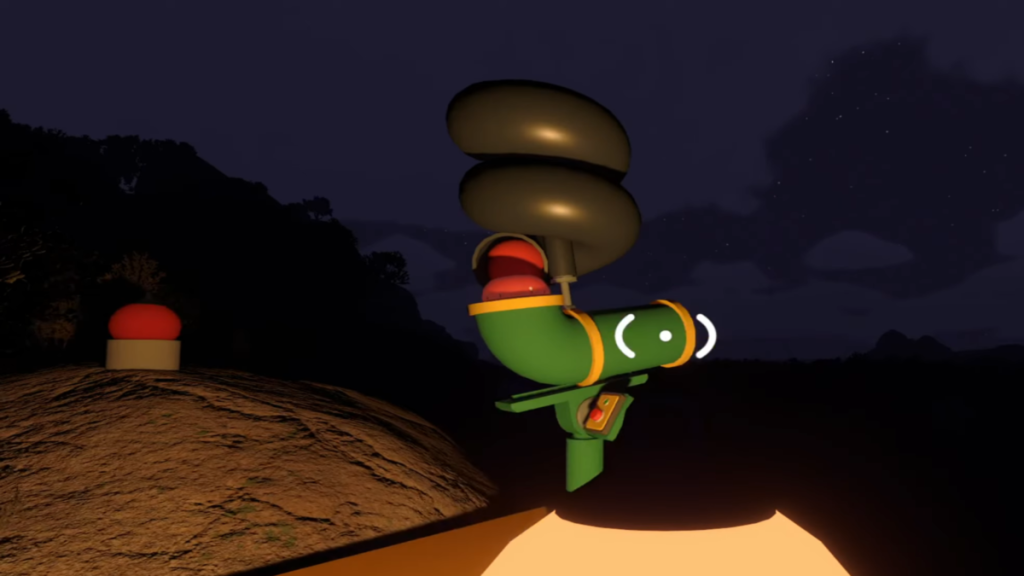
One player will need to activate the cannon that will shoot a timer. The other person needs to quickly chase the timer and return with it on the platform before it runs out. Once they’re near, they will have to throw the timer to their partner on the platform. Place the timer on the green pot, and the puzzle will be done.
Basketball Court puzzle
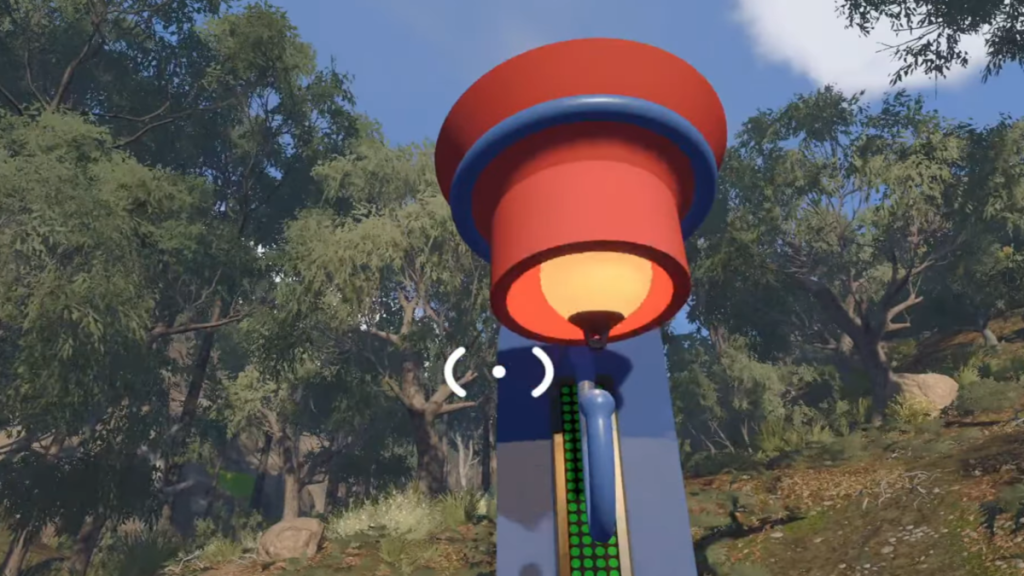
This is the easiest puzzle to complete. Both players will have to pick up the light bulbs and throw them through the baskets. Do so until all the lights turn green.
Mountain Gesture solution
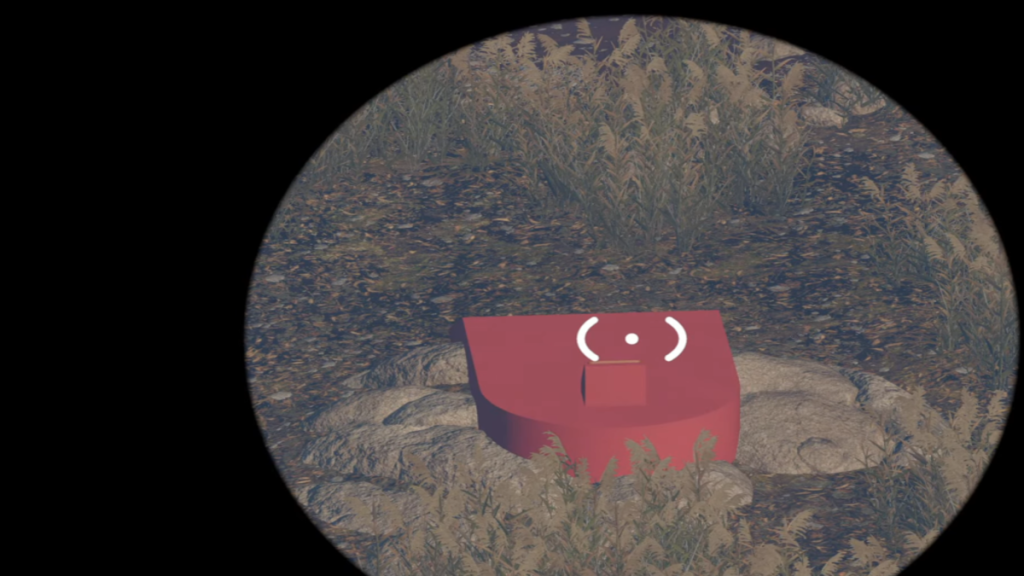
One of you has to stay on the overlook point and check five different platforms using the telescopes. The other partner will need to head to the platform and relay the correct gesture. They have to do so with their arms and body, but having a binocular is necessary.
The player on the overlook point will then need to pick the correct gesture card to match what was shown to them.
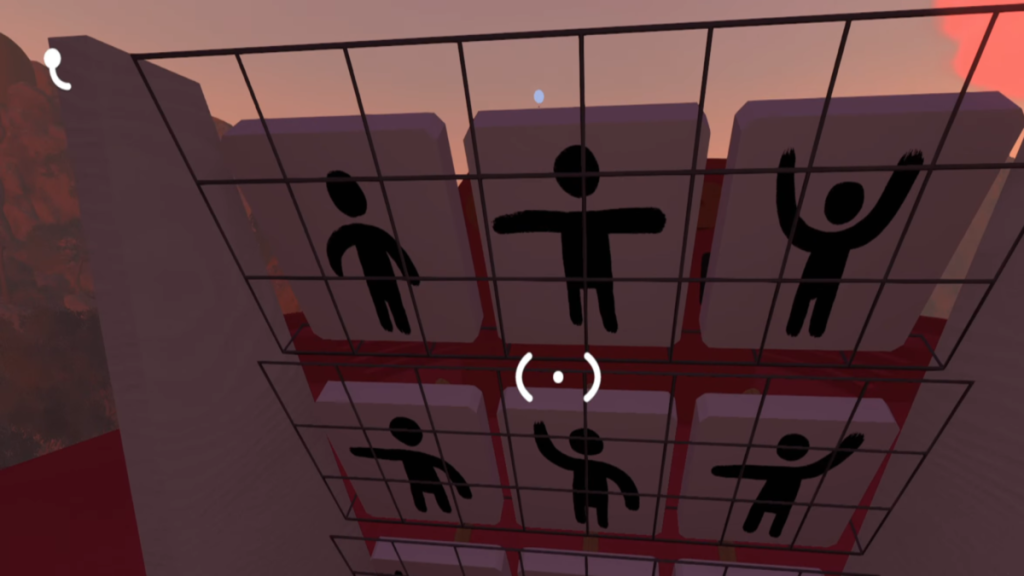
Once done, you’ll get the final collectible. Head to the top of the Red Tower, and you’ll get your key. Put it in the key cutters, and use it to unlock the Map Room door. Once done, you can now proceed further to solve the Green and Blue Room puzzles.
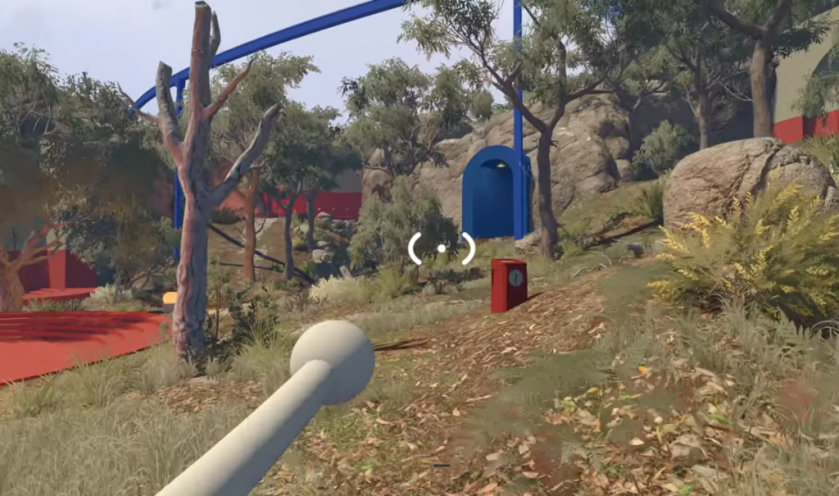
Before we proceed to solve either the Green Tower or the Blue Tower puzzles, go back to the Map Room. You will need the foldable map you can find here to proceed to the next levels.
Make your way past the red tower and go to the spot where we solved the Timer Cannon puzzle. Here you will find the 4166, 1899 puzzle, and this will be the first one for the Green Tower.
Orange Barn puzzle
I stumbled onto this location accidentally with my buddies, and this turned out to be the first one we solved for the Green Tower. Press the buttons close to the two doorways, and you will unlock the collectible. However, you will find yourself trapped inside the room.
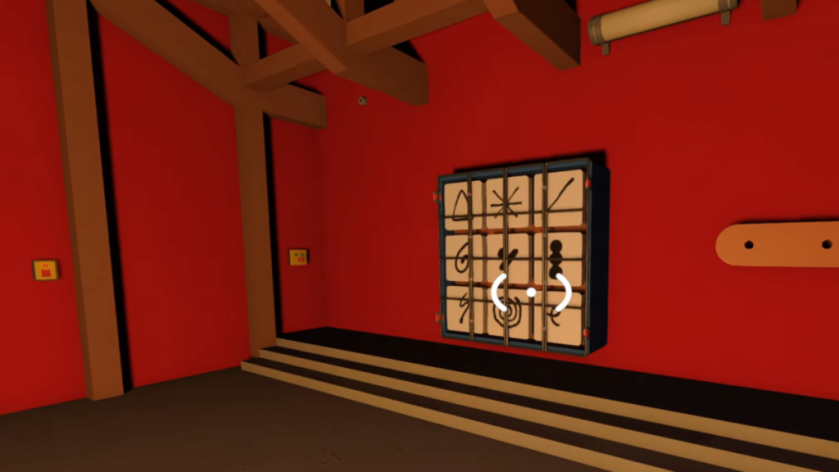
The player on the side of the collectible will have to locate a second set of switches in one of the pillars. Activate the switch, and the same player can then find a displayed pattern with different tiles. For this level, you can’t directly communicate with your partner.
To solve the puzzle, one player has to pick the correct tile and place it on the pegboard while being instructed by the other player. Since you can’t speak, you can always use your gestures to help your buddies. You can also hit the barrier to make some kind of sound-based signals.
Once the tiles displayed on the pegboard exactly match the one that was displayed, you will remove the barrier and solve the puzzle.
4166, 1899 puzzle

When you come across this puzzle, you will find a locked collectible in a box. One of your teammates will have to start the location to pick the collectible when the box gets unlocked. The other person has to use the map and head to the coordinate. This location is located in the south of the map.
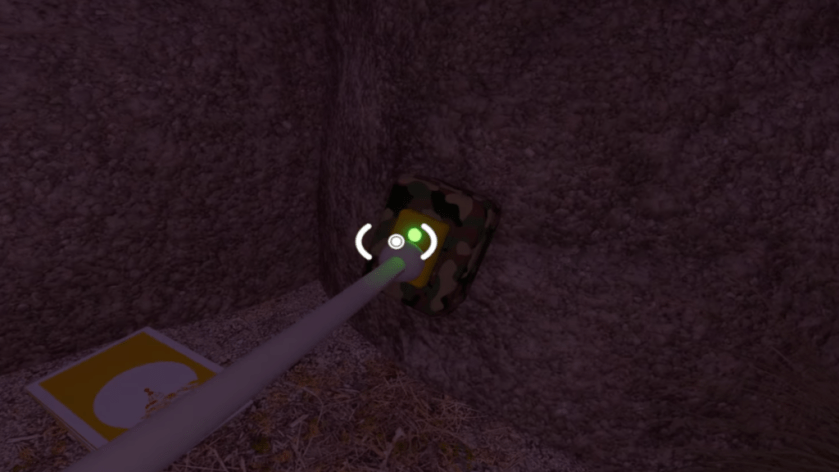
Once you arrive at the coordinate, look for a switch hidden behind one of the rocks. When you press the switch, the collectible box will unlock, thereby completing the puzzle.
Blue Signal puzzle
Near the switch is a set of blue signals you will find within a green structure. It’s right by the broken-down trend, so it is hard to miss. To solve the puzzle, first activate the switch that’s on the entrance.

Next, you have to count the number of faces shown on the blue signals. The number of faces will be completely random, and you need to place your teammates in such a way that all the signals are visible.

Once all the faces have been displayed, enter the correct number that was shown on the signals. If your entry is correct, you will complete the puzzle and unlock another collectible required for the Green Tower key.
Yellow Stand puzzle
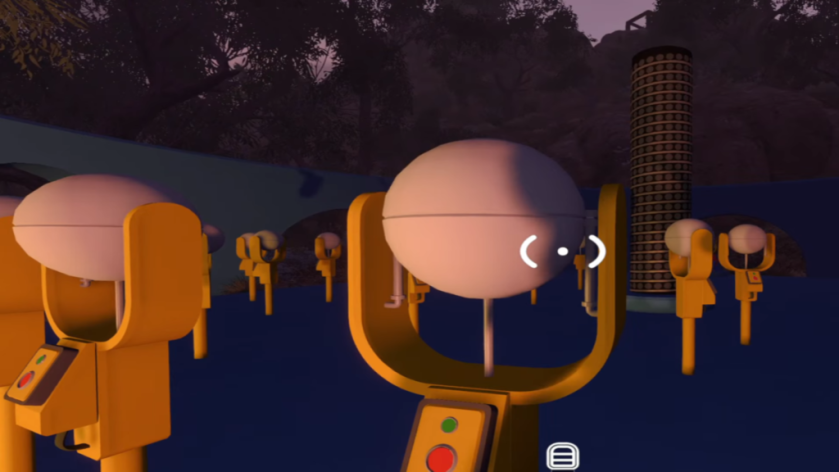
I’m unsure if I’m calling it correctly, but you will find several of these yellow stands in a circular room near the green tower itself. Go to the collectible, and you will find a switch to complete this puzzle.
You have to activate only those yellow stands that have a green displayed element in them. Guessing the correct one will fill up the meter, and the objective is to get it to 100%.
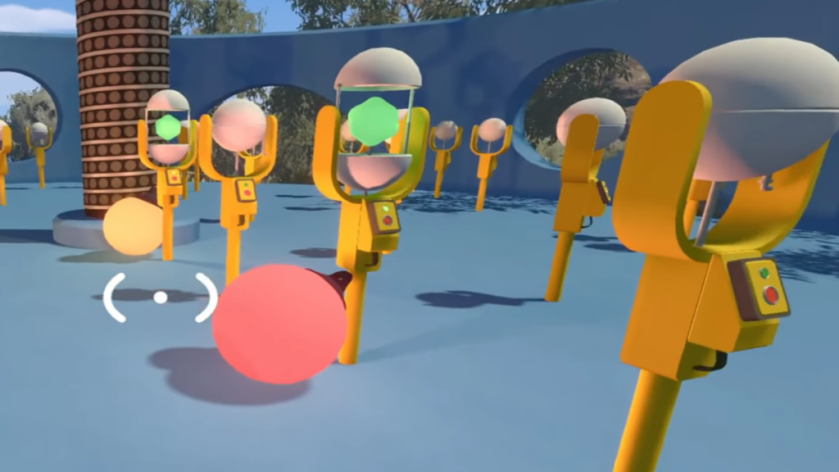
If you accidentally pick or make a wrong choice, press the button right next to the collectible. That will reset your picks, and you go again. Honestly, this puzzle took a lot of time for our group to solve, and it can be really frustrating. Ideally, I advise bringing a huge number of those light bulbs to mark the correct selections.
There also doesn’t appear to be any set pattern, which makes things ten times more difficult.
Beach House puzzle
If you reach the green tower, you will find a red platform nearby. The platform has a set of coordinates displayed on it. Just go north from the platform and towards the beach. You will find a couple of buildings on either side.

If you check the image above, one player needs to enter the beach house shown in the far corner. First, they will find a switch to activate on the ground floor. It will display a fixed number of images similar to the Blue Signal puzzle. This is located right by the collectible itself.

Next, the player needs to head upstairs and use the tiles to pass a hint to their partner. You will find three different tiles. You have to use them to display the correct number of images that you saw:
- The triangle tile is equal to 10.
- The single line tile is equal to one.
- The asterisk tile is equal to five.
You have to combine the tiles accordingly. Once done, press the button, and the pegboard will shoot upwards.

As I mentioned, there is another room, another building by the beach, that has a telescope. You need to use the telescope to check the number that was shown on the board. Without the telescope, it is impossible to pass this message unless you have a walkie-talkie.

Enter the number, and you will have unlocked the final collectible for the Green Tower key.

Head to the top of the tower to get your key. You will find five key cutters near the tower itself. Once the key is shaped, take it to the nearby chairlift area to activate it.
Stay tuned for further updates on the Blue Tower puzzles.


