
Probably Stolen is much more than running your cyberpunk-themed store, since you’ll come across unique NPCs. Not only will they make personal requests, but some of them will also hand you crucial clues along the way.
In this guide, I will discuss all the events that will take place across two in-game weeks.
Probably Stolen Week 1 walkthrough
The first week is where you begin your trade and set up your shop. First, pick a Specialization from the complete list of options available. Easiest one is Apprentice if you want things to begin smoothly.
Next, pick the starting Perks that you’ll want to shape your save. Similarly, you can pick from between three different difficulty modifier options. The game will give you a quick tutorial of the overlay, and you’re all set then for your first piece of business.
Day 1
There will be five customers to attend, and you can call them using the green button near the recorder. At first, you’ll find your mentor who guides you about the basics. The customers who appear will be randomized, so the ones I encountered will be different from the ones you do.
Ideally, I looked to buy all types of food items since they can be sold for a profit. You’ll also be provided with a list of criminals; if one of them appears, make sure to inform the authorities. This specific encounter is fixed for all players.
Day 2
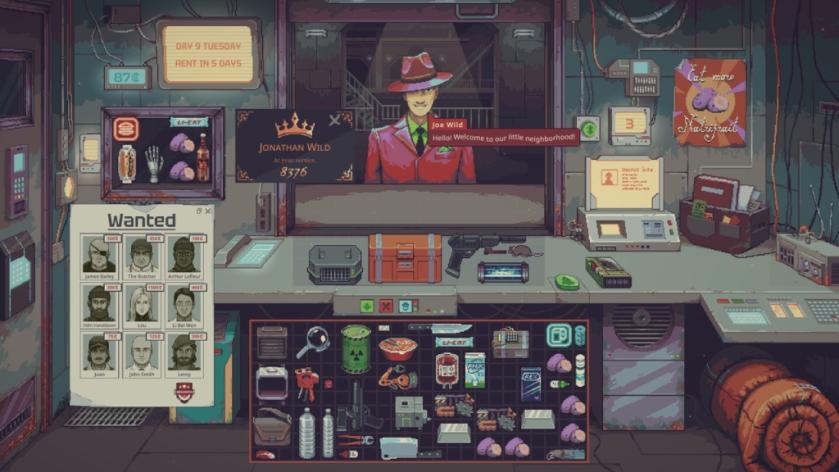
Again the same pattern follows, and you will have four customers to attend to. Once again, I looked to purchase any food item they had, or discounted stuff they looked to sell for cheap. Do note that not every discounted item will be profitable, but you ultimately go green eventually.
After the second day, you’ll be able to visit the Dumping Ground. Once you exhaust all attempts, pick the most valuable item and return.
Day 3
On the third day, you’ll have six customers to attend. However, one of them will be your mentor, and you’ll learn about how to check discrepancies. You can use your magnifying glass to inspect closely whether the product you’re about to buy has any defects or not.
Day 4
On the fourth day, you’ll come across the labeler. The labeler allows you to fix counterfeit items that raise their values. I also came across one of the six criminals notified on day, and decided to call the authority.
Day 5
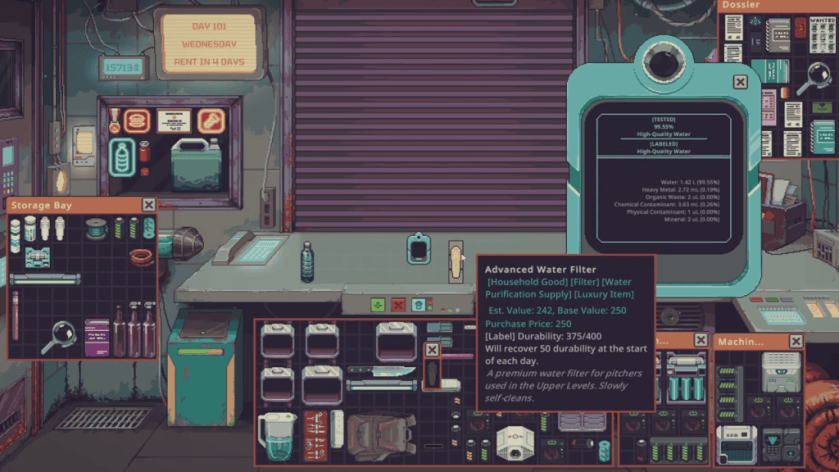
On the fifth day, you’ll get to establish your display case. You can keep an assorted list of items in this case. Do note that the types of items will keep will attract different kind of customers to your shop. On my run, a second bounty target appeared, and I once again decided to call the authority on them.
Day 6
The sixth day didn’t have anything worthwhile happening on my run. By now, you’ll find some really valuable items to purchase from few customers. If you have the credits, don’t hesitate to buy.
Day 7
The final day of the first week has the highest number of clients to meet. Moreover, you’ll get to encounter someone named Wild, and you’ll learn about upgrades. Known as Wild’s Favours, you can pick from a wide variety of upgrades.
Your picks will largely depend on how your run is proceeding, and what kind of items you need.
Stay tuned for the walkthrough for the second week and all its days.


