
Tracking down all of the Halo: Campaign Evolved skull locations is a significant undertaking. While there were only ten of these in the original game, there are now 39 to find, including a bonus you get when you acquire your first three skulls. That amounts to three-per-mission, all unlocking new modifiers you activate during the campaign.
Some require you to play on higher difficulties, use other skulls to get them, or even pull off tricks like grenade jumps, so you’ve got your work cut out for you.
All Halo: Campaign Evolved skull locations
There are 39 skulls to find in Halo: Campaign Evolved, plus once you find three skulls, you’ll automatically unlock an additional three skulls used only for the Campaign Remix mode:
- Armistice – Enemy factions never fight one another
- Adaptation – Randomizes the enemy factions present in the mission.
- Reload – Randomizes the pre-placed weapons in the mission.
There are three skulls in each mission, including the bonus ones, so I’ll list each as you’ll encounter it, the effect, plus the best Rally Point to use to be close to them.
Pillar of Autumn skull locations
1. Speed Limit
(Image credit: Halo Studios)
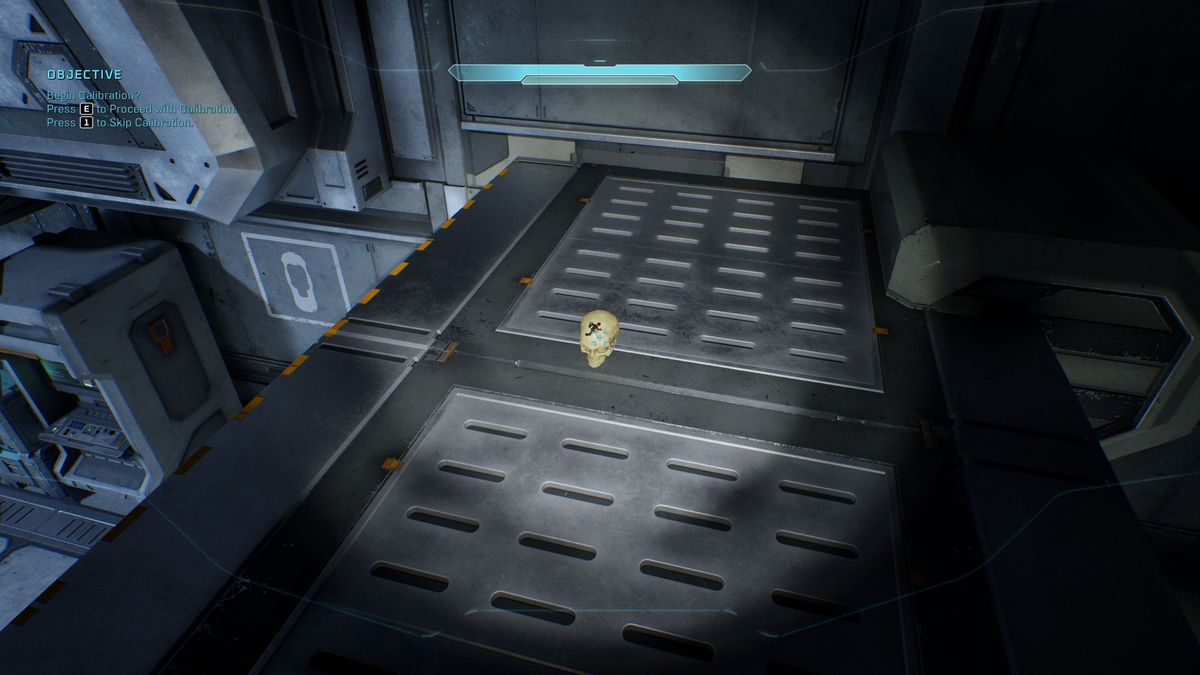
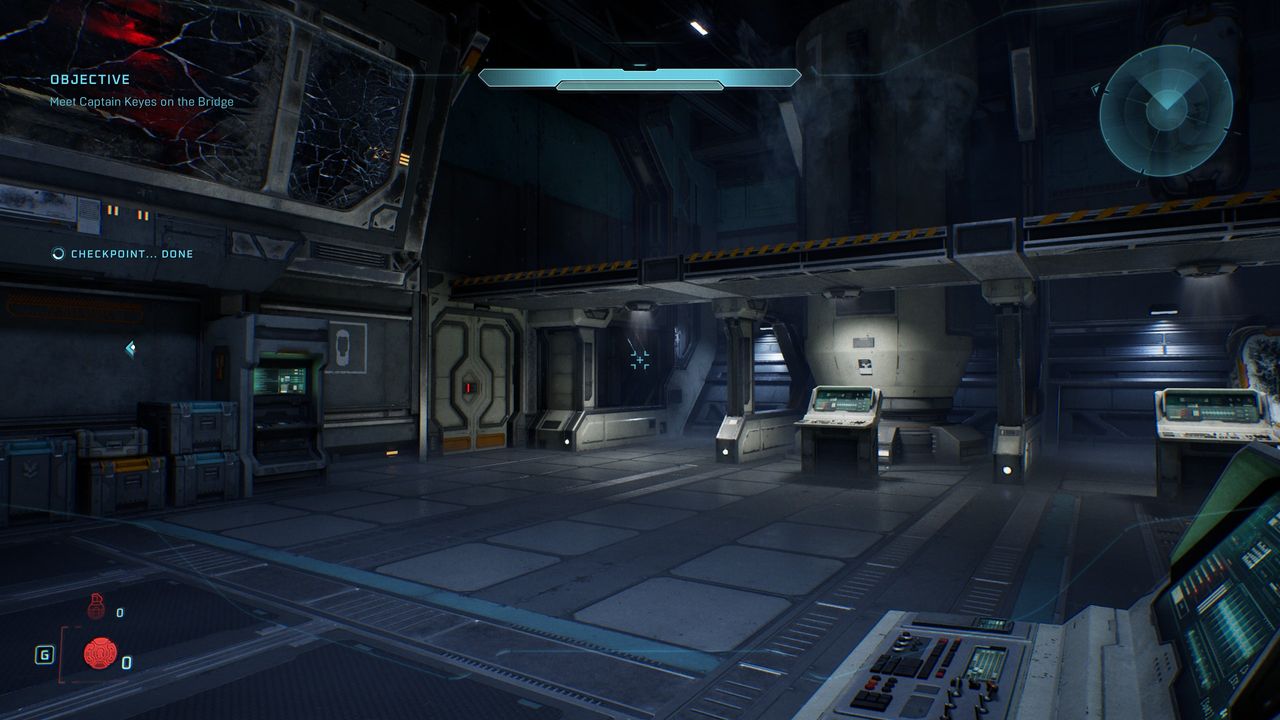
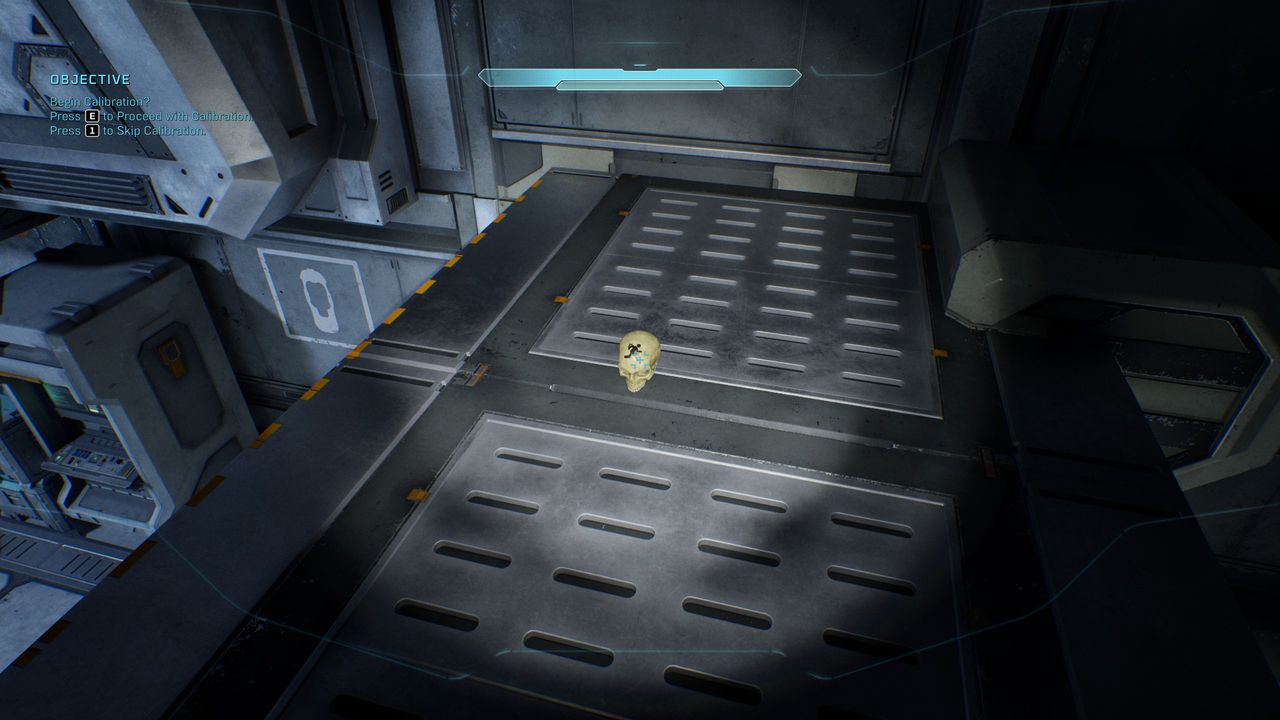
- Effect: Disables sprint
- Rally Point: Alpha
As soon as you exit the cryo pod, this skull is on the raised platform to your right, directly above the door. Head right into the alcove with the cryo tank, ascend the slope at the back so you can jump on top of it, then jump onto the platform and go right to find the skull.
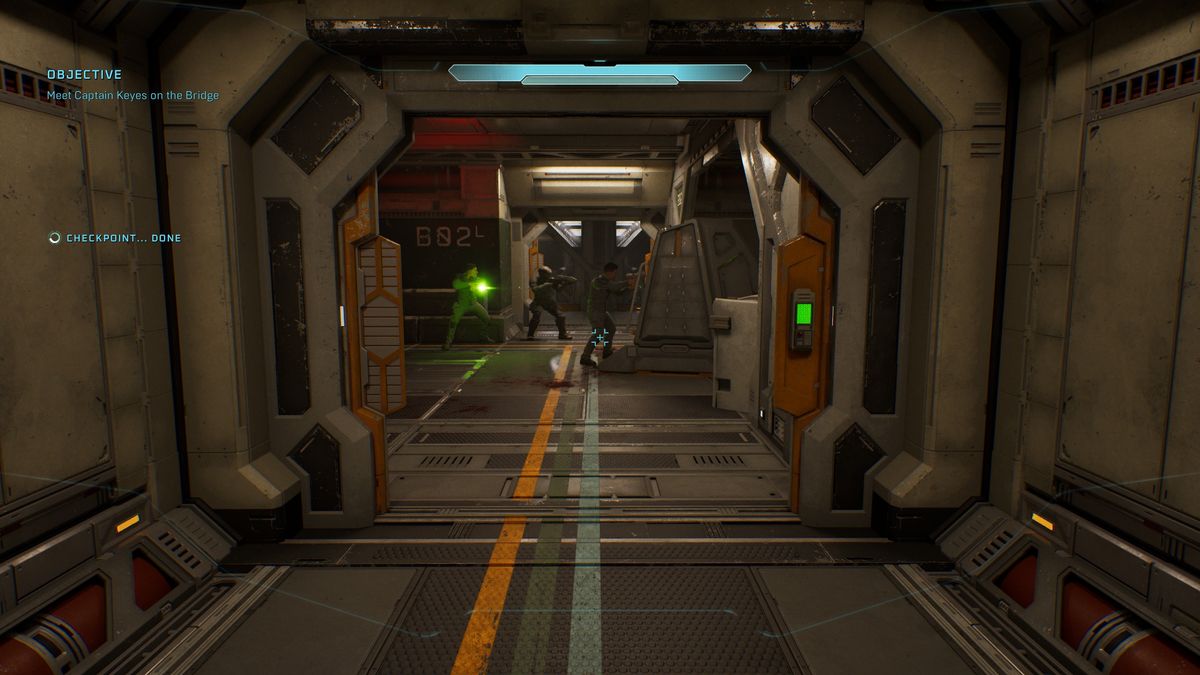
2. Magnified
(Image credit: Halo Studios)
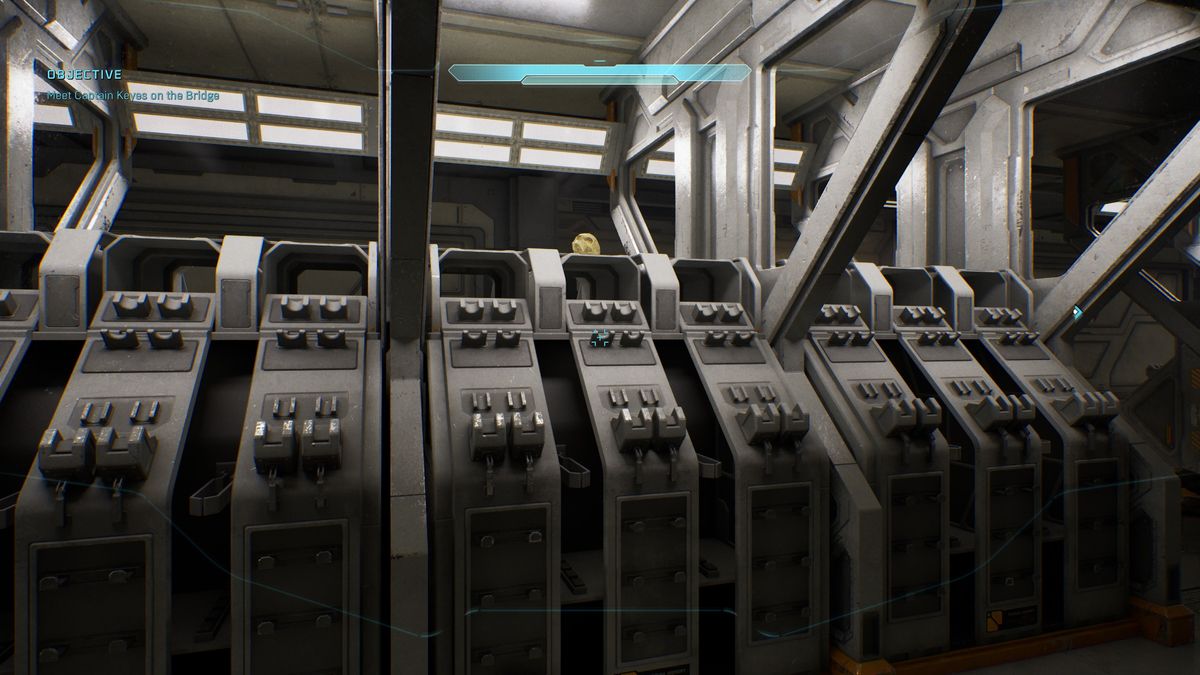
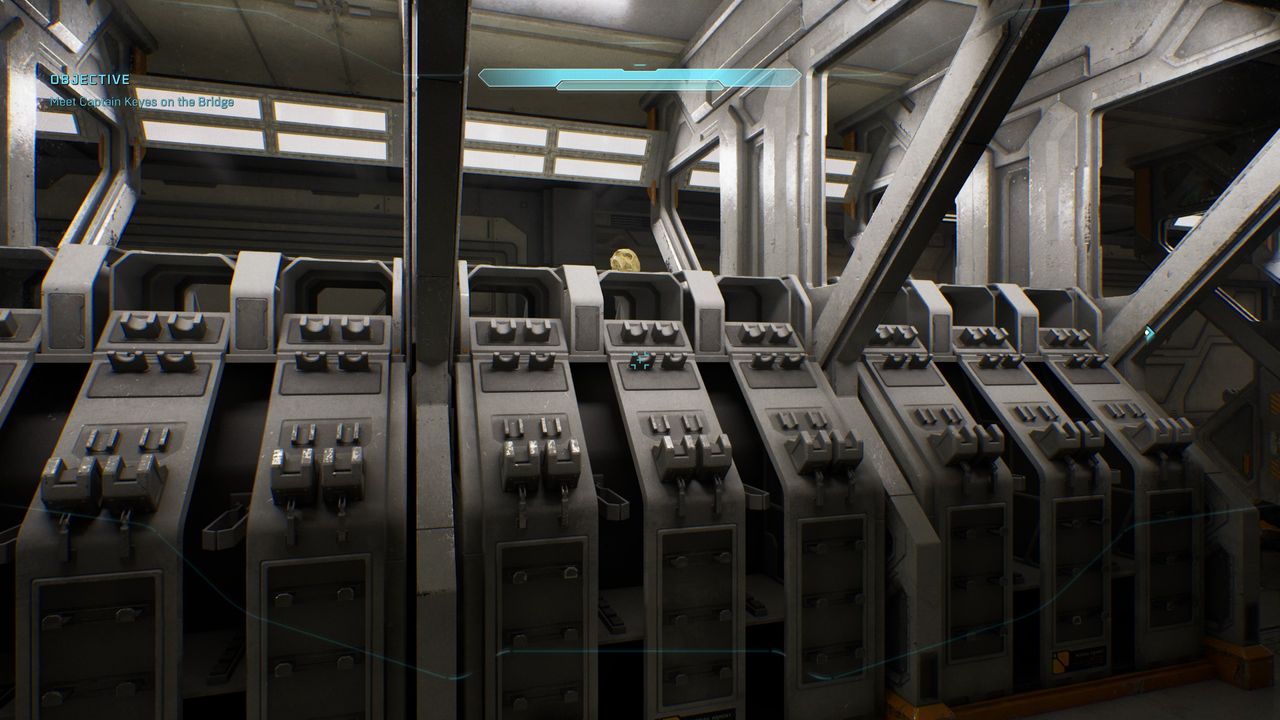
- Effect: 60-round magazines for the AR are now standard issue.
- Rally Point: Alpha
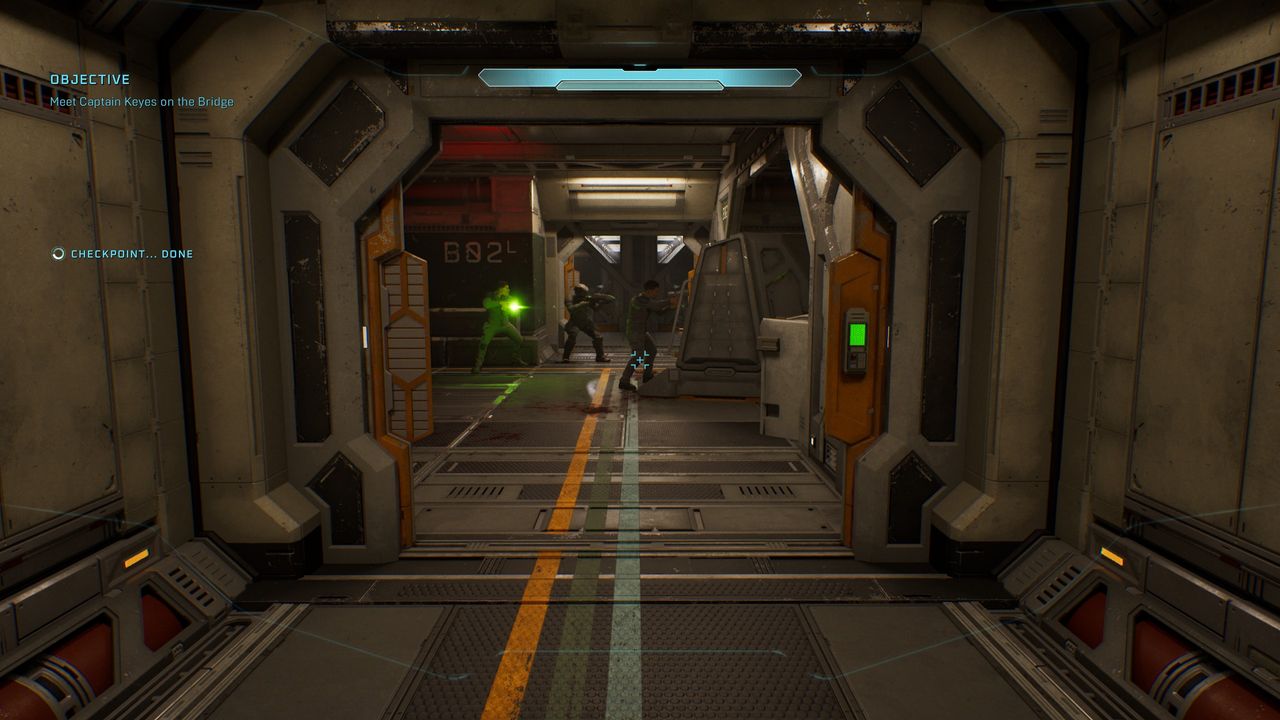
After the previous skull, continue through the mission towards the bridge until the door opens and the Elite jumpscares you. Carry on down the corridor, past the marines at the barricade, and into the room with all the weapon racks. The skull is just on top of one of them to your left.
3. Perspective
- Effect: Changes the player camera to third-person.
- Rally Point: Bravo
After the cutscene on the bridge of the Pillar of Autumn, head back inside, find the two pilots sitting at the front of the cockpit behind Captain Keyes, and drop down into the space below them to find the skull.
Halo skull locations
1. Grunt Funeral
- Effect: Grunts die in a blaze of plasma.
- Rally Point: Charlie
After you emerge from the underground section with the Warthog, continue on, turn left over the river, and follow the trail to find a Forerunner structure where you have to rescue a group of marines underground. If you climb the stairs to the top level of the structure, the skull is on top of the middle section halfway up, just by where the pillar of light emerges. You’ll have to jump up as far as you can then grenade jump to reach it, as shown in the video.
2. Give and Take
(Image credit: Halo Studios)
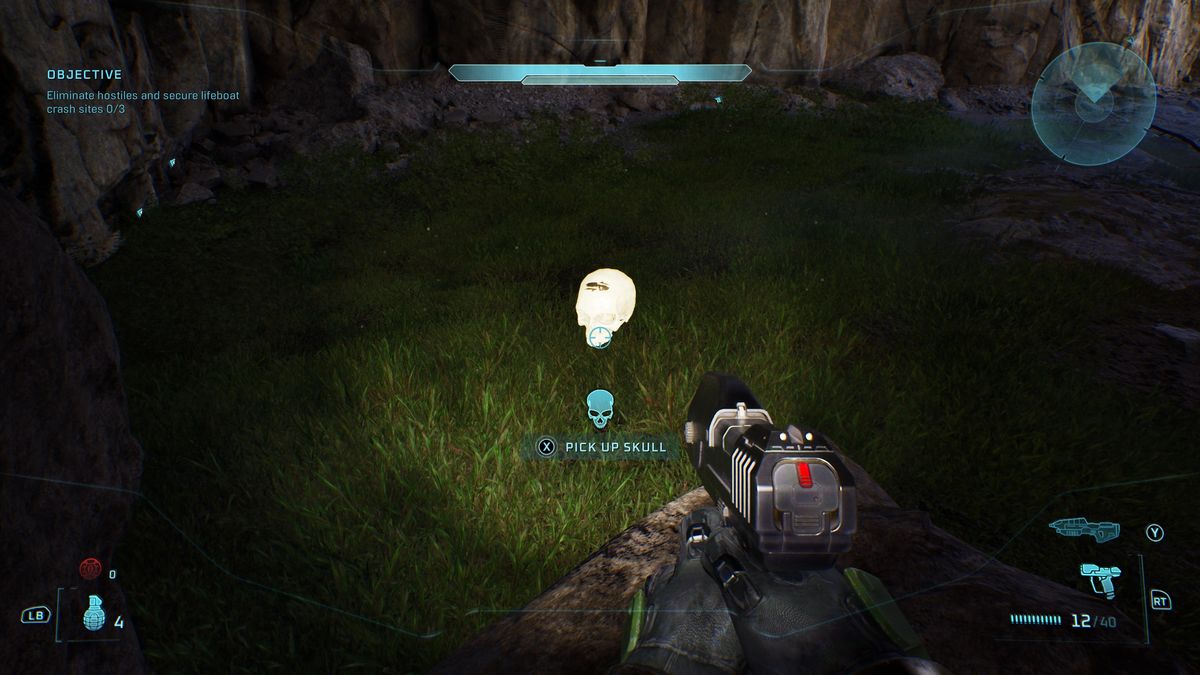
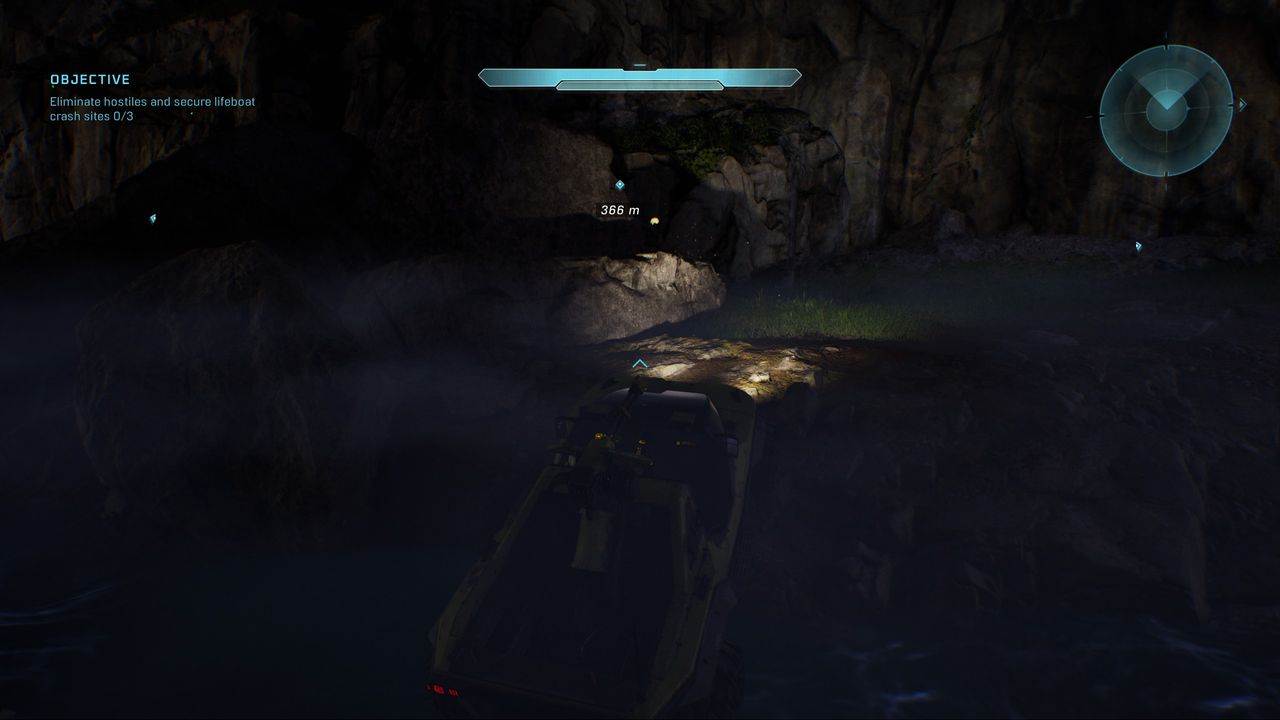
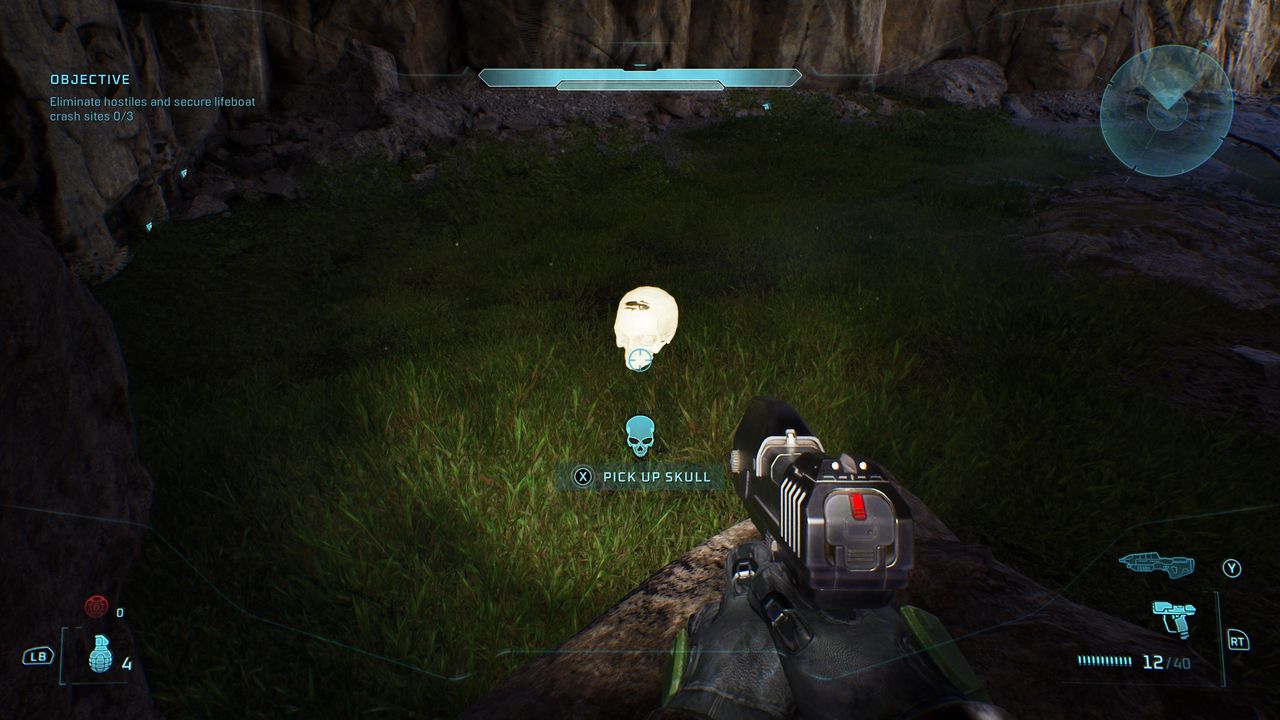
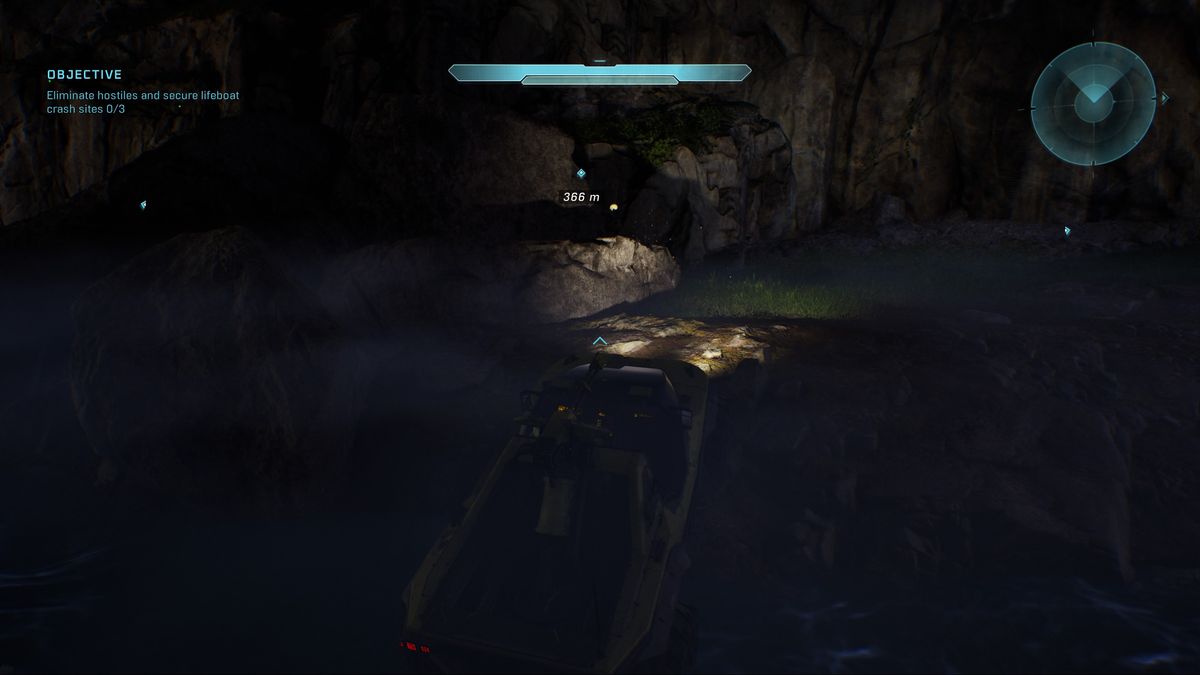
- Effect: Firing your weapon drains your shield, but dealing damage to enemies recharges it.
- Rally Point: Charlie
From where you emerge from underground with the Warthog, follow the river on the left until it splits, then follow it right until you reach a cave. Passing some green fireflies above you, you’ll spot the skull hovering above a rock to your left.
3. Floor is Lava
- Effect: Take continuous damage whenever touching the “ground”.
- Rally Point: Charlie
After you exit the underground with the Warthog, head right to the crash site with all the big rocks and Jackal snipers. Go up to the top of the grassy area near where the marine sniper is, jump right onto the other grassy rock, then drop down onto the big rock in the centre below to find the skull, as shown in the video.
Truth and Reconciliation skull locations
1. Iron
(Image credit: Halo Studios)
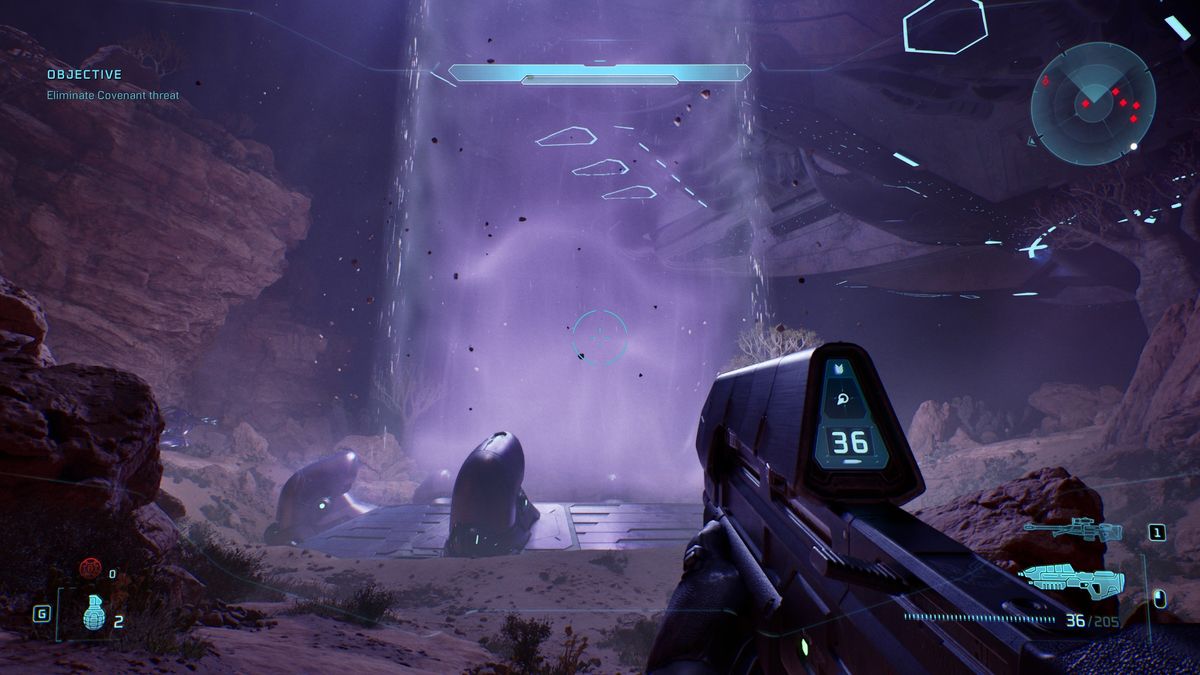
- Effect: Dying in co-op resets you to your last checkpoint, dying in solo restarts the level.
- Rally Point: Alpha
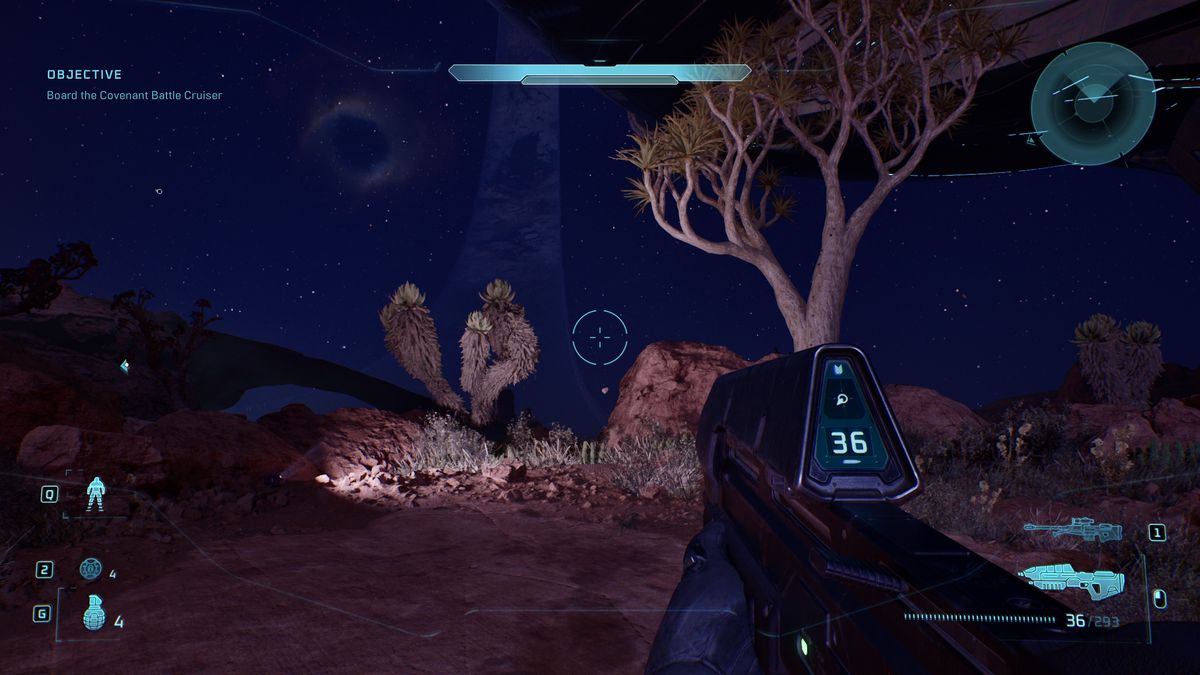
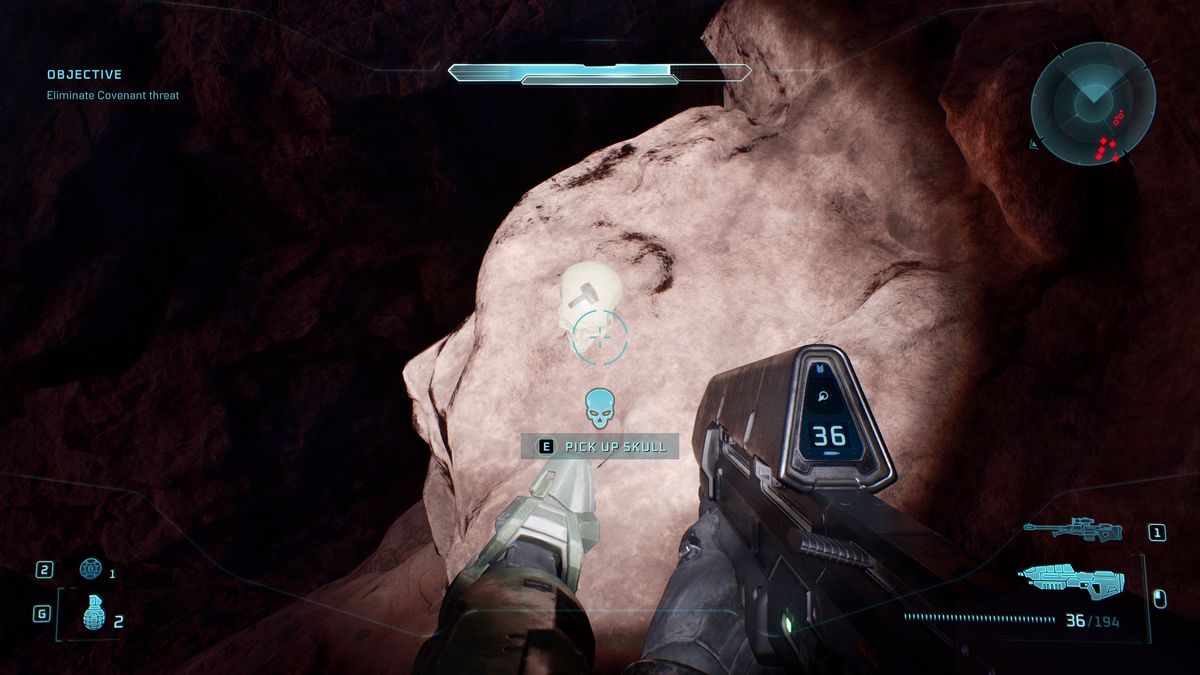
When you get to the grav lift leading up to the ship, head to the other side and look for the light on the ground illuminating a cactus and a tree by the cliff edge. Step onto the rock just to the right of the light on the ground and look down to see the skull on a lower ledge. Kill yourself to get back up.
2. Endurance Spec
(Image credit: Halo Studios)
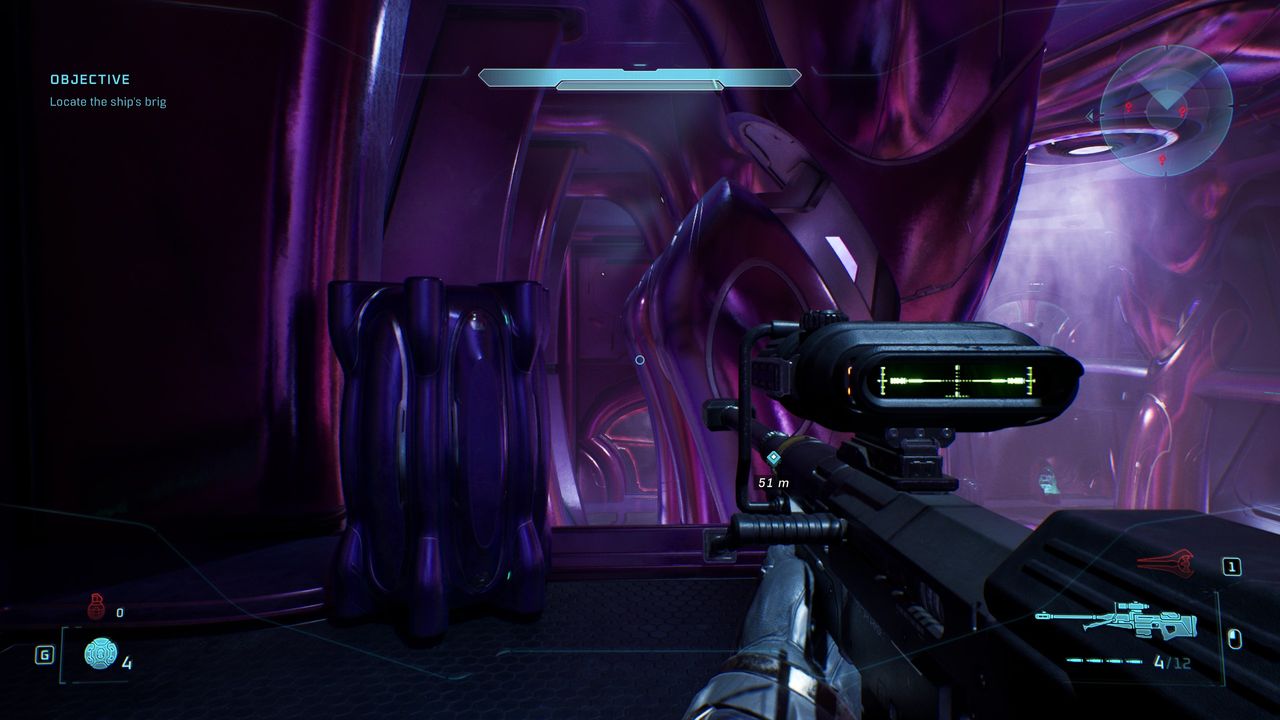
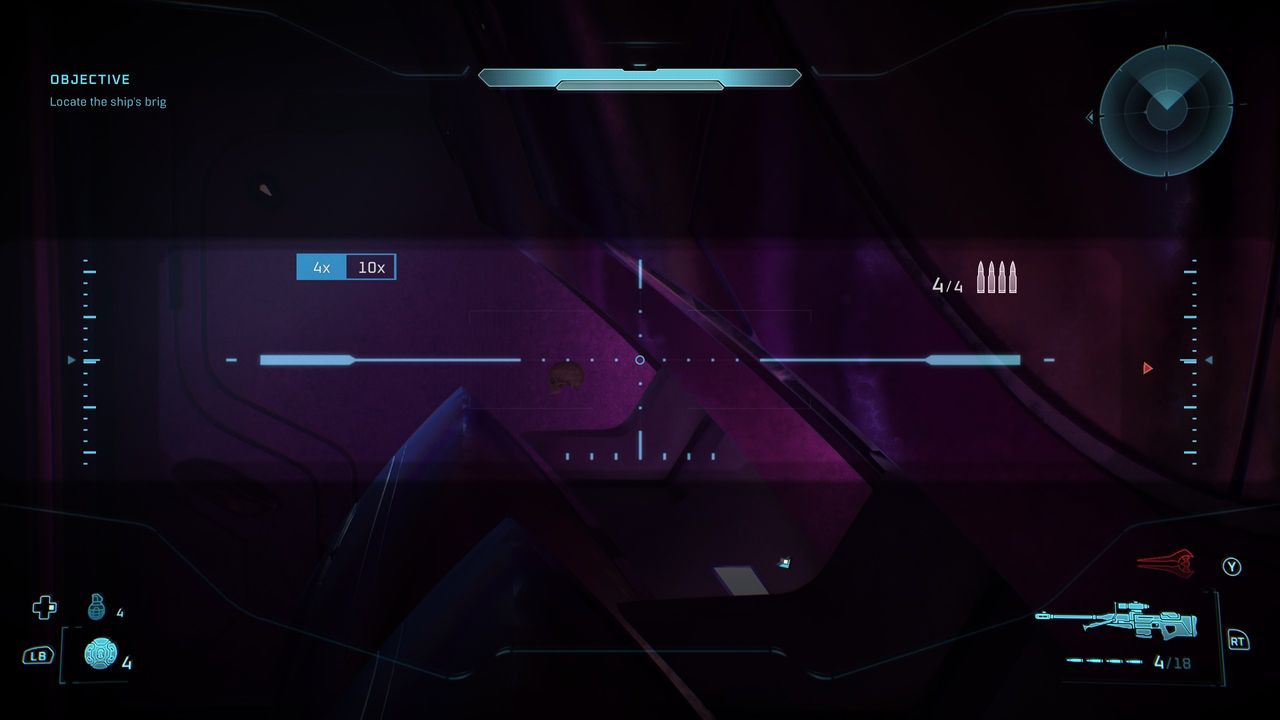
- Effect: Makes UNSC vehicles indestructible.
- Rally Point: Bravo
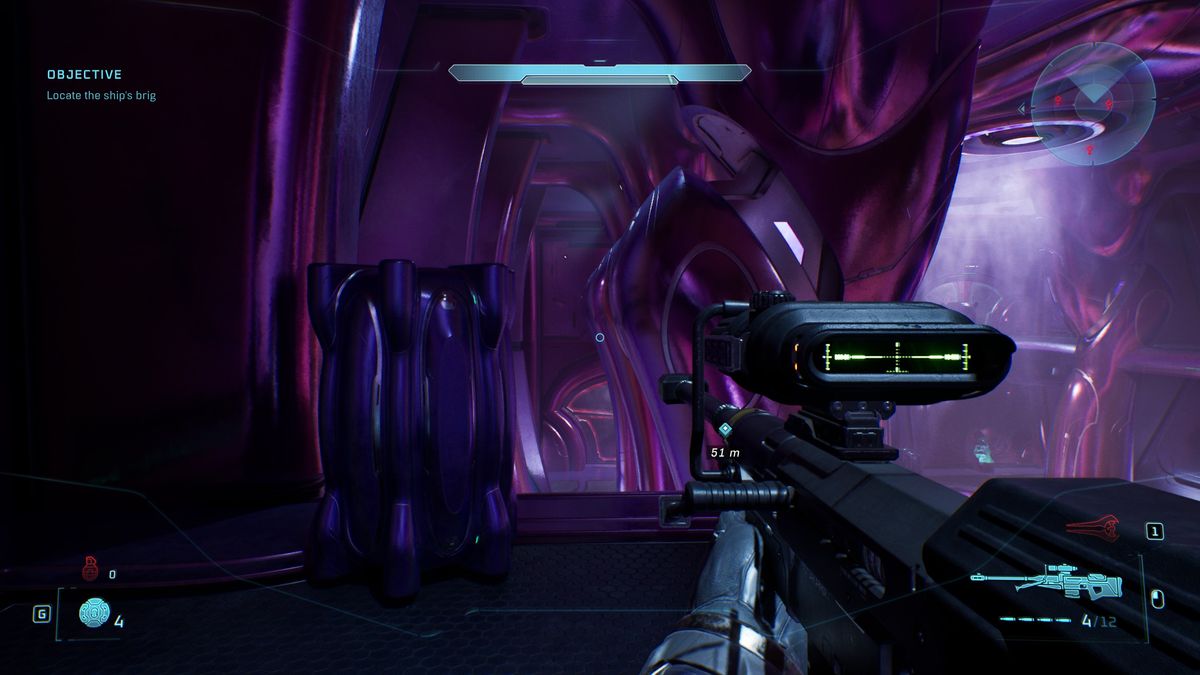
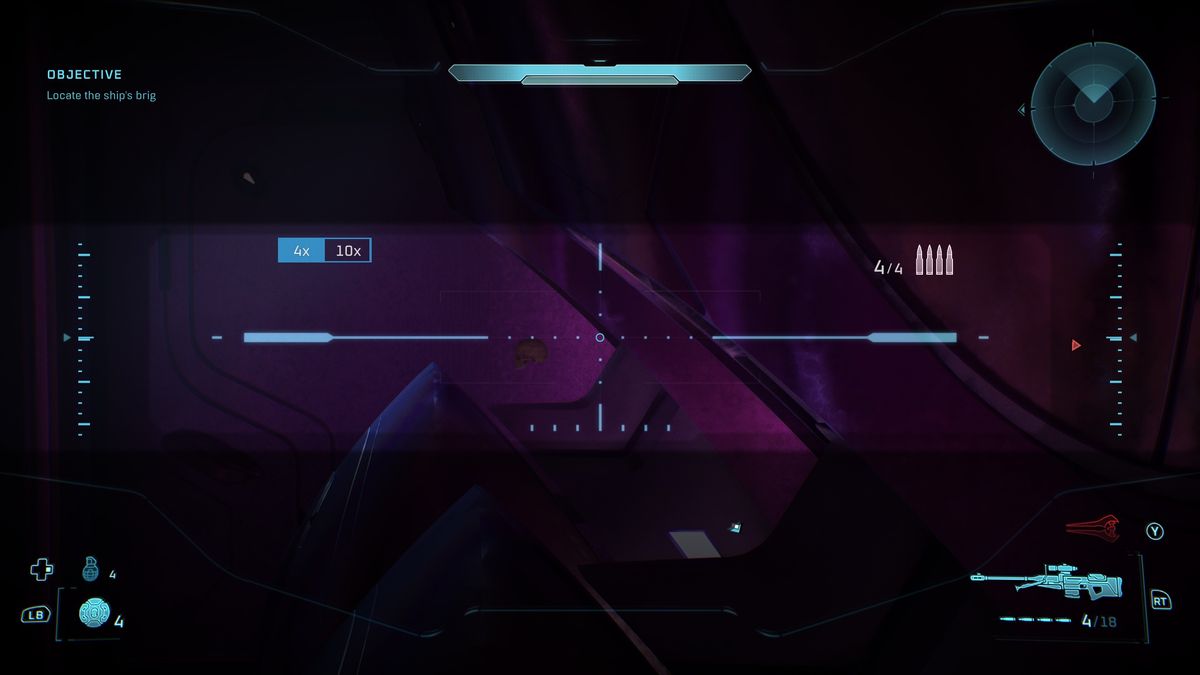
This skull is one of the hardest to grab due to its position, so I suggest grabbing the Acrophobia skull from Silent Cartographer first. After you enter the ship and defend the room you arrive in, you’ll have to let the marines into a hangar. The skull is in here on the upper level. If you go around to the far end of the walkway and look back across the hangar, you’ll see a crate and a bunch of pillars you can jump between with the skull at the far end, though this is hard to reach without Acrophobia active, since that skull lets you fly briefly.
3. Foreign
(Image credit: Halo Studios)
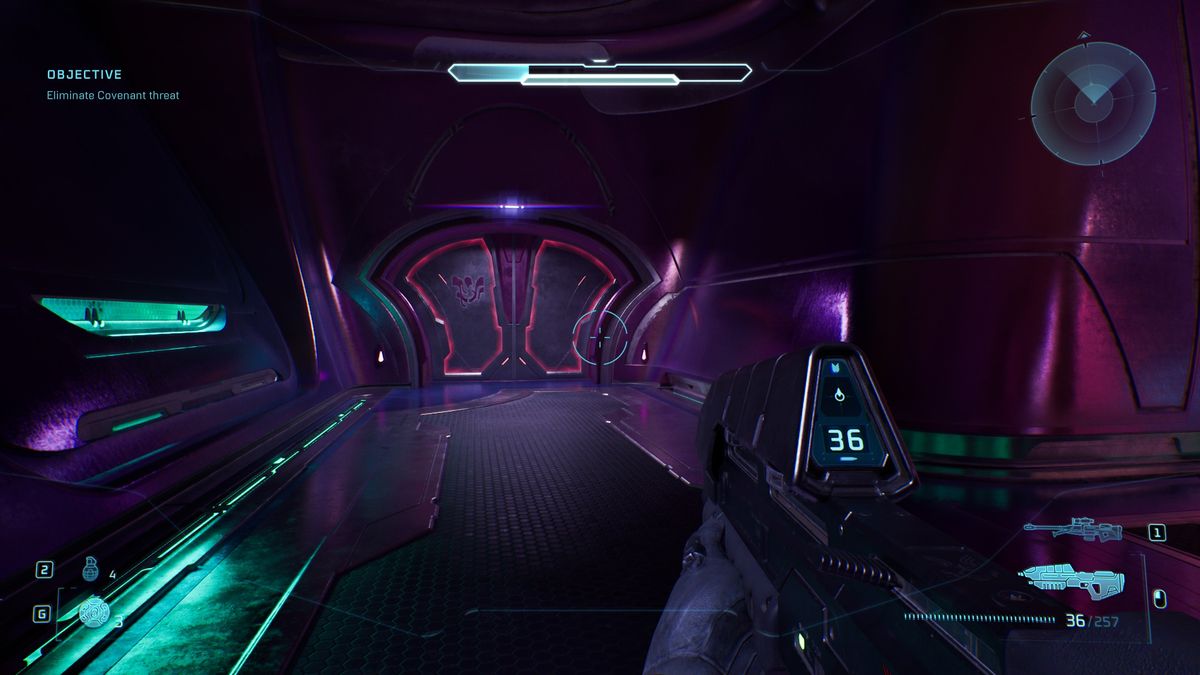
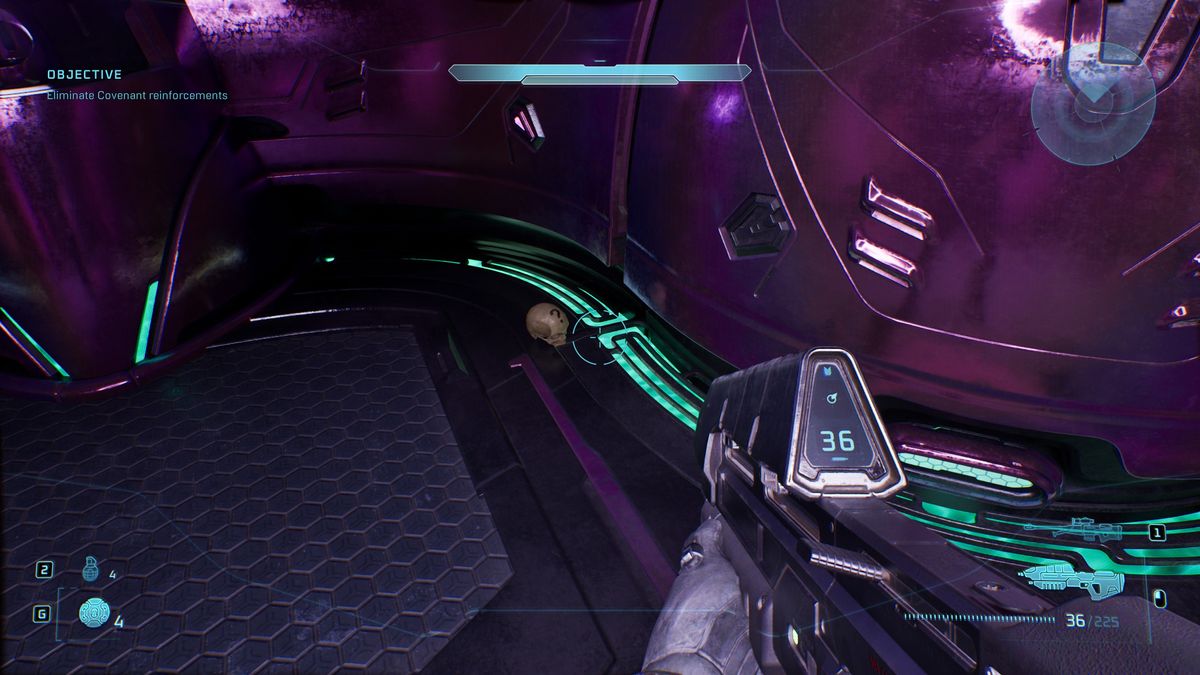
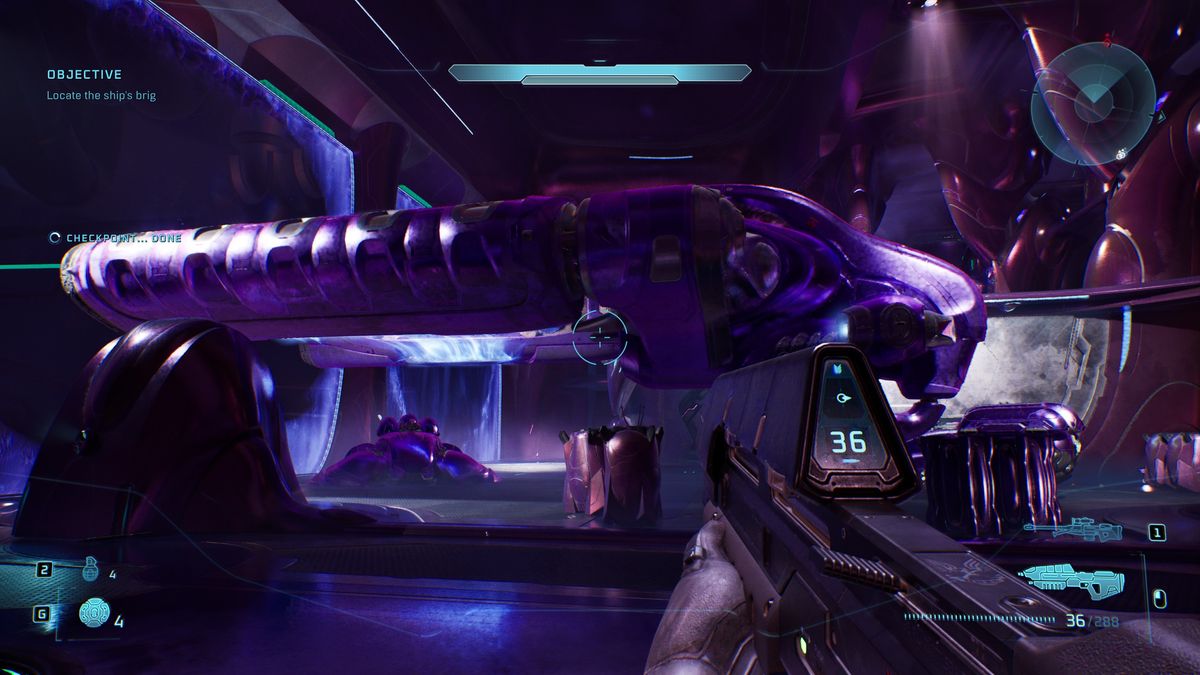
- Effect: Players cannot use weapons from another faction.
- Rally Point: Bravo
A little further on, through some corridors, you’ll reach a hangar where a Covenant drop ship will close its doors and fly away as you enter. Head to the far right corner of this room, where there’s a locked door, and wait for the reinforcements who’ll open it to enter. Head inside and grab the skull on the left. It’s unclear whether this door stays open, so make sure to go there as soon as you enter the room.
Silent Cartographer skull locations
1. Bandana
(Image credit: Halo Studios)
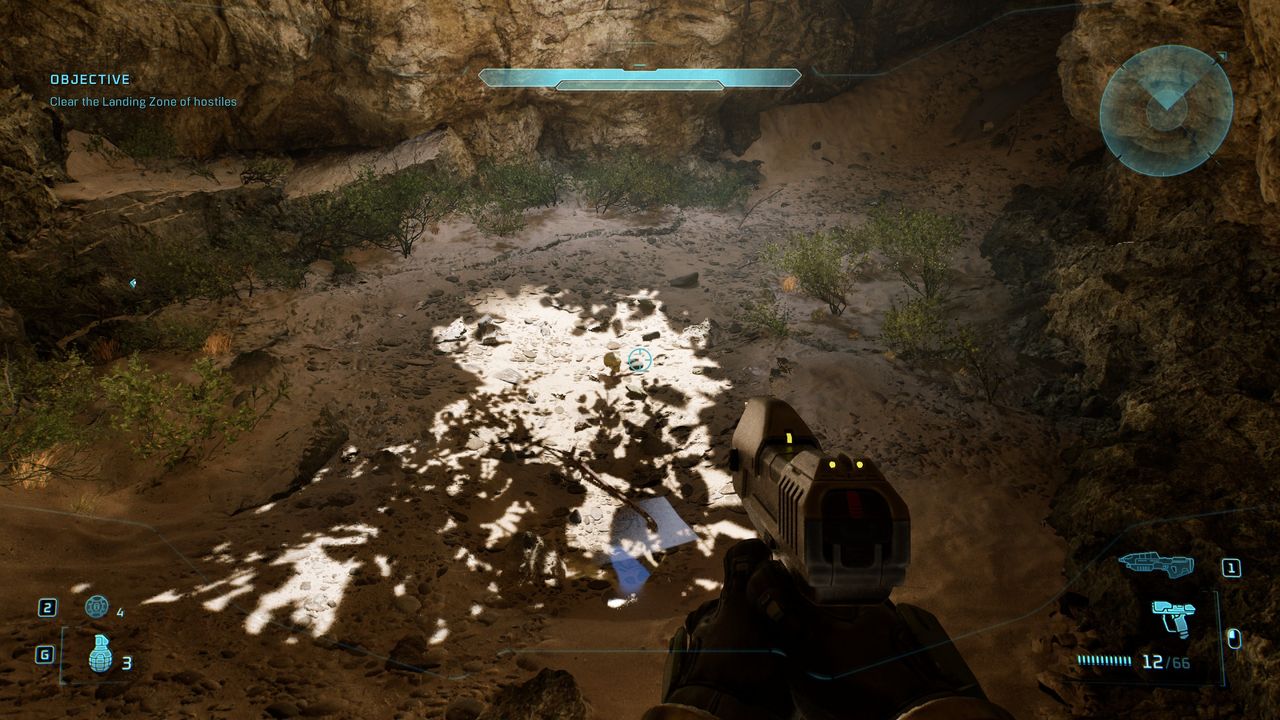
- Effect: Infinite ammo and grenades (disables some achievements)
- Rally Point: Alpha
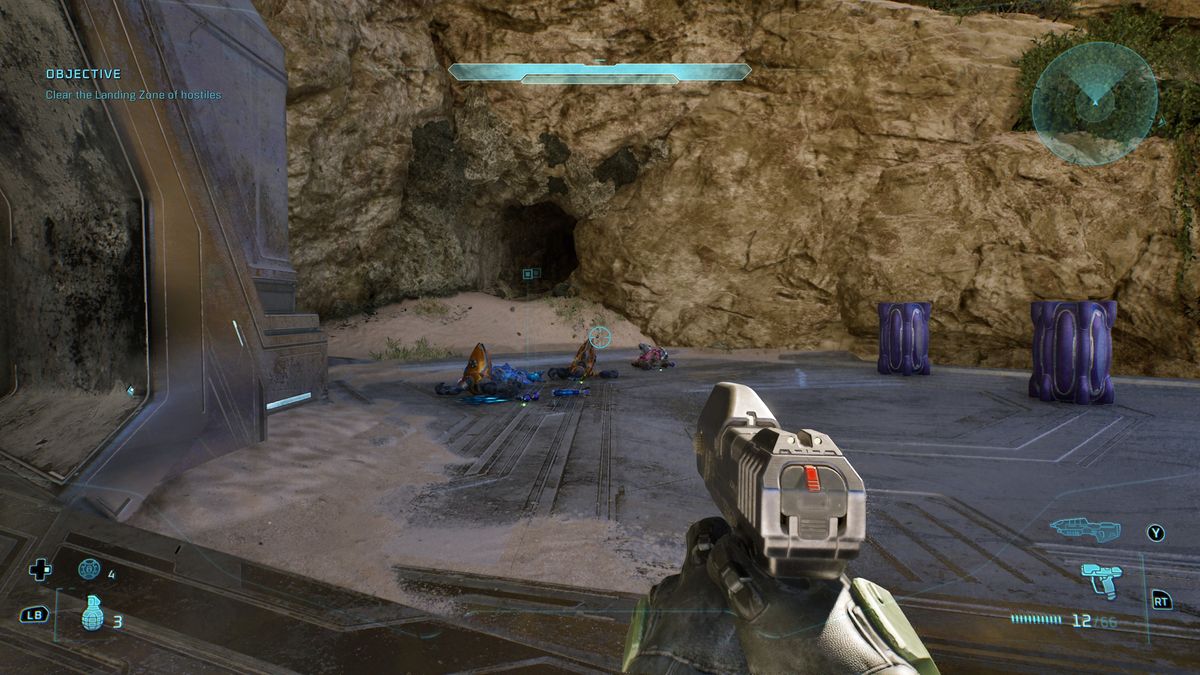
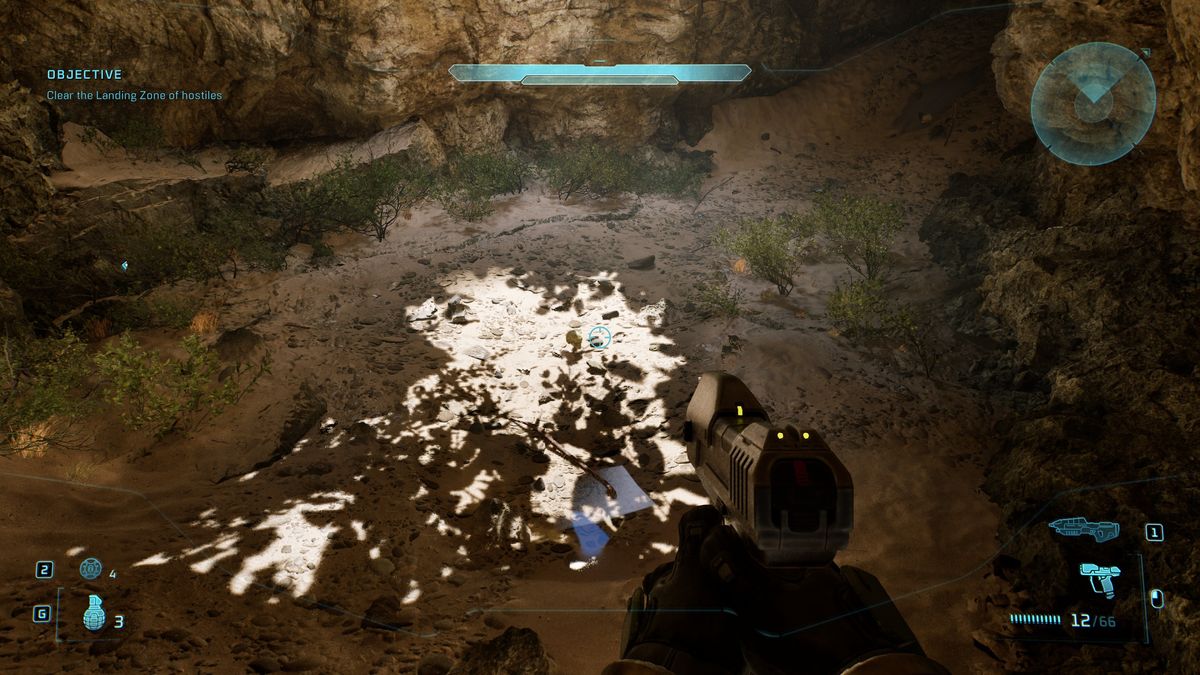
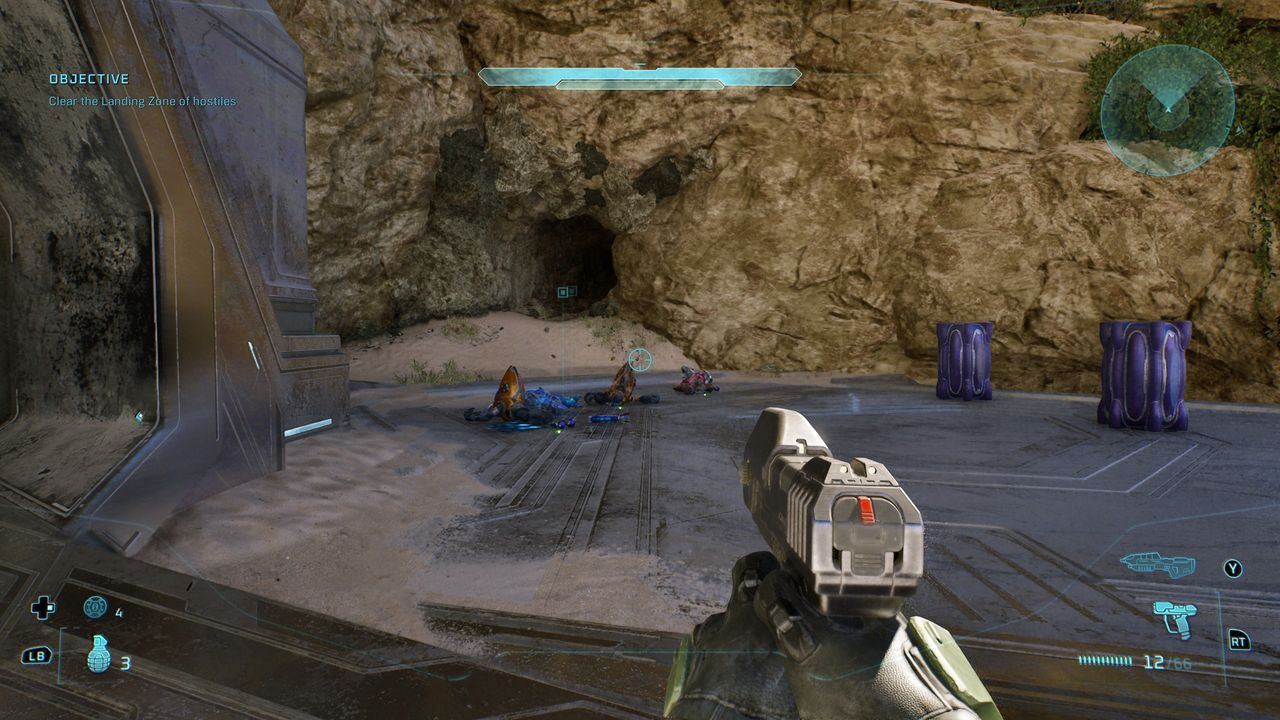
After you clear the landing zone of hostiles and circle around the island to the entrance to the Forerunner structure, you’ll find a cave just to the right of it. The skull is just inside on the sand in the sunny bit at the cave’s centre.
2. Acrophobia
(Image credit: Halo Studios)
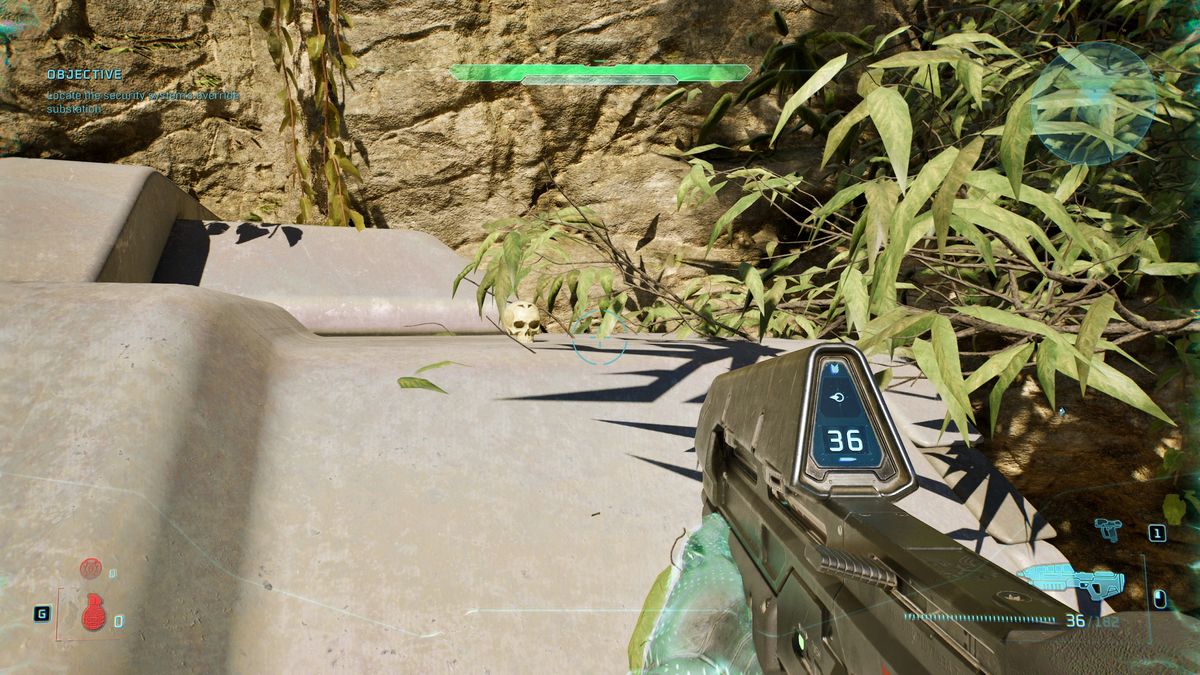
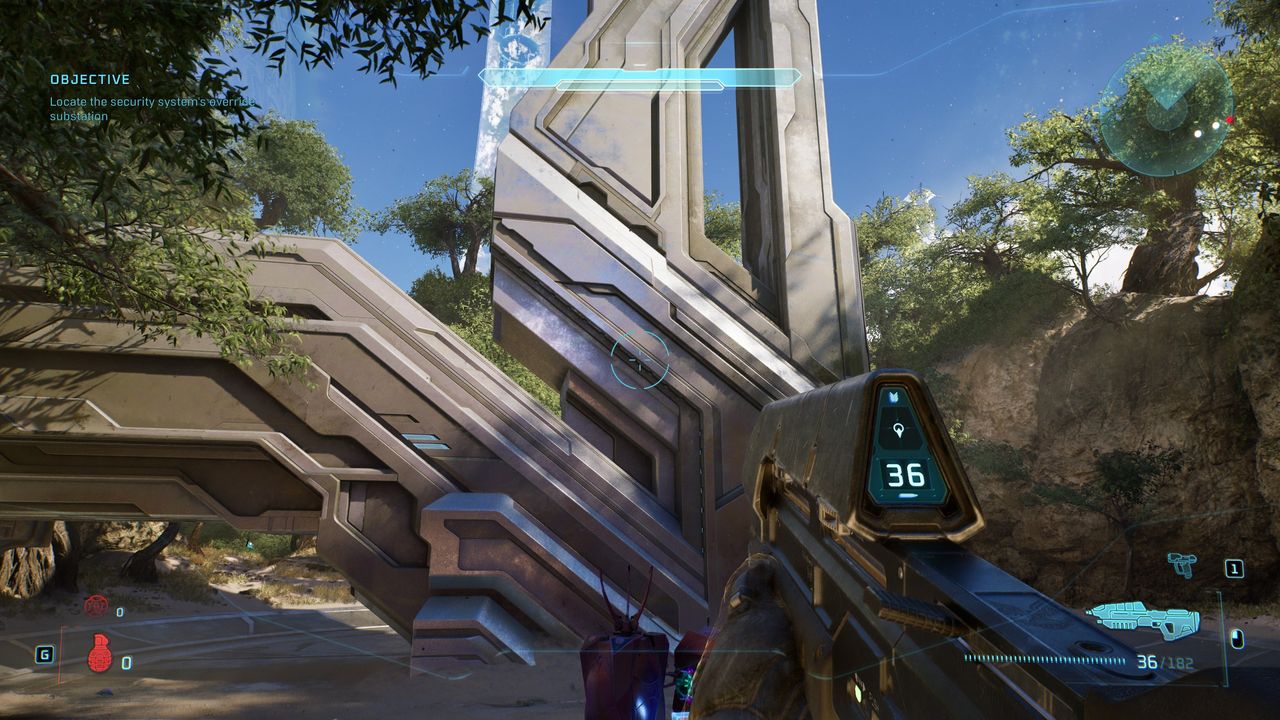
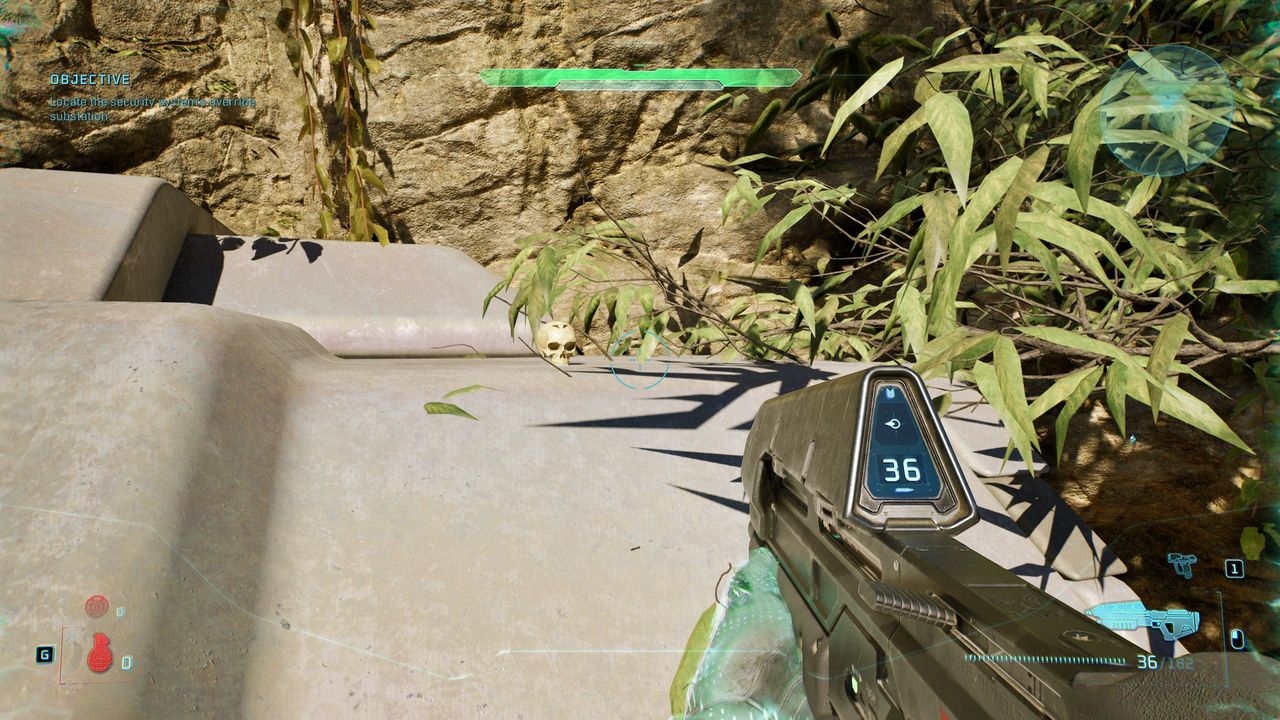
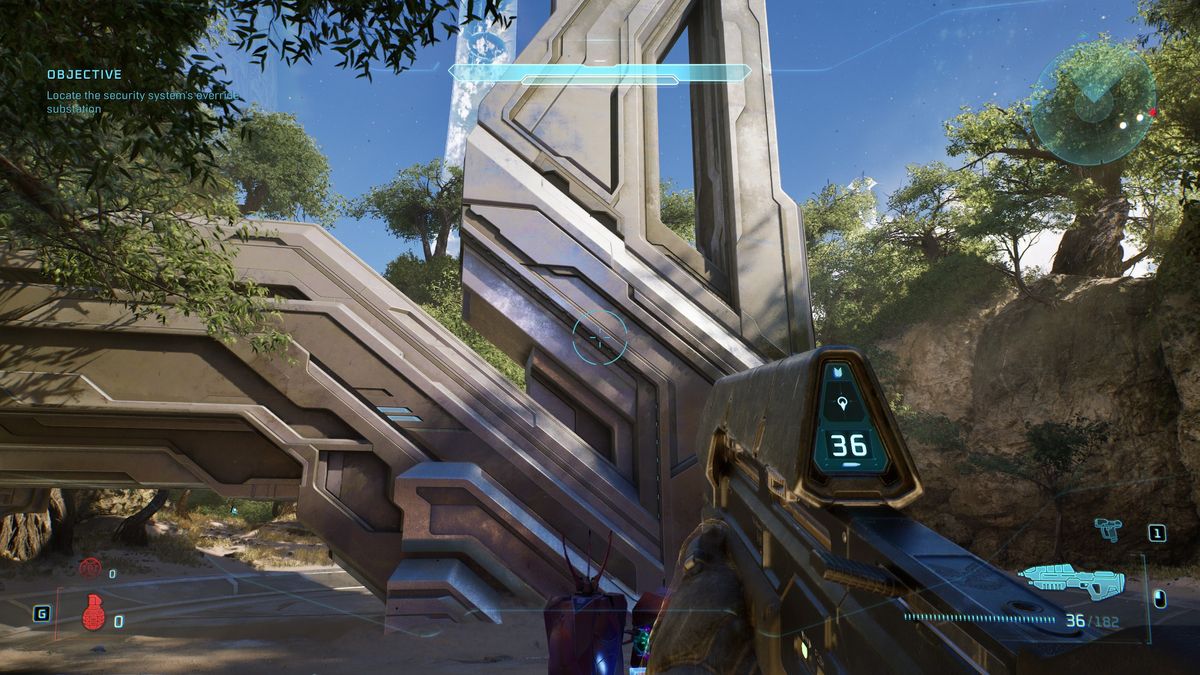
- Effect: The Corps: Now issuing rifles AND wings… (disables some achievements)
- Rally Point: Bravo
When you’re directed to the plaza area with the two Hunter enemies to open the security door, climb the sloping structure in the centre (from the right side) and ascend to the far end to find this skull.
3. Hip Fire
(Image credit: Halo Studios)
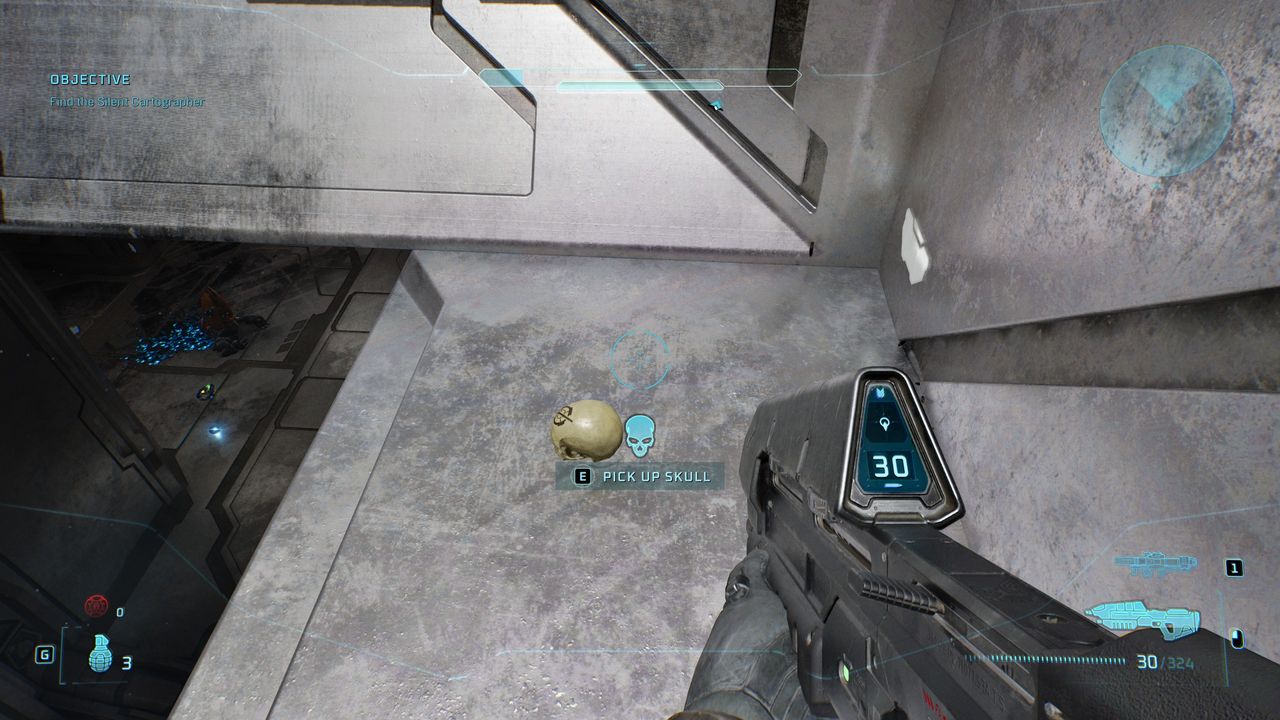
- Effect: All weapon zoom functionality is disabled.
- Rally Point: Charlie
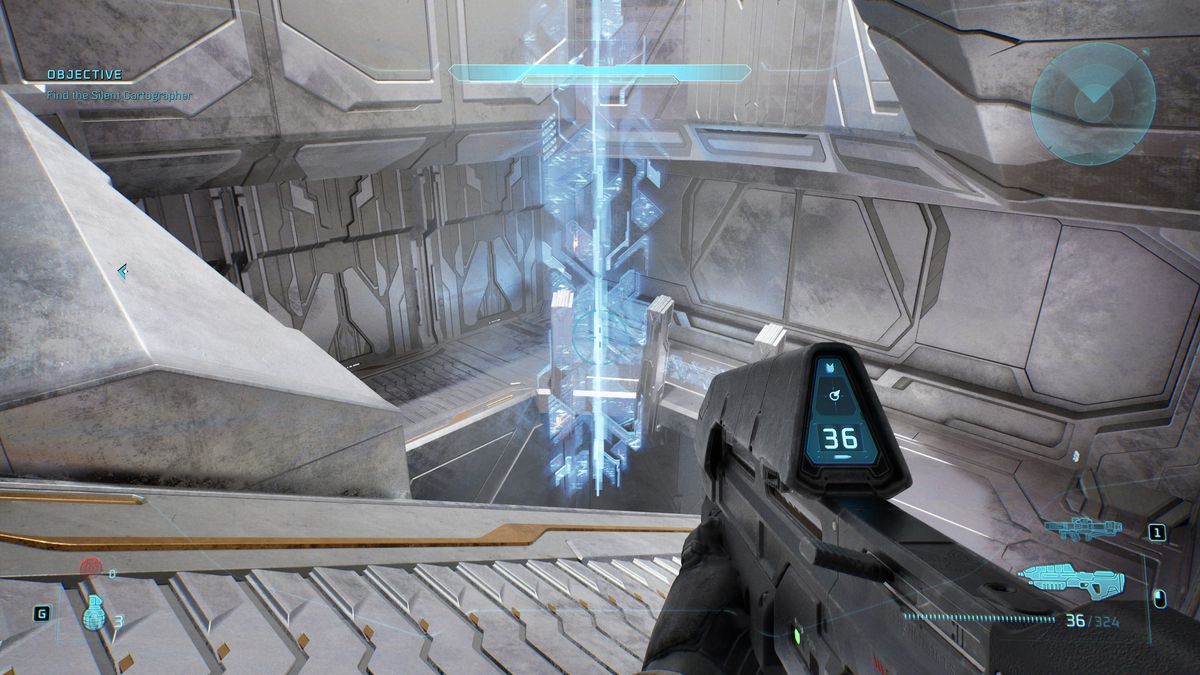
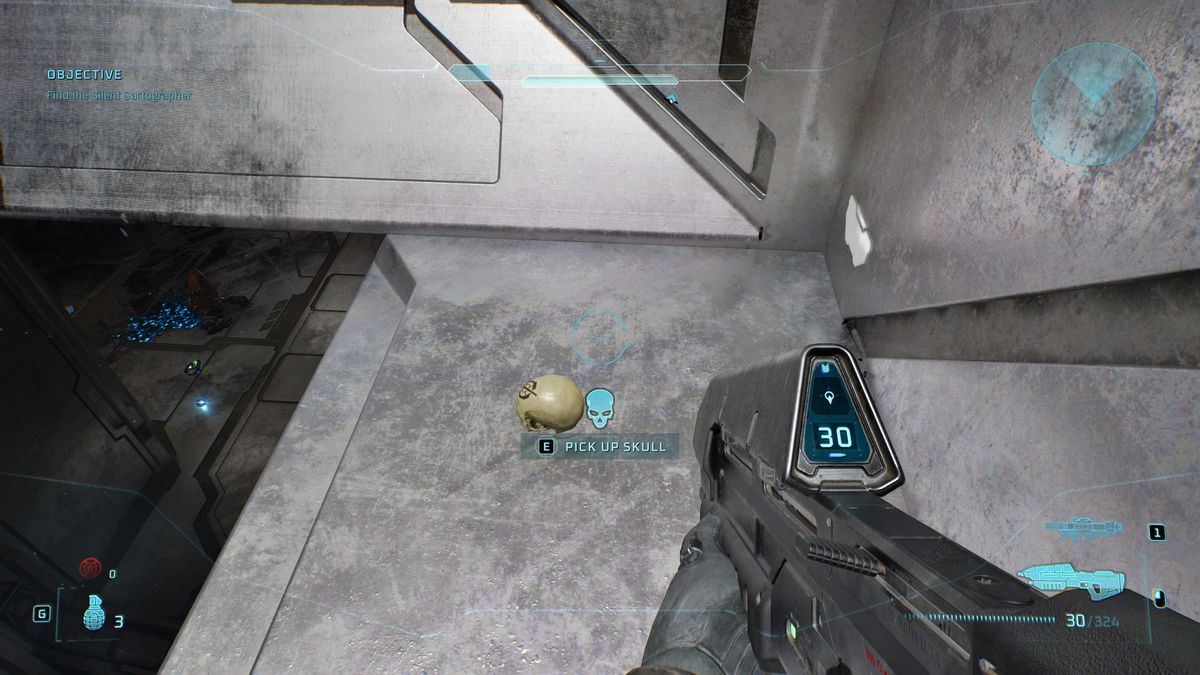
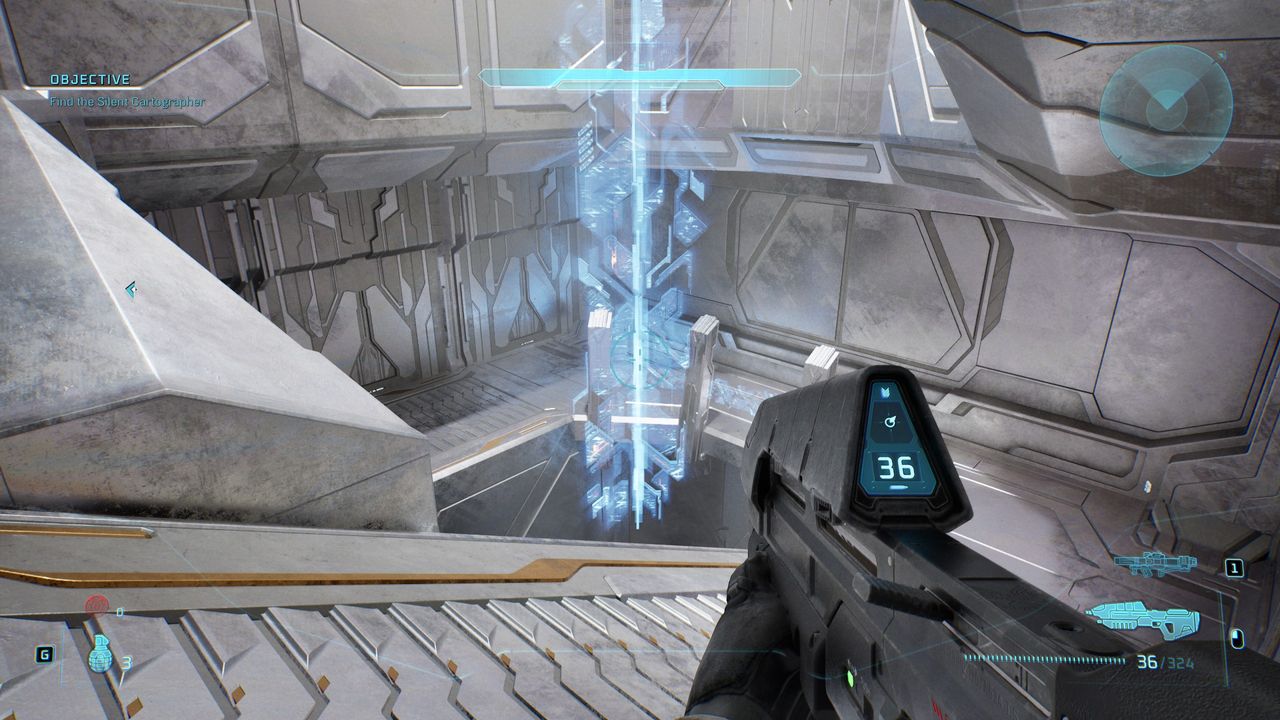
After you enter the main facility and defeat the two Hunters in the room, you’ll head down a staircase with a hologram in the centre. Look over the edge directly below you, and you’ll spot a skull down below on the right side. Drop down and grab it.
Assault on the Control Room skull locations
1. IWHBYD
- Effect: It would have been your dialogue
- Rally Point: Bravo
After you get the Scorpion tank, drive it through the valley and the tunnels until you come to the bridge across the ravine with all the turrets. Turn left at the other end, drive to the icy wall, and then jump on top of your scorpion, and use it to reach the cave halfway up its side with the skull in.
2. Angry
(Image credit: Halo Studios)
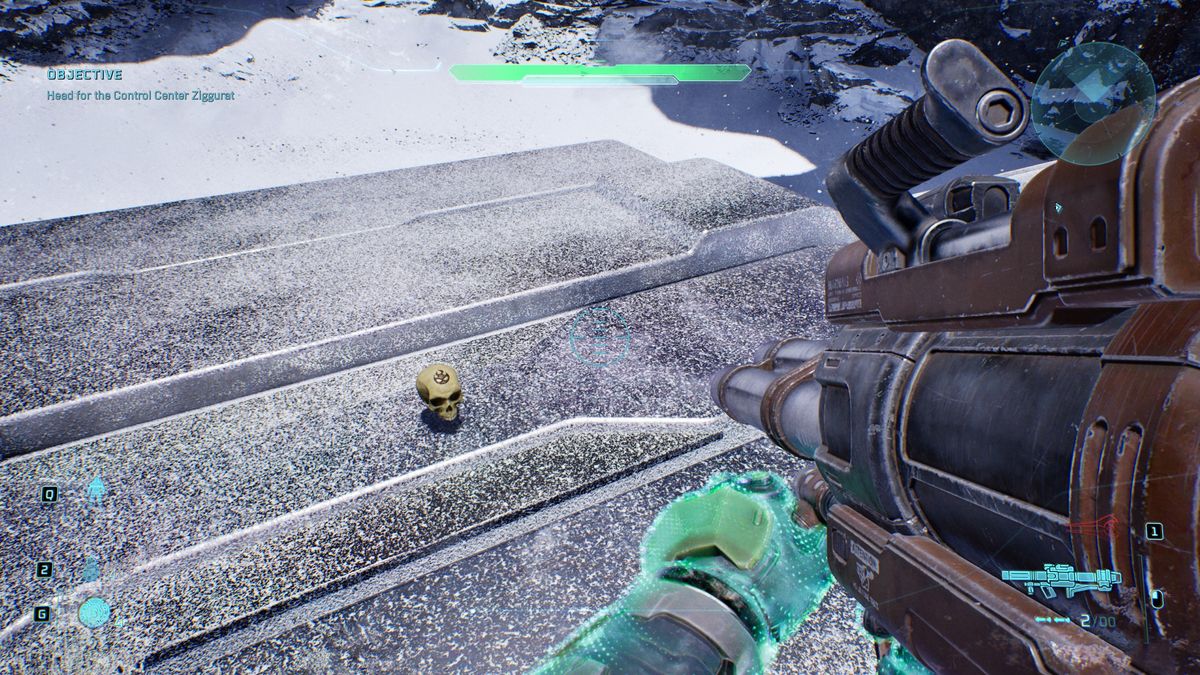
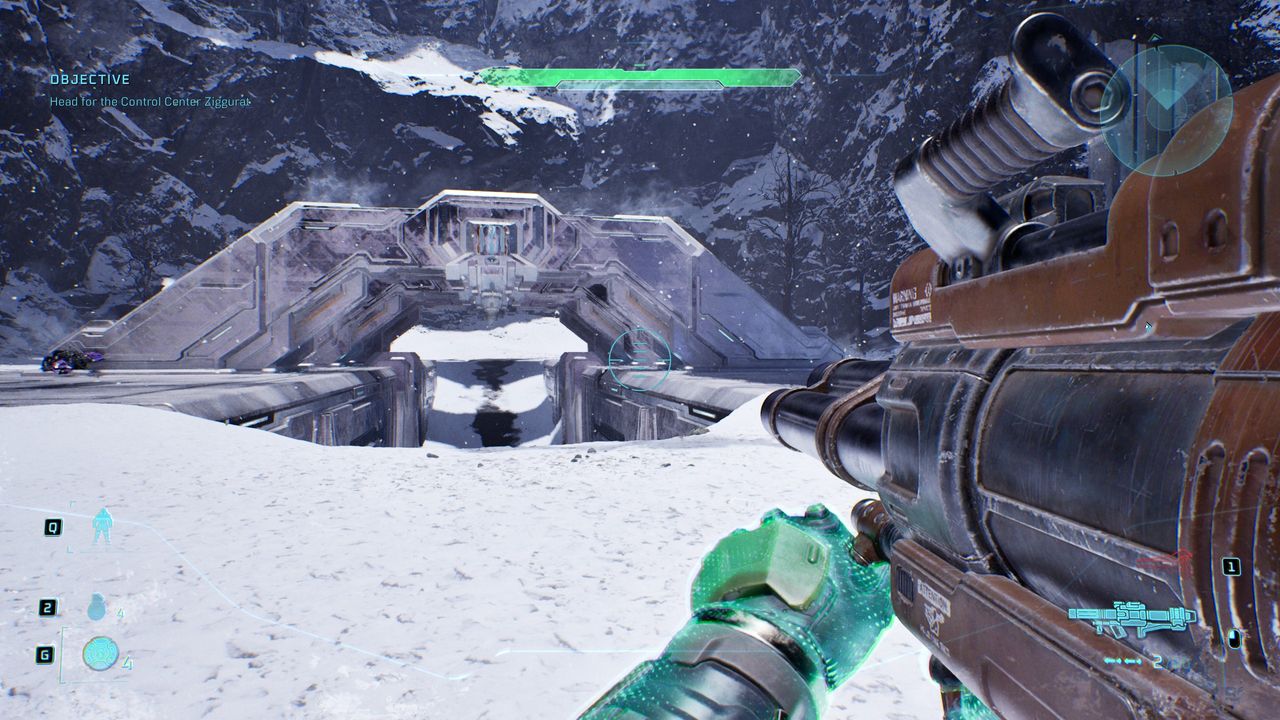
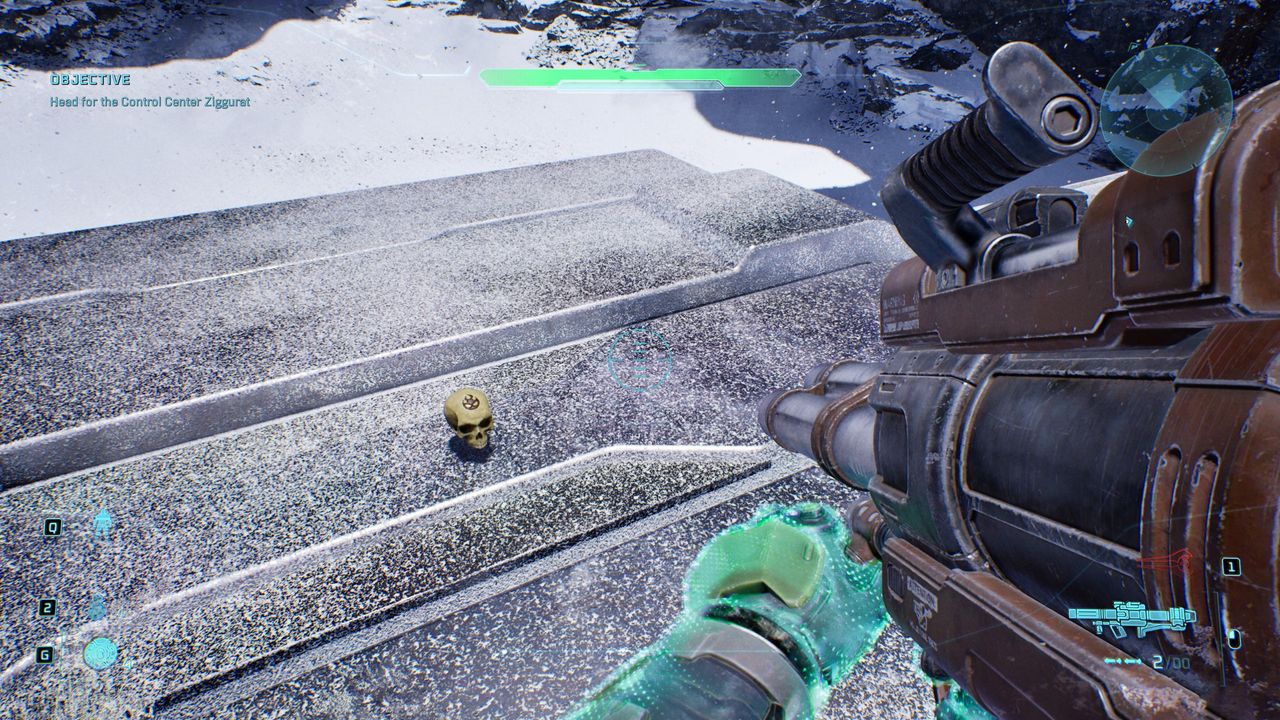
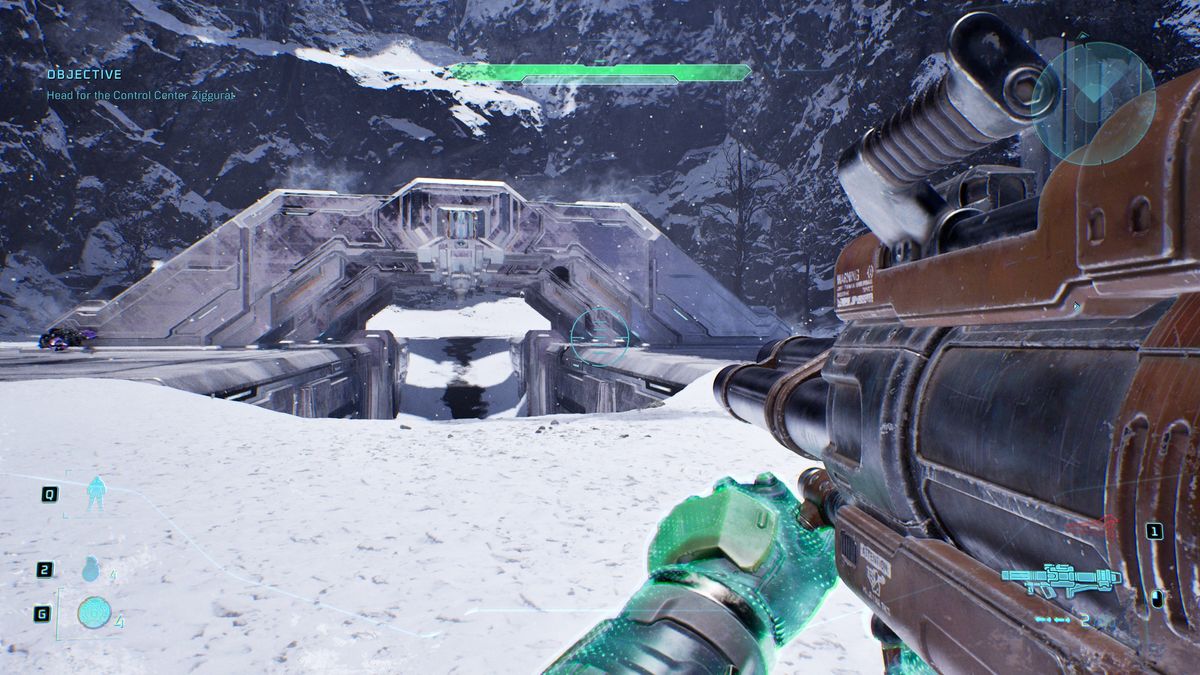
- Effect: Enemies fire their weapons faster and more frequently.
- Rally Point: Charlie
When you finally arrive at the entrance to the Control Center Ziggurat after the long section with the Scorpion (directly below the bridge you walked across at the start of the mission) you’ll spot a strange Forerunner ravine structure with a bunch of bridge like struts placed along the top. The skull is on the third strut back towards the cliff.
3. Cowbell
(Image credit: Halo Studios)
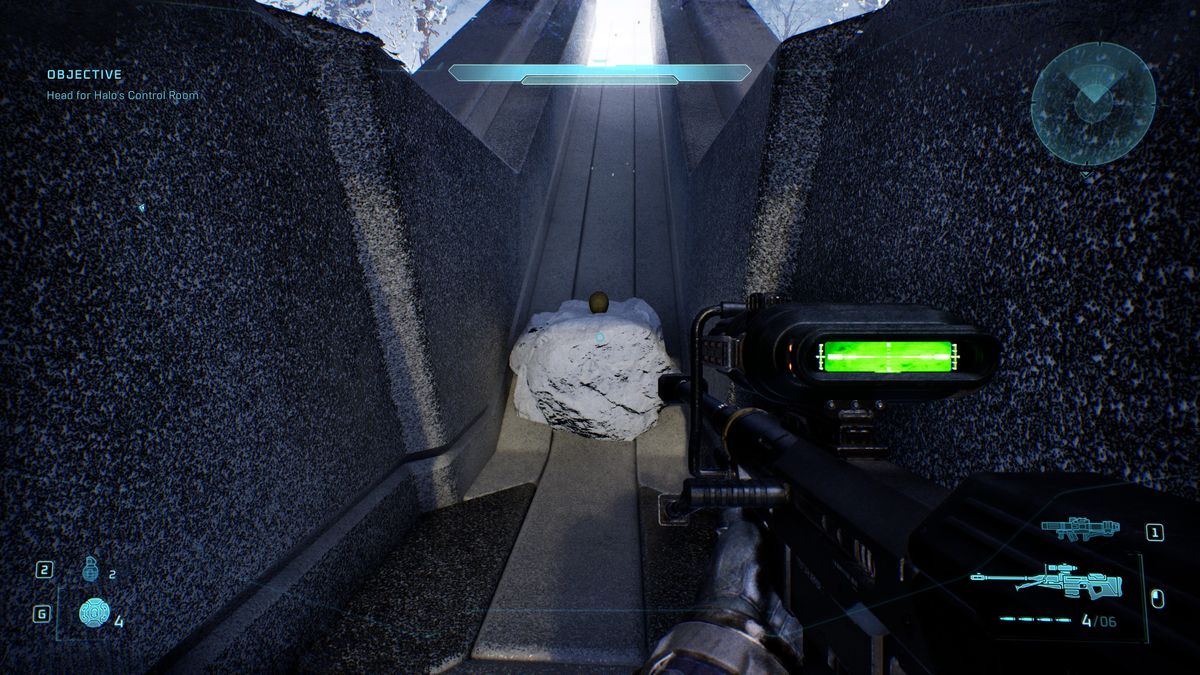
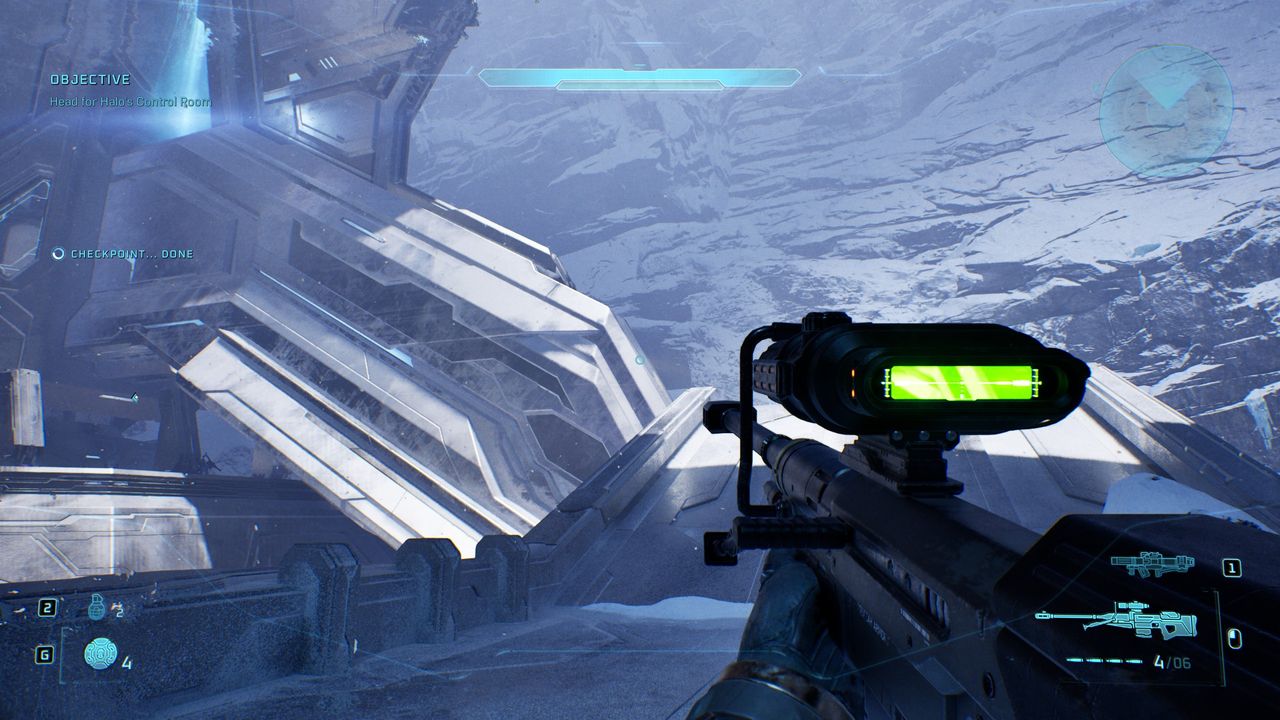
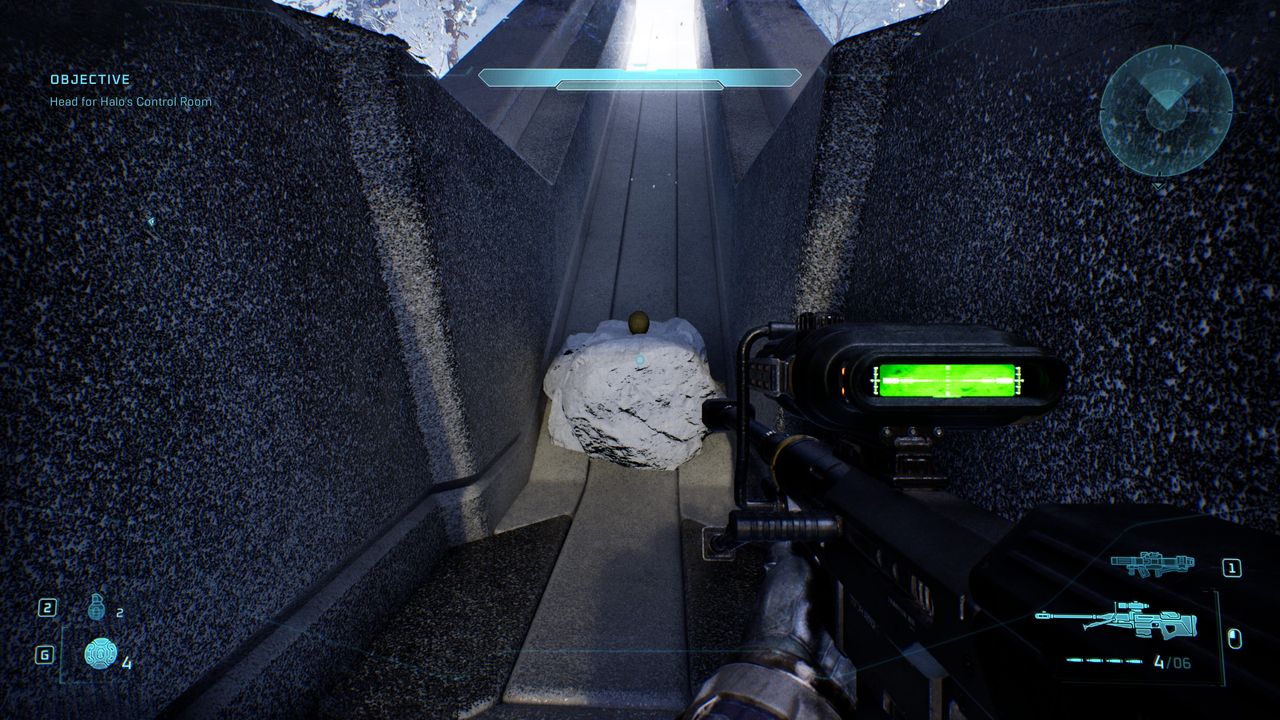
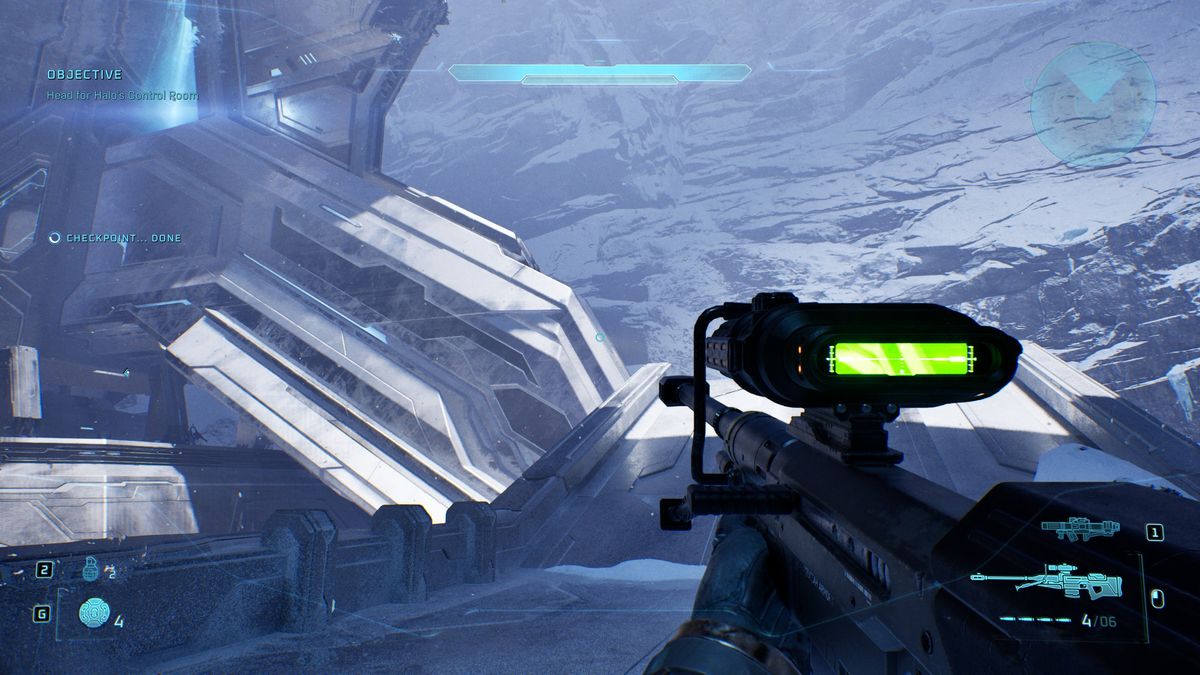
- Effect: Physics mass of objects is reduced, making them more easily displaced
- Rally Point: Echo
When making your way to the control room, you’ll emerge onto a bridge outside where two Banshees will be parked. Cortana will tell you to commandeer one. Walk along the bridge to about halfway, where it crosses above the Forerunner structure below, and drop down on the left side. In the channel there, you’ll see the skull wedged in a pile of snow.
343 Guilty Spark skull locations
1. Fog
(Image credit: Halo Studios)
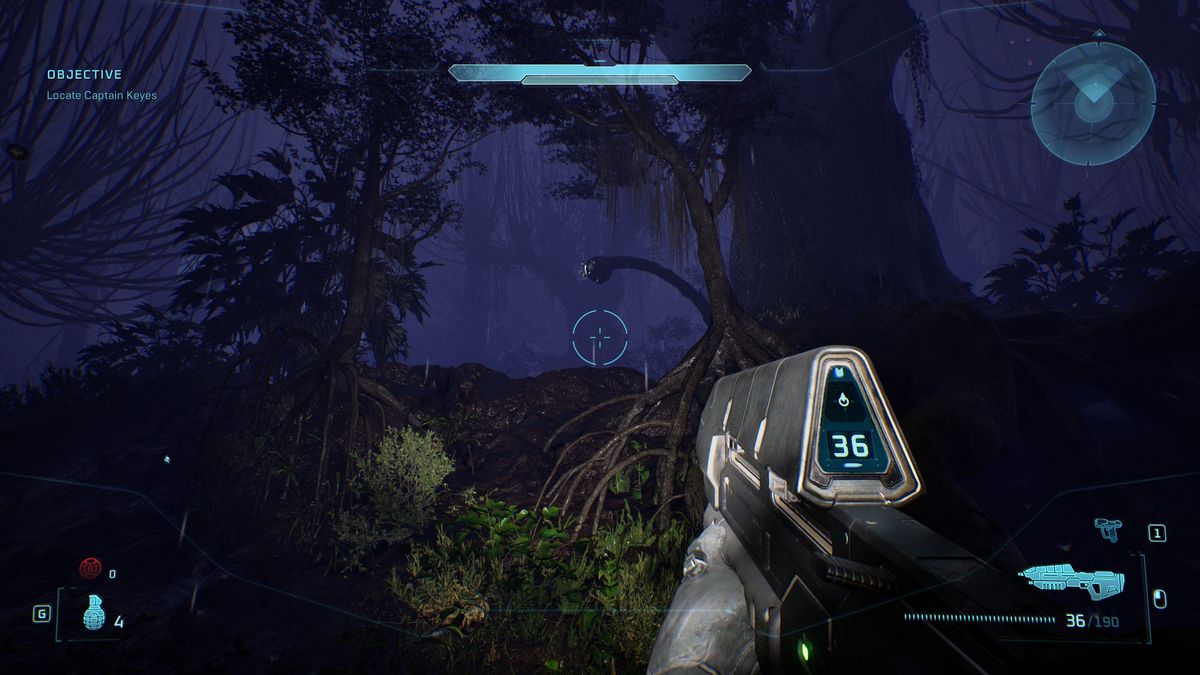
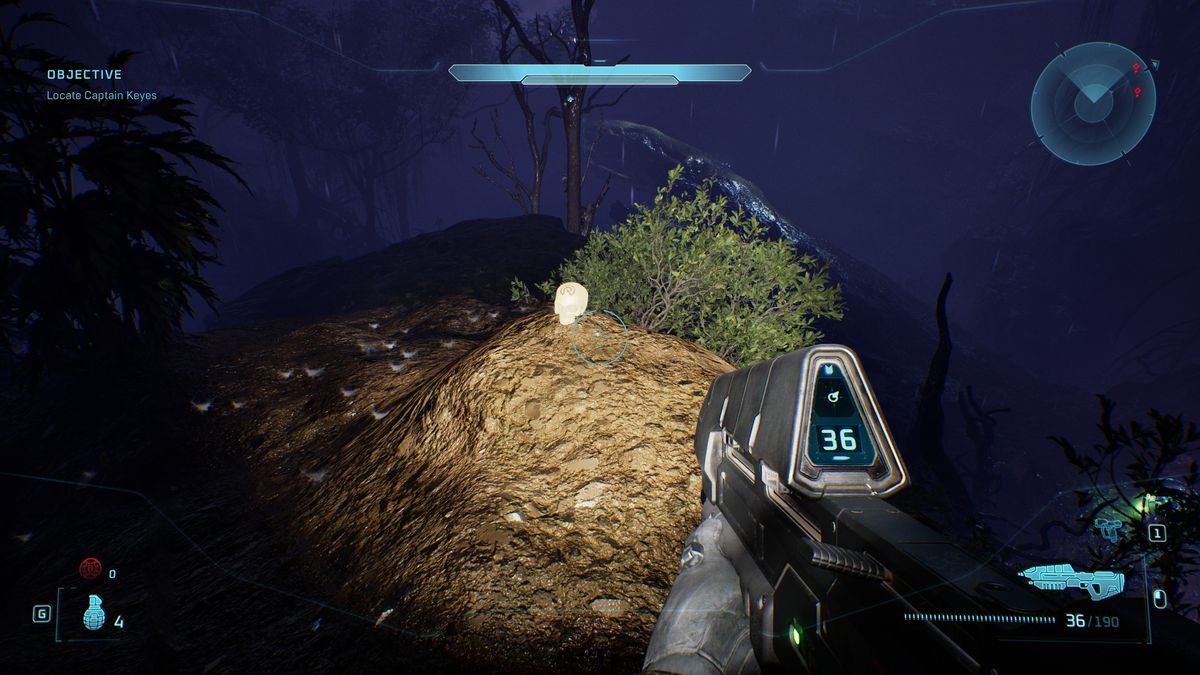
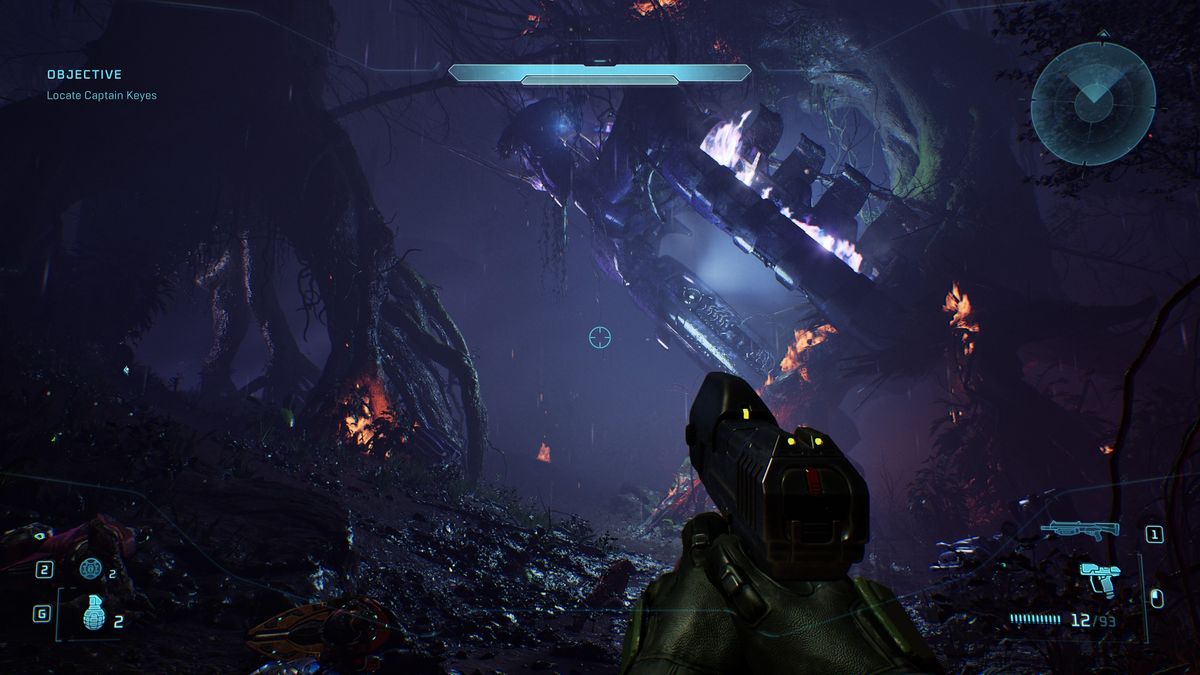
- Effect: Motion tracker is disabled.
- Rally Point: Alpha
Continuing on from the crashed Pelican, you’ll find a crashed Covenant drop ship stuck in a tree, turn left here and climb the slope, then turn right at the top, hopping up over the rocks just past the tree and where its roots are sticking out—you’ll know the right spot as you can see a weird Flood stalk growing out of the tree. You’ll spot the skull on a rock to your left overlooking the fallen tree you cross to continue the mission.
2. That’s Just… Wrong
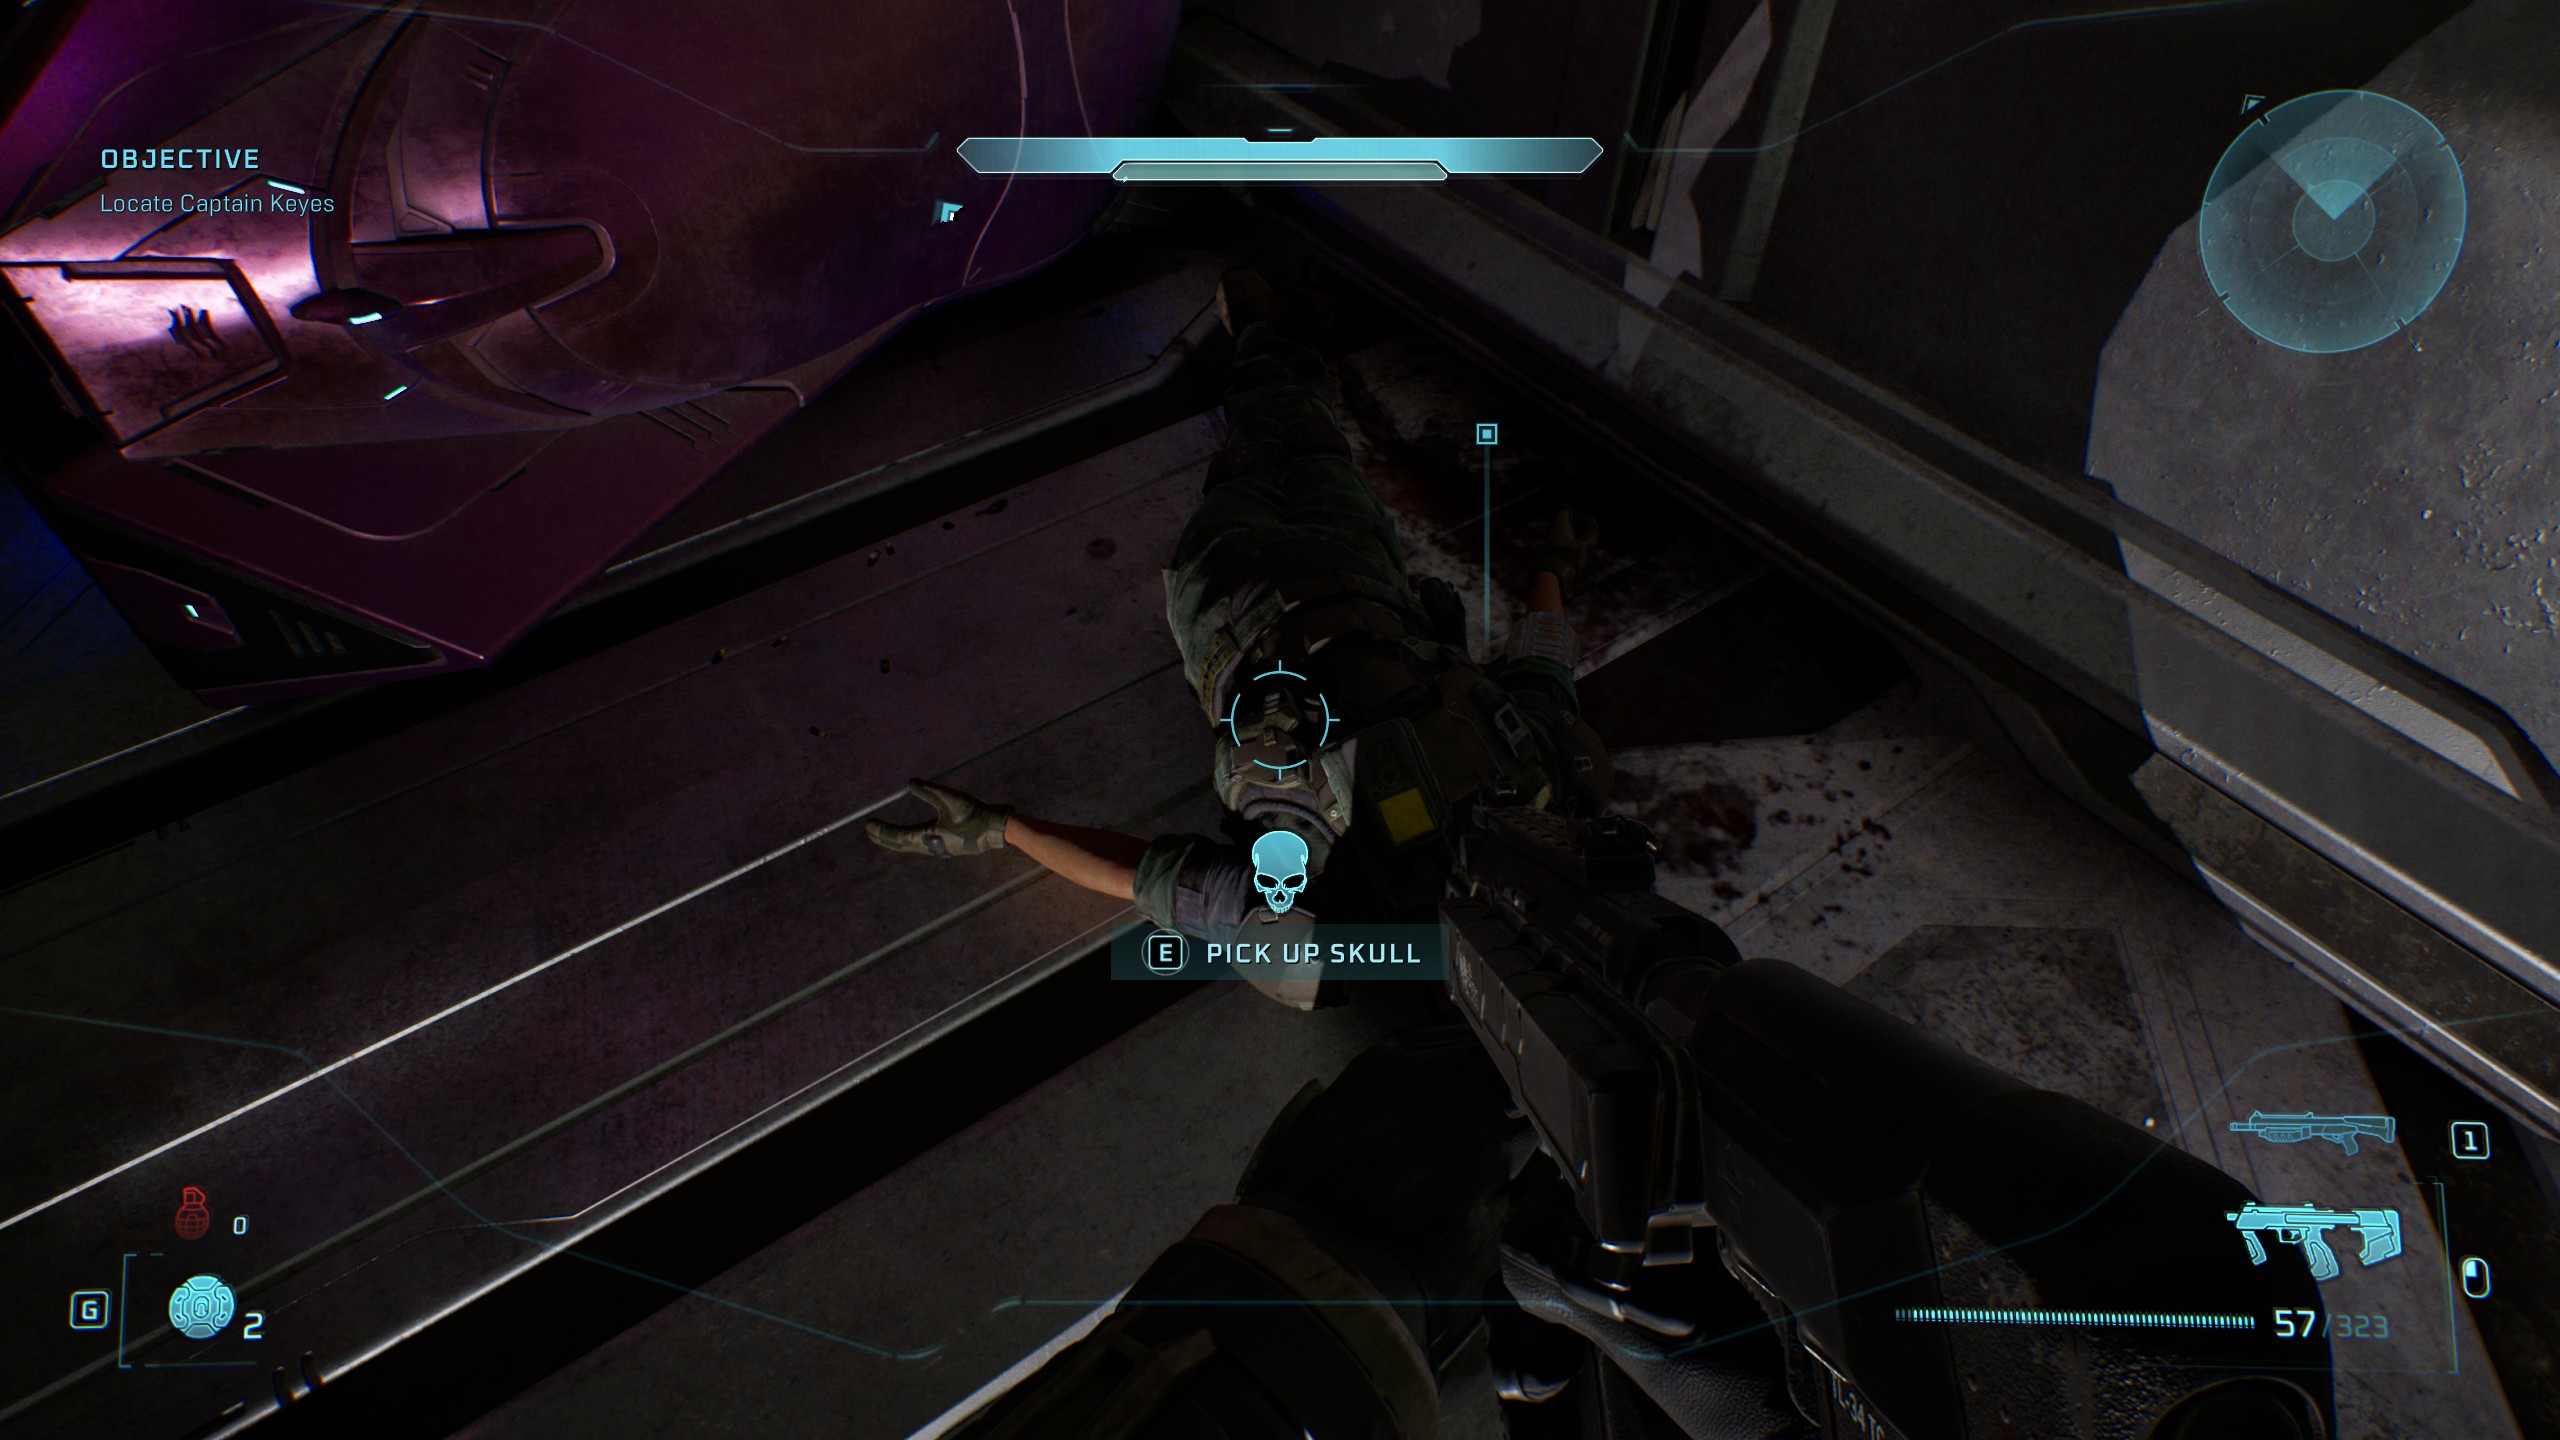
- Effect: Enemies have increased awareness of the player.
- Rally Point: Bravo
After heading through the initial rooms of the Forerunner structure, you’ll find a marine who’s gone crazy and tries to shoot you with a magnum. Kill him and he drops the skull.
3. They Come Back
- Effect: Flood Combat Forms reanimated by Infection Forms are much more dangerous.
- Rally Point: Charlie
Towards the end of the mission, you’ll eventually take an elevator up, meet some marines, and have to defend a tower door against Flood while waiting for evacuation. Instead of killing the enemies, head to the right of the big tower with the door and run until you find a fallen tree resting against a ledge. Climb the tree and jump onto the left side of the rock to find the skull.
The Library skull locations
1. Tilt
(Image credit: Halo Studios)
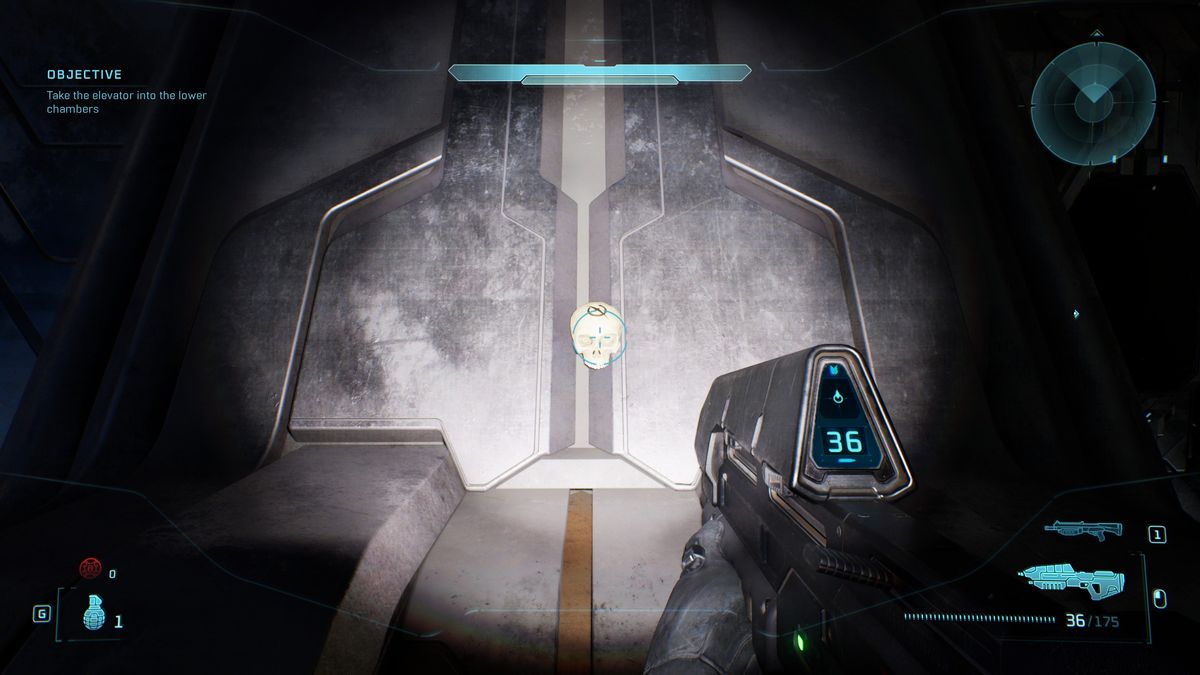
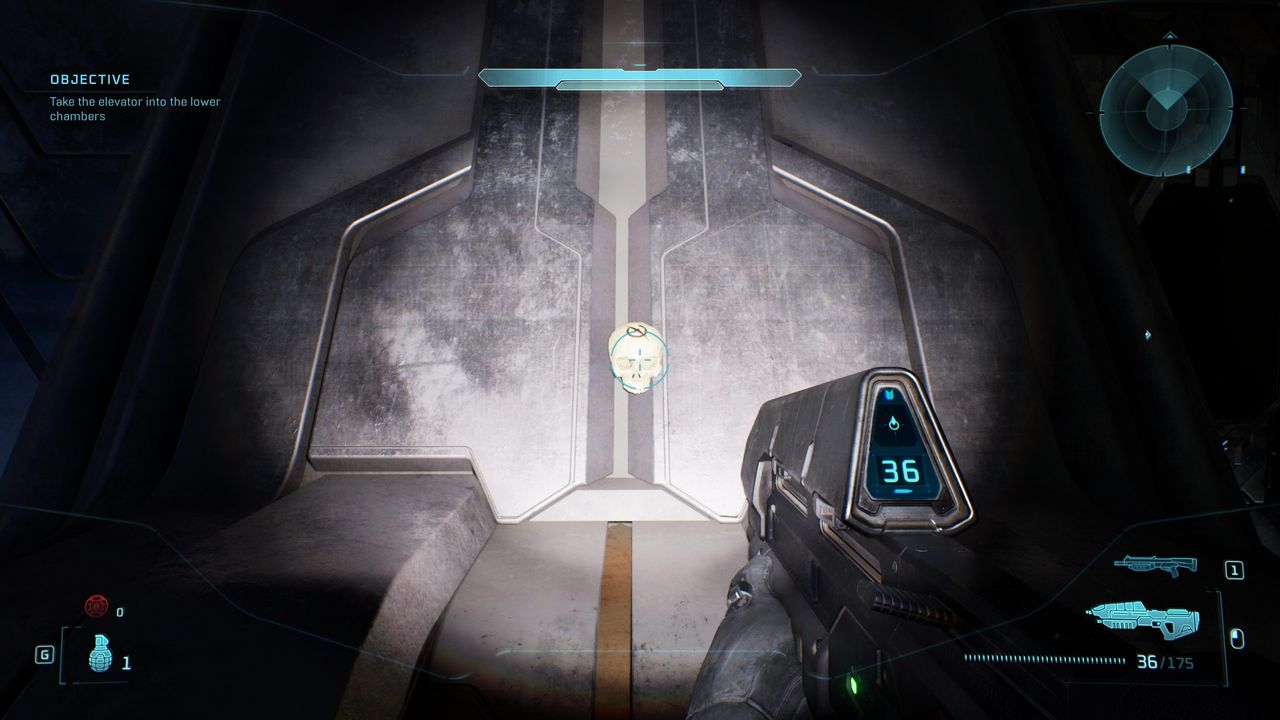
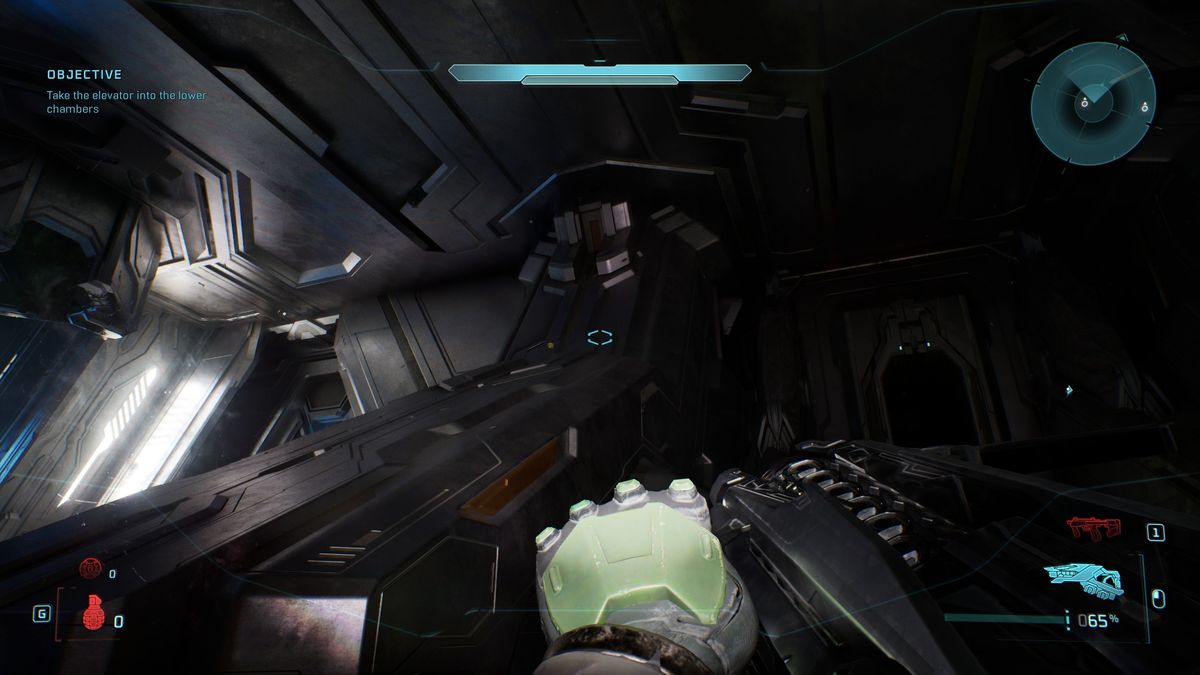
- Effect: Enhances both positive and negative damage multipliers, example: plasma does more damage against shields, but less against health.
- Rally Point: Alpha
Just after Guilty Sparks leaves, you’ll go through a short tunnel and emerge the other side, where’ll appear again with sentinels to help you. Turn right and jump up onto the sloping strut next to the door you came through and walk up to the top to find the skull.
2. Pop
(Image credit: Halo Studios)
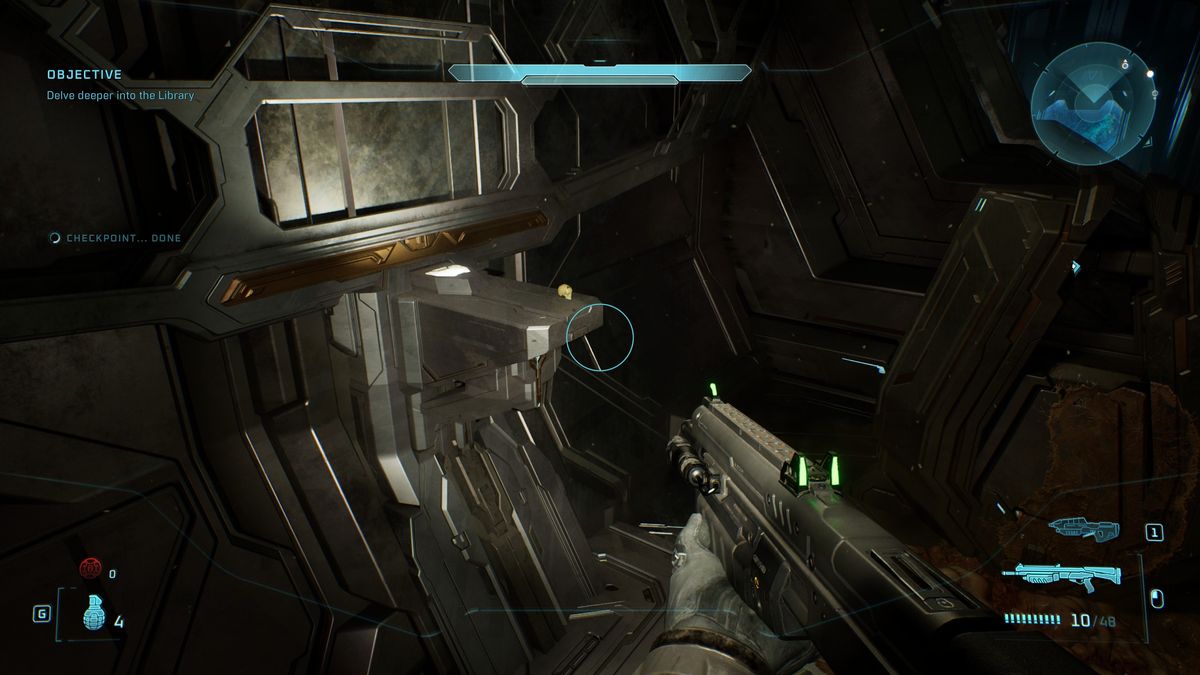
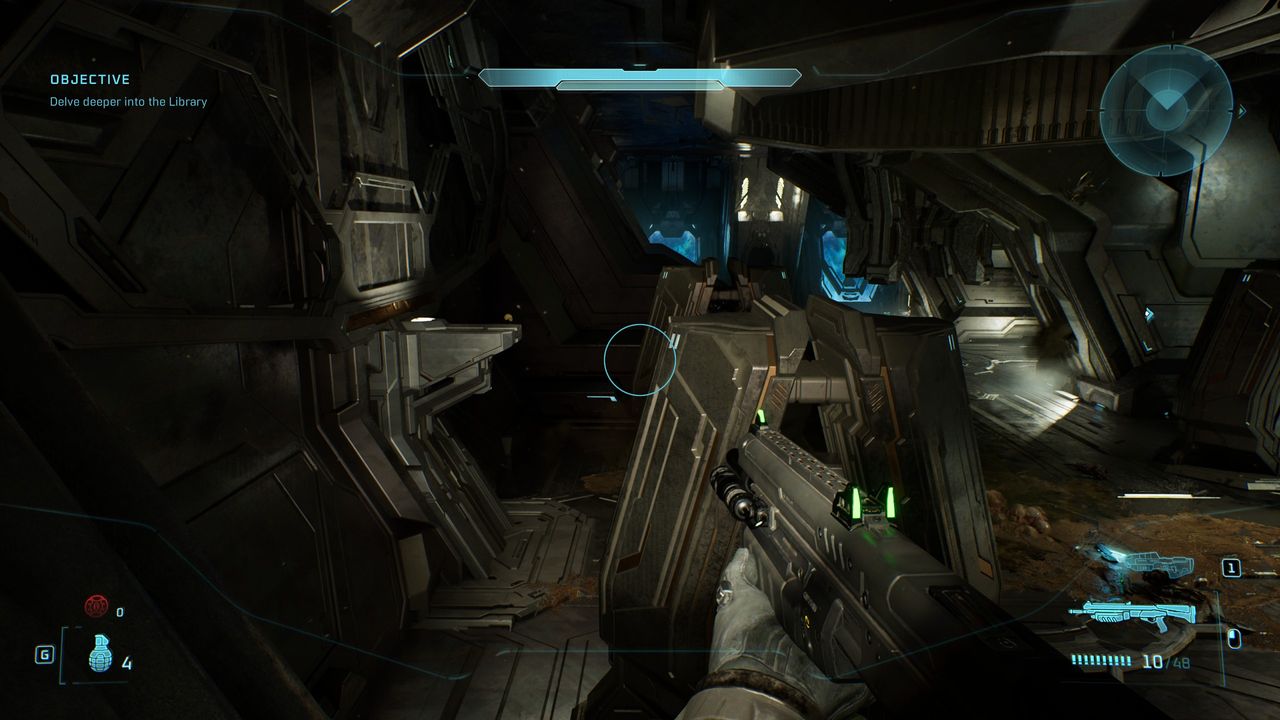
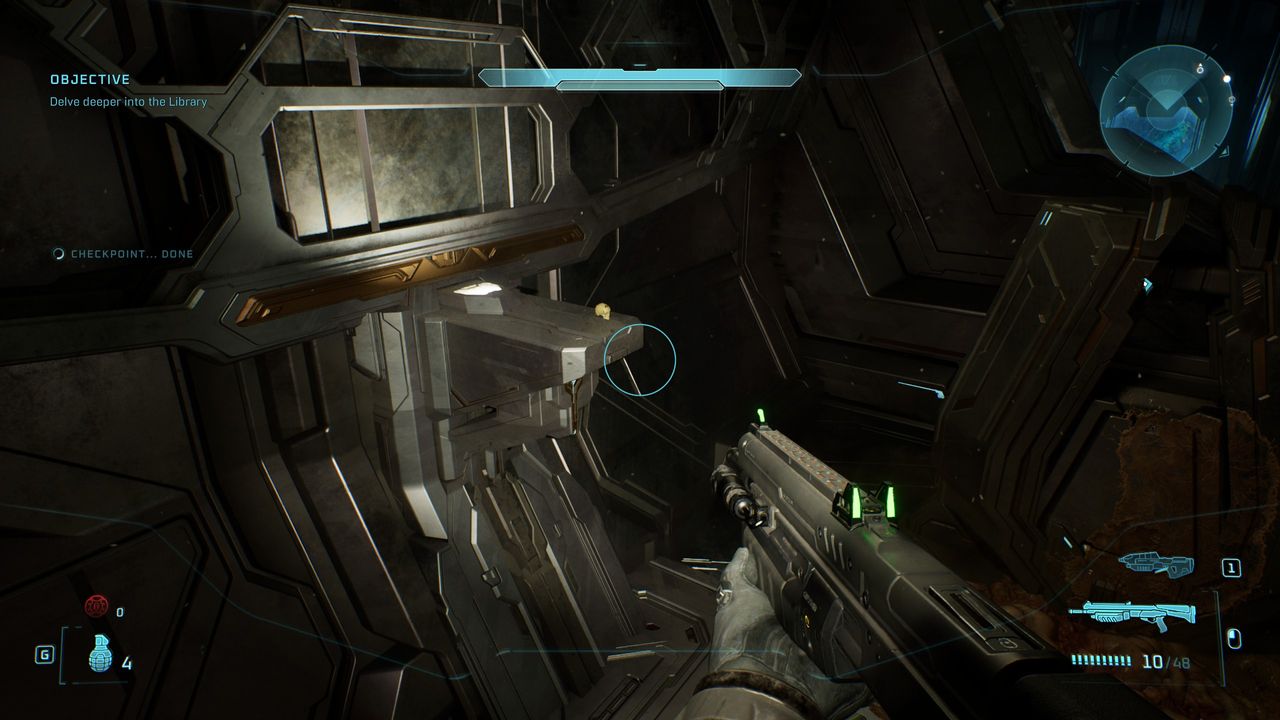
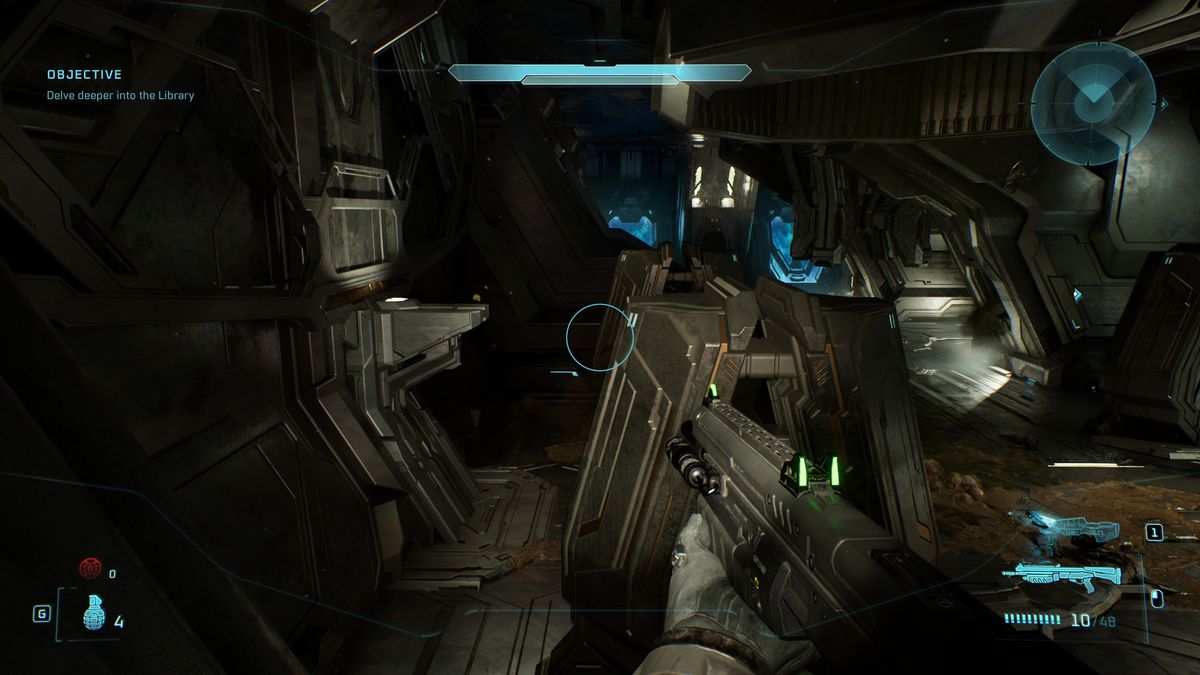
- Effect: Shooting Flood in their weak point causes them to explode.
- Rally Point: Bravo
After you finish defending the lift with Flood dropping onto it, circle around to the left or right to arrive at the next door where Guilty Spark will be waiting. You’ll have to defend the door here as he unlocks it. When facing the door, turn around, and immediately behind you’ll spot a pedestal sticking out of the far wall a little way up with the skull on top. Climb the sloping strut to the side, hop across to the blocks between, and then jump to the pedestal itself.
3. Famine
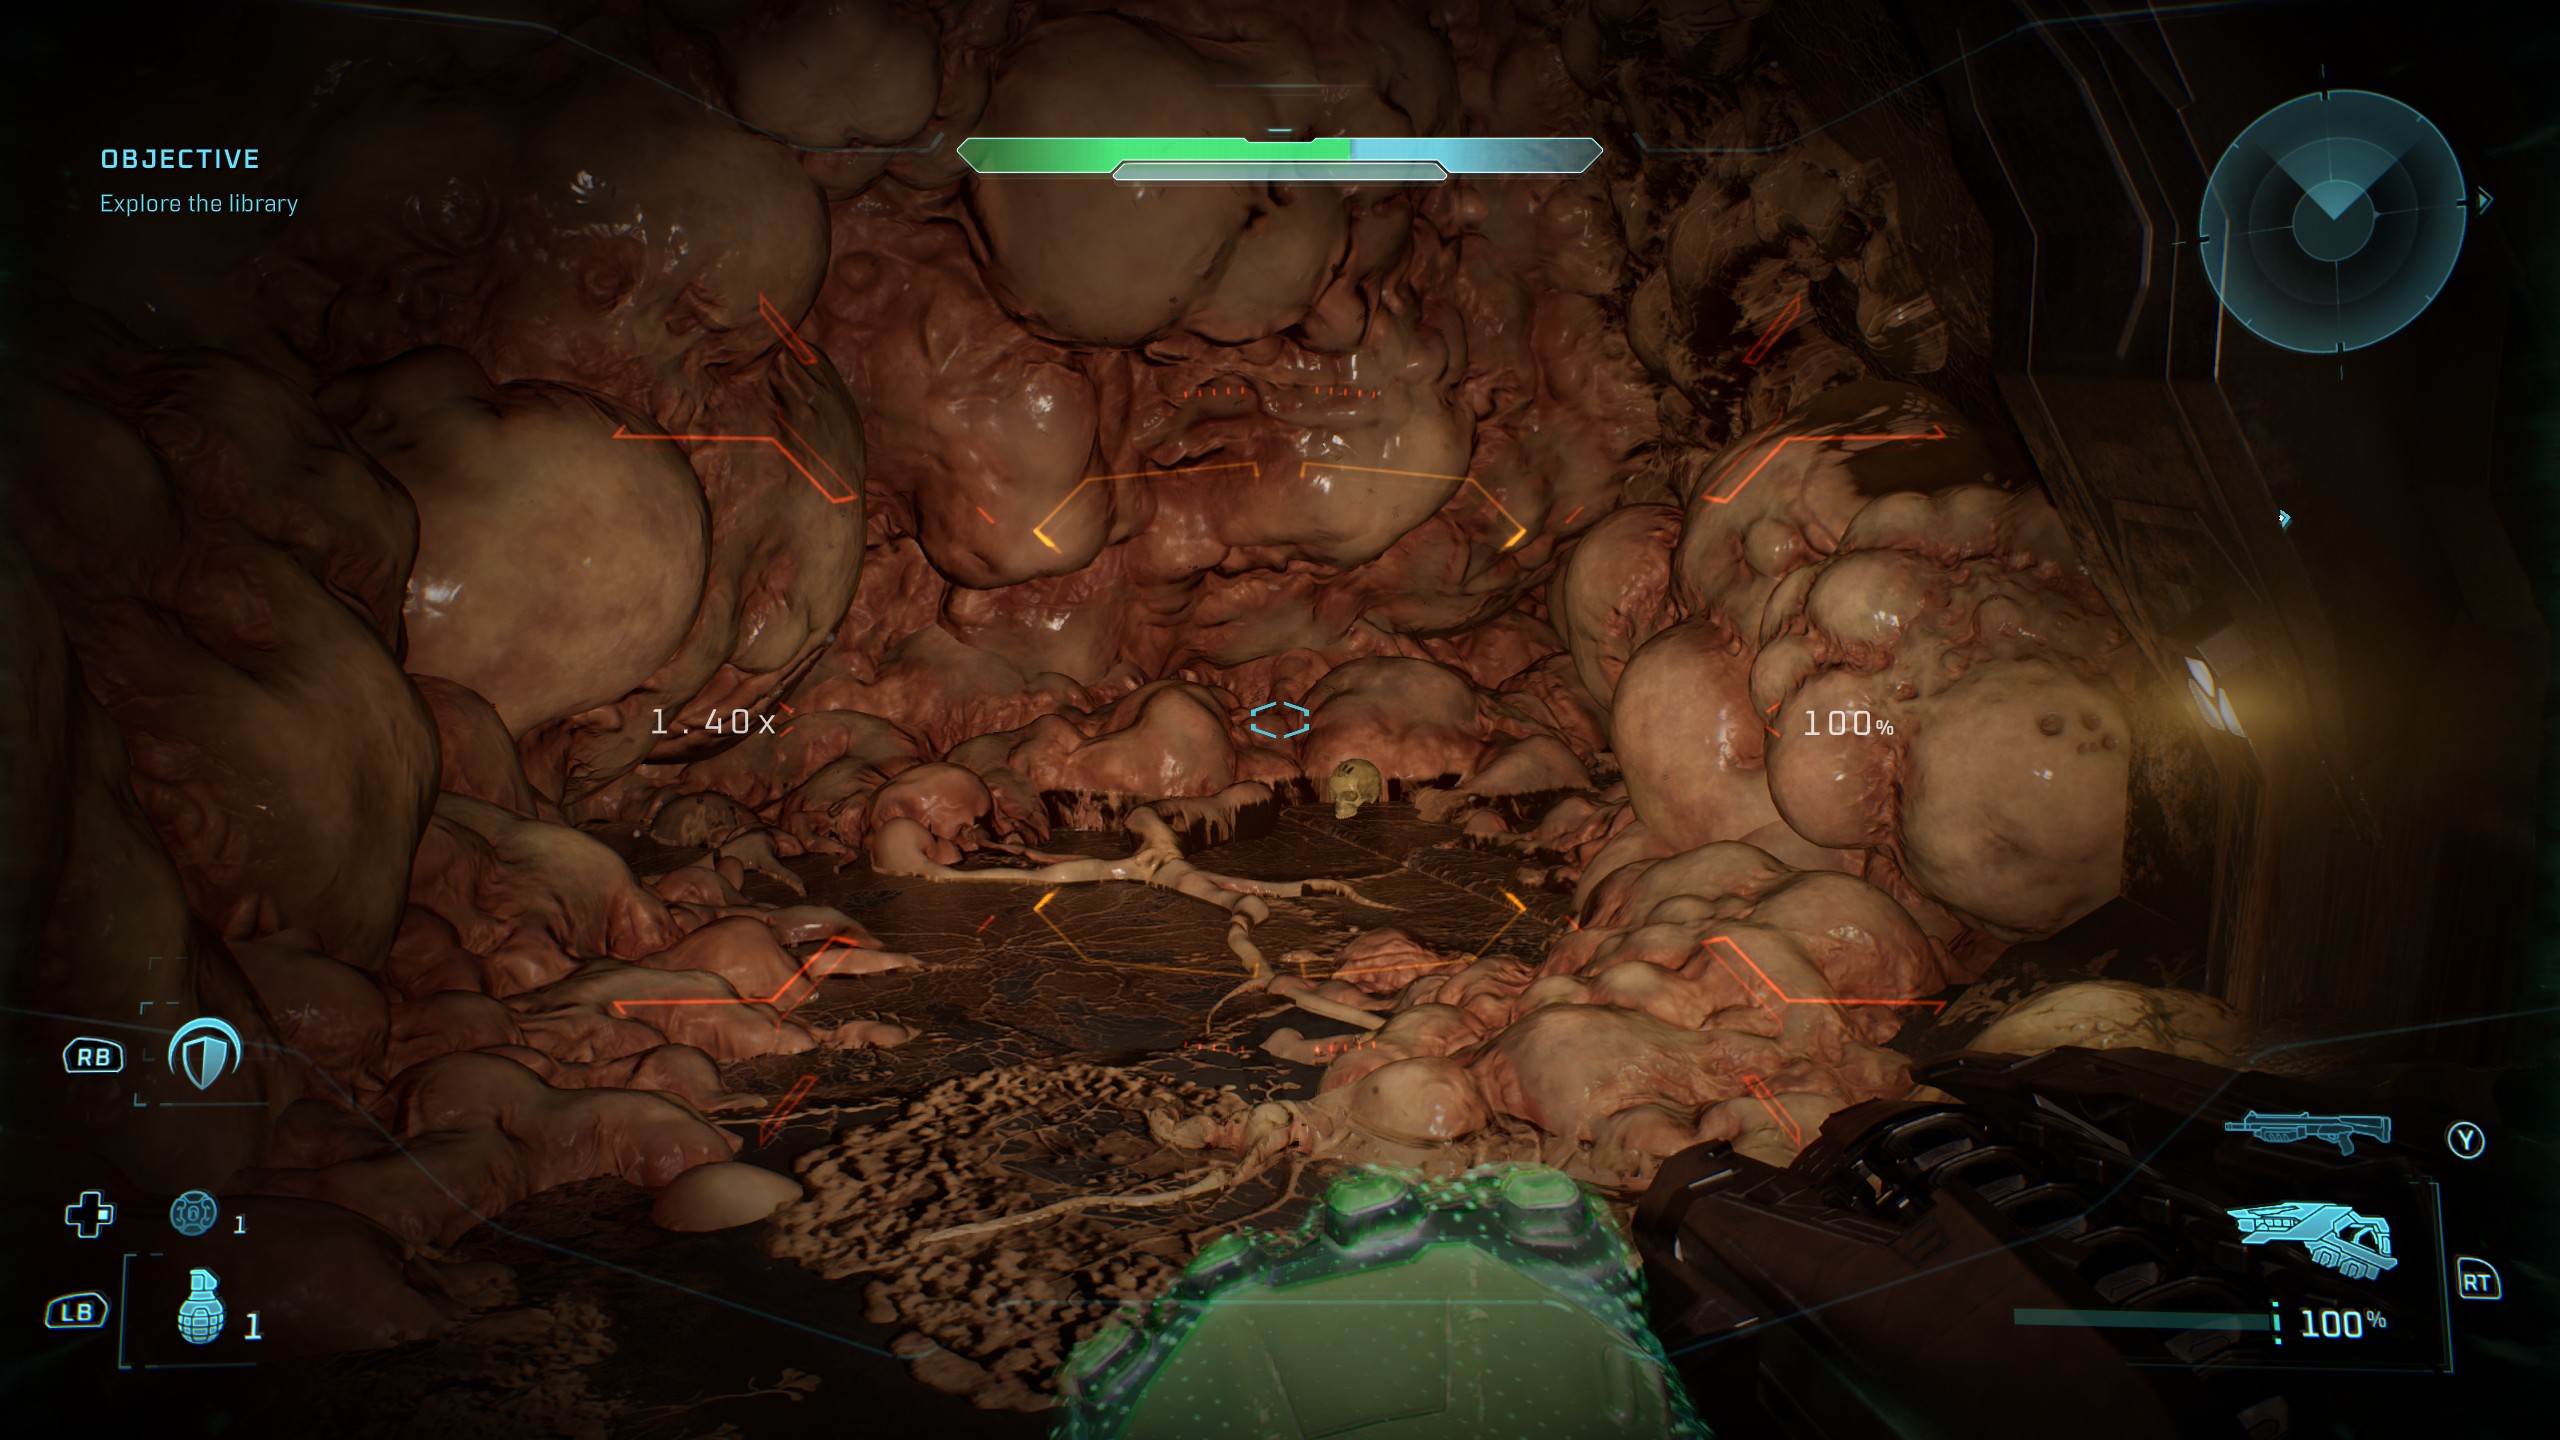
- Effect: Weapons dropped by enemies contain half the ammo.
- Rally Point: Charlie
Right at the start of the fourth section, when you arrive at the bottom of the third big elevator, go straight ahead, down the stairs, and turn left before you reach the sentinel beam to find the skull in a little alcove.
Two Betrayals skull locations
1. Tough Luck
(Image credit: Halo Studios)
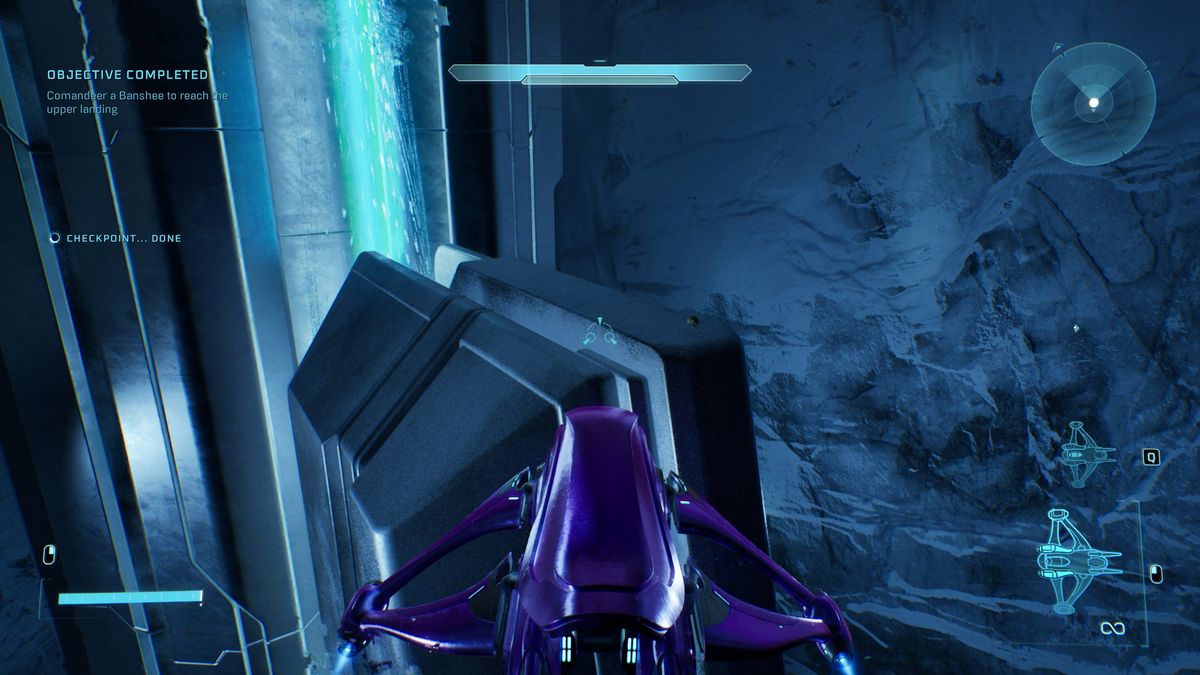
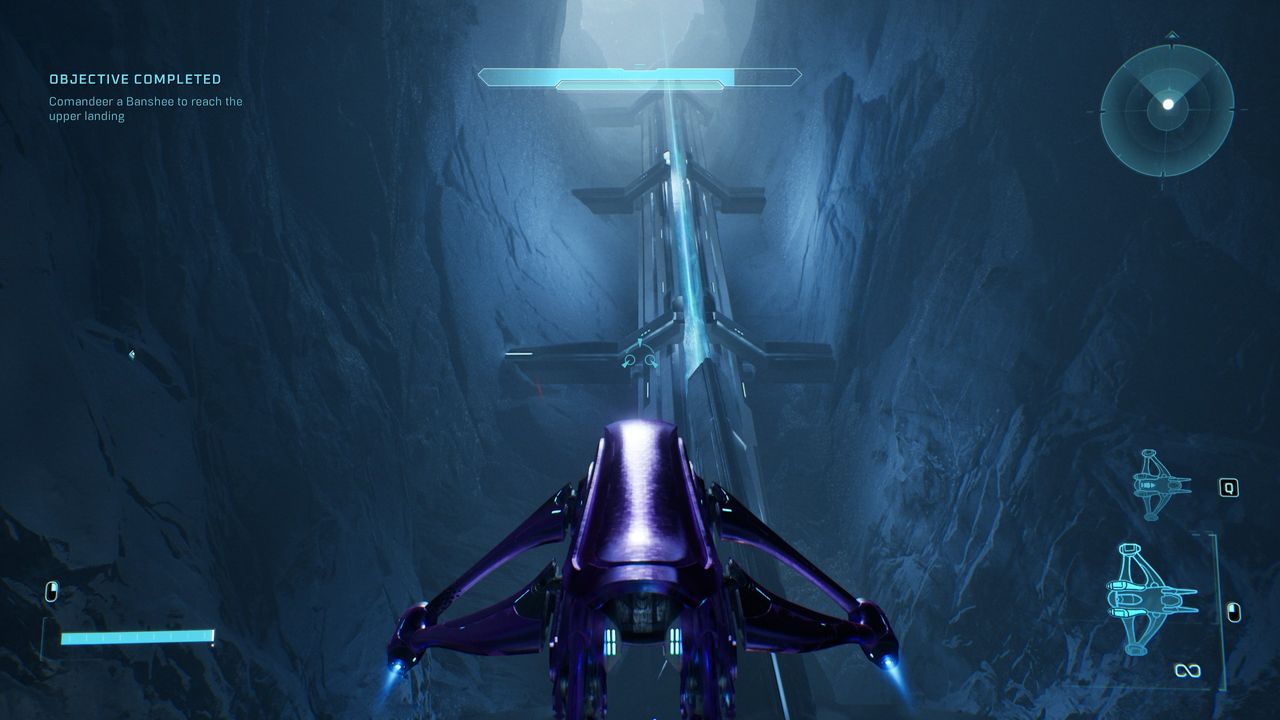
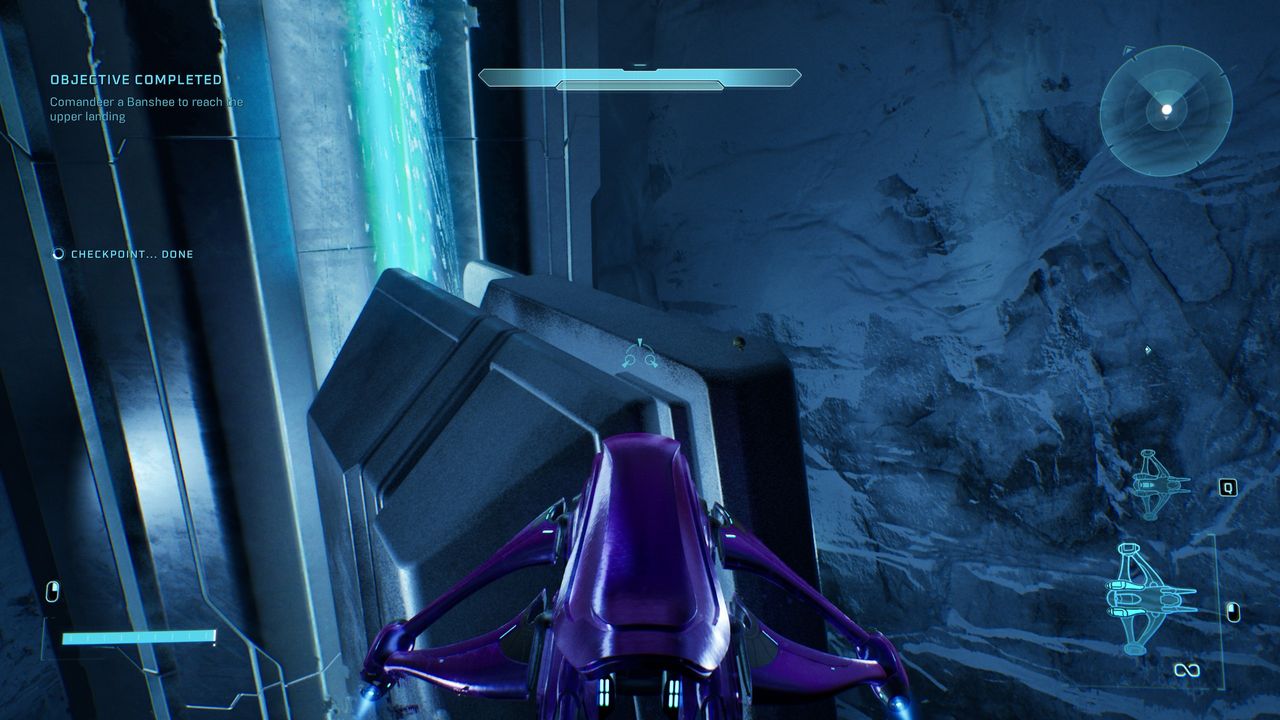
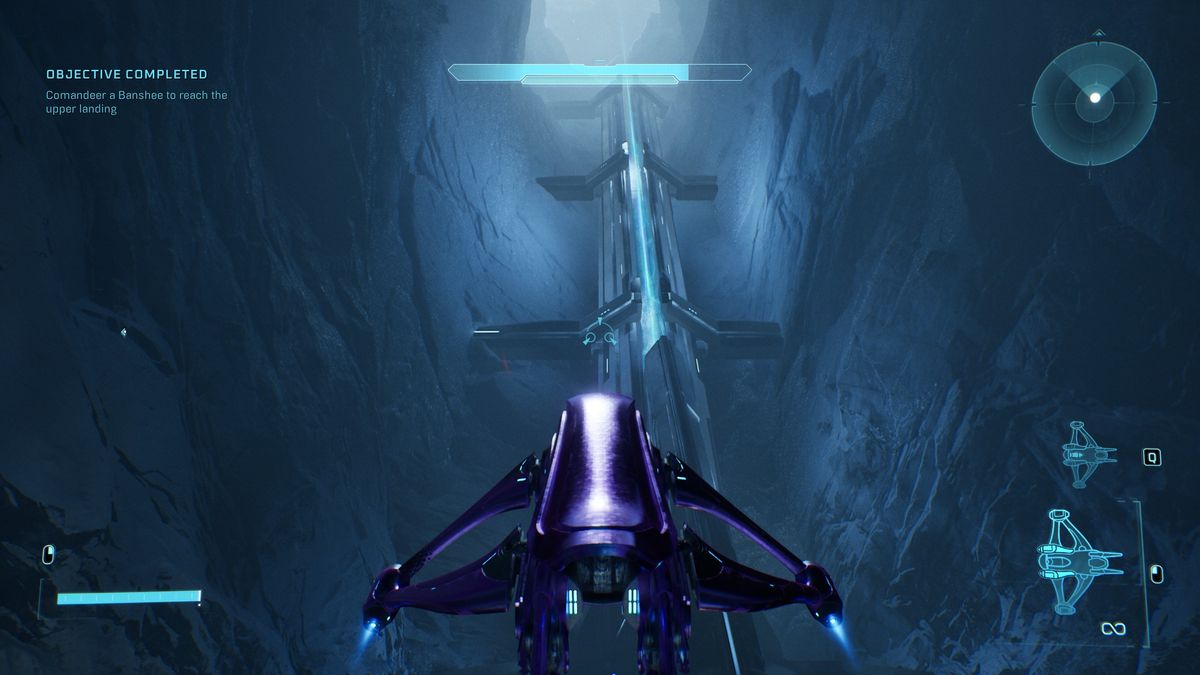
- Effect: Enemies always go berserk, constantly roll out of the way, and rarely run from a fight.
- Rally Point: Alpha
After you exit the Halo control centre and descend to the bottom level where the banshee’s waiting, get inside, and use it to fly back up to the big crest structure sticking out in front of the light pillar above the control centre. Fly to the top to find the skull and time jumping out of your banshee to land on the platform.
2. Black Eye
(Image credit: Halo Studios)
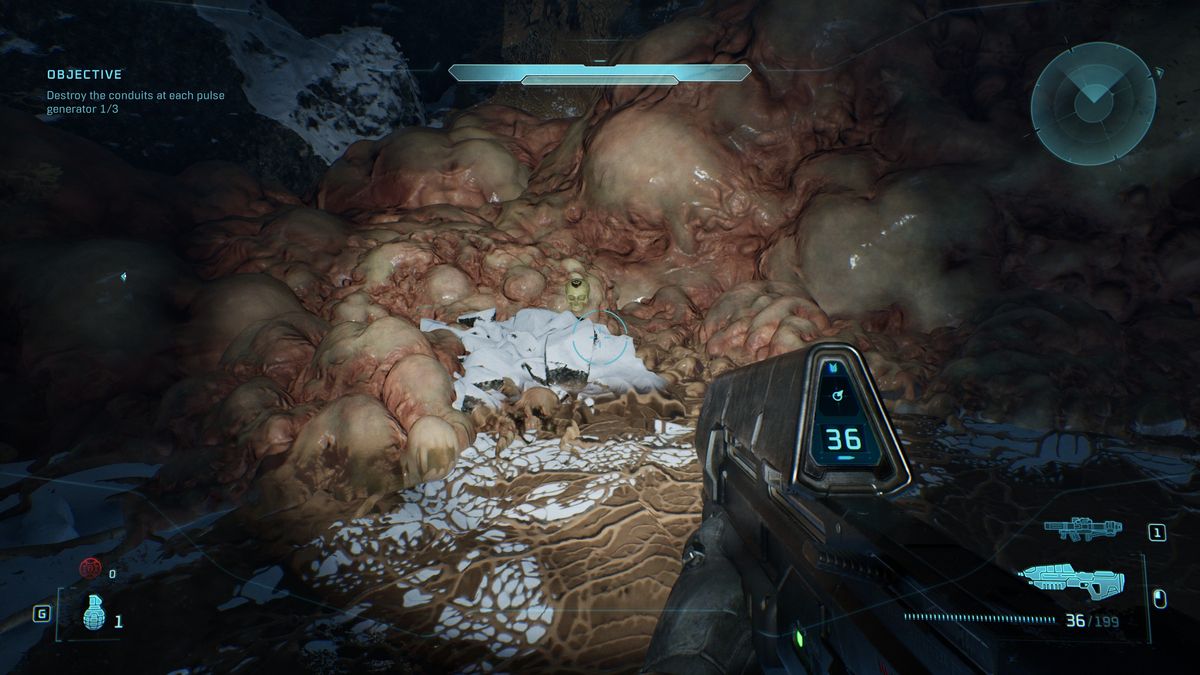
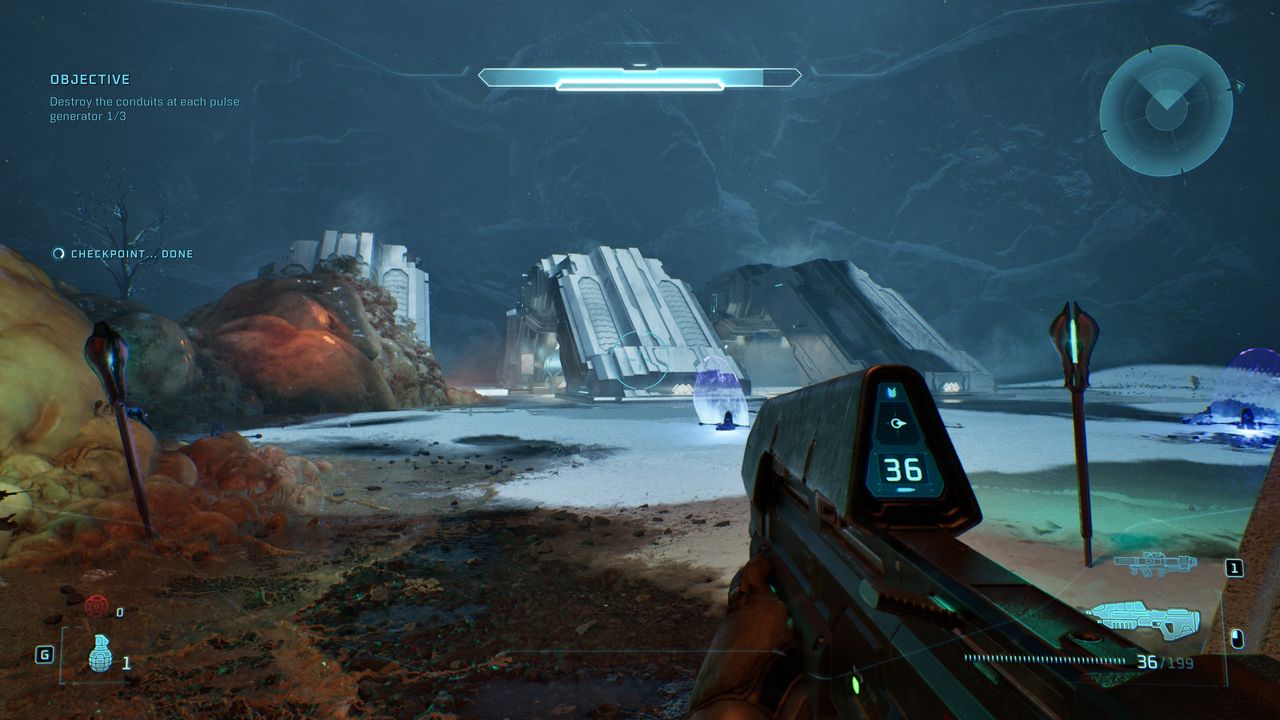
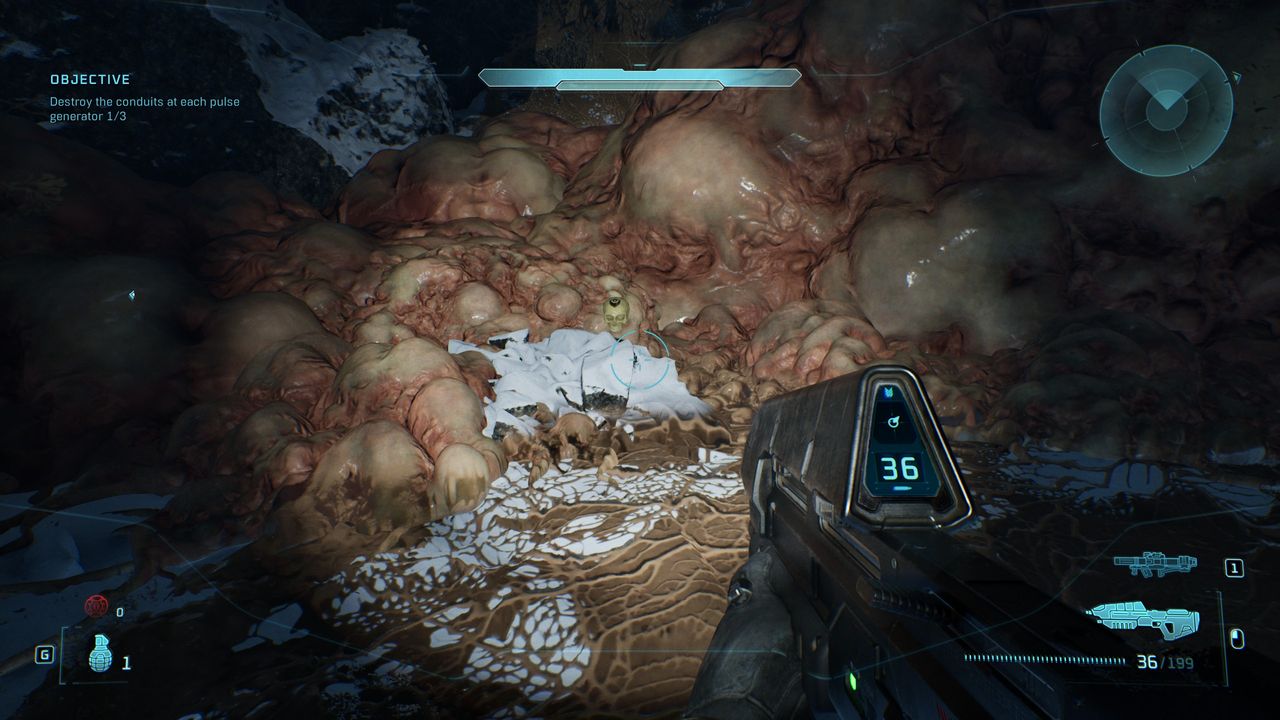
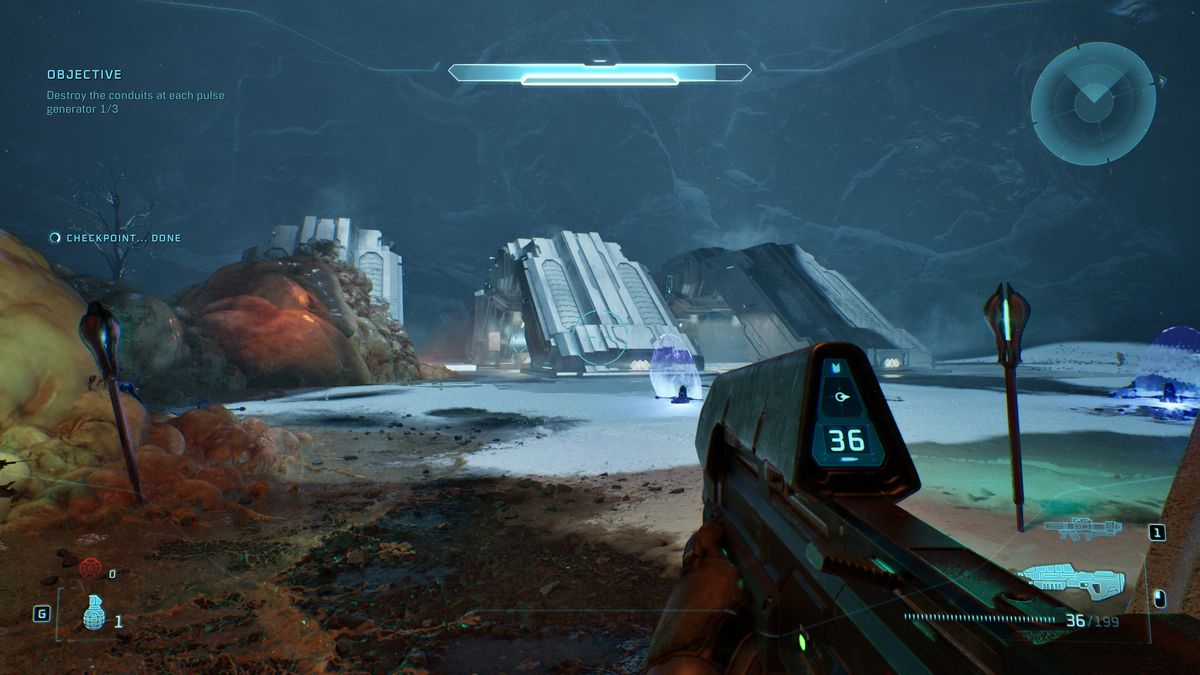
- Effect: Your shields will only recharge when you melee enemies.
- Rally Point: Charlie
After you’ve destroyed the first conduit, you’ll emerge out into the bottom of the valley (where you’ve been before in Assault on the Control Room) and see three bridgelike arches ahead of you. Cross the middle one to the other side, and head right to spot the skull on a pile of snow amidst the Flood growths.
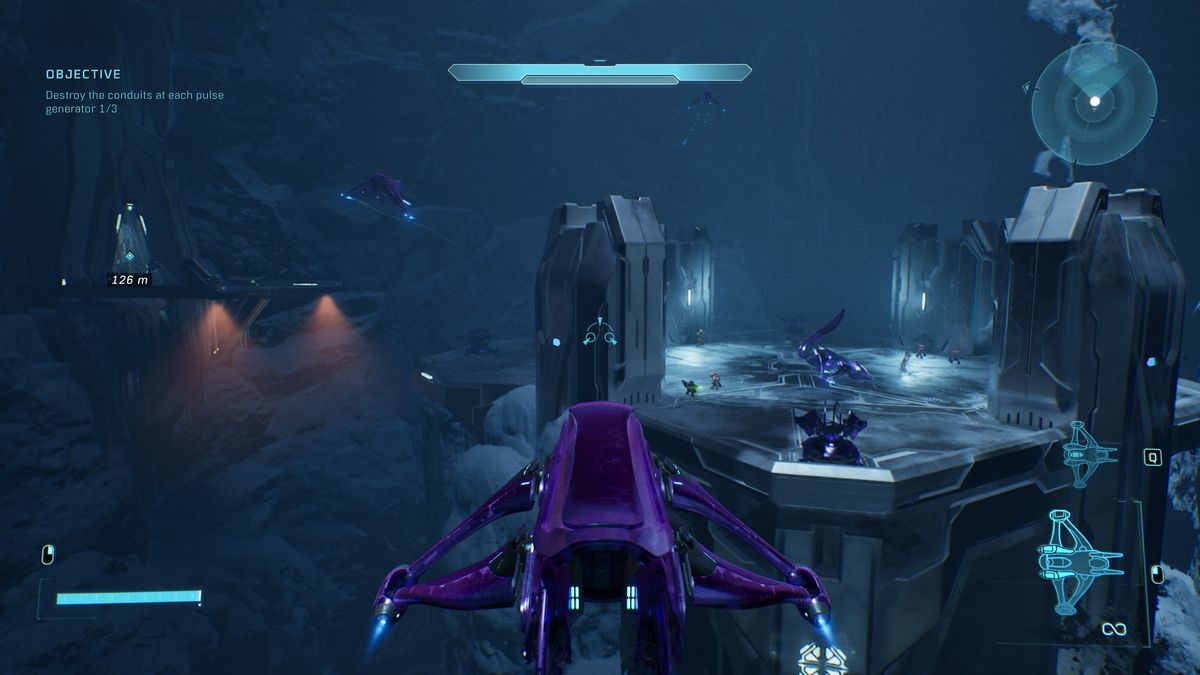
3. Mythic
(Image credit: Halo Studios)
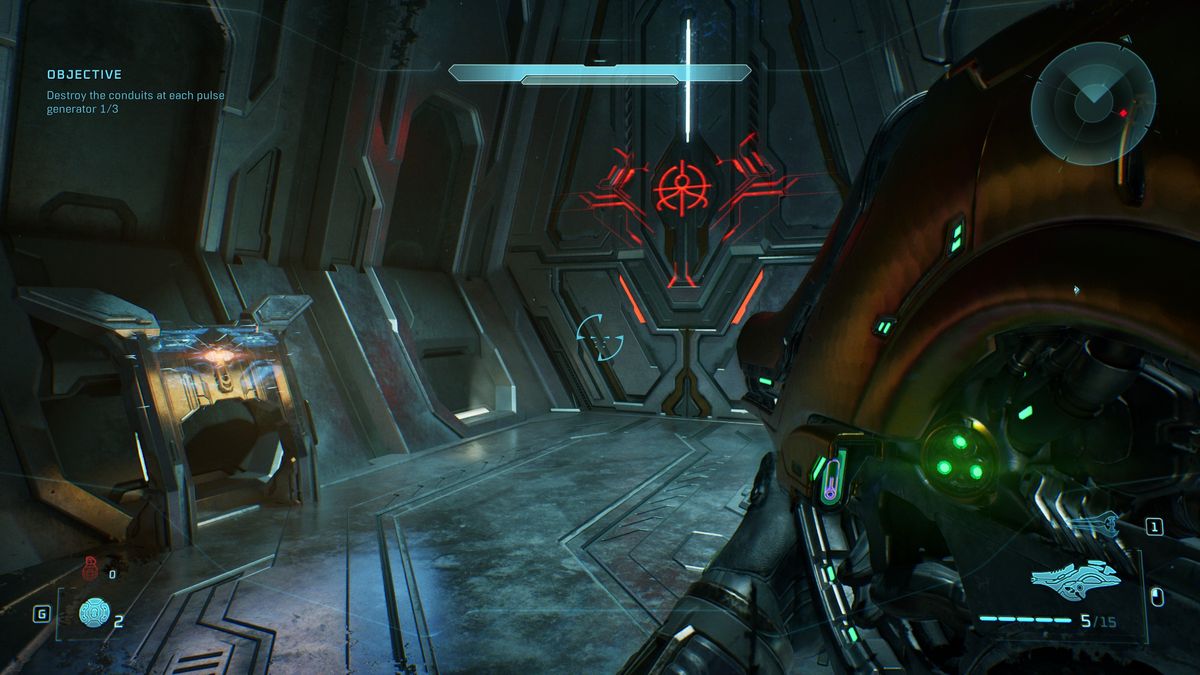
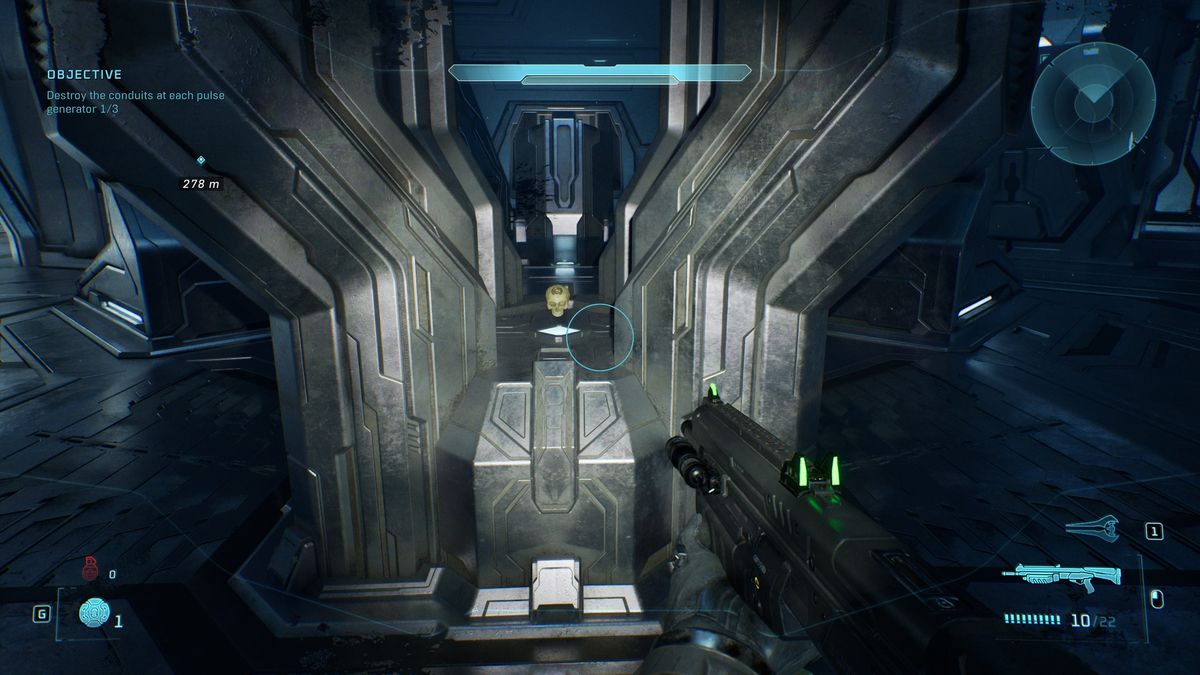
- Effect: Enemies have increased health (also unlocks LASO mode).
- Rally Point: Charlie
After the previous skull, you’ll later have to fly to the top of a valley onto a platform where there are some Banshees, and two doors built into the valley walls on either side. Activate the terminal on the platform and head through the door directly opposite (so the door that’s on the opposite side to where the objective marker is directing you). Now you need to:
- Kill all the enemies in the room (including energy sword Elites and a lot of fuel rod cannon grunts).
- Activate the terminal to open the door on the far side.
- Now defeat all the enemies in this hallway and activate the next door.
- Defeat all the enemies in the final room to spawn the Mythic skull in the pillarlike structure at the centre.
Keyes skull locations
1. Catch
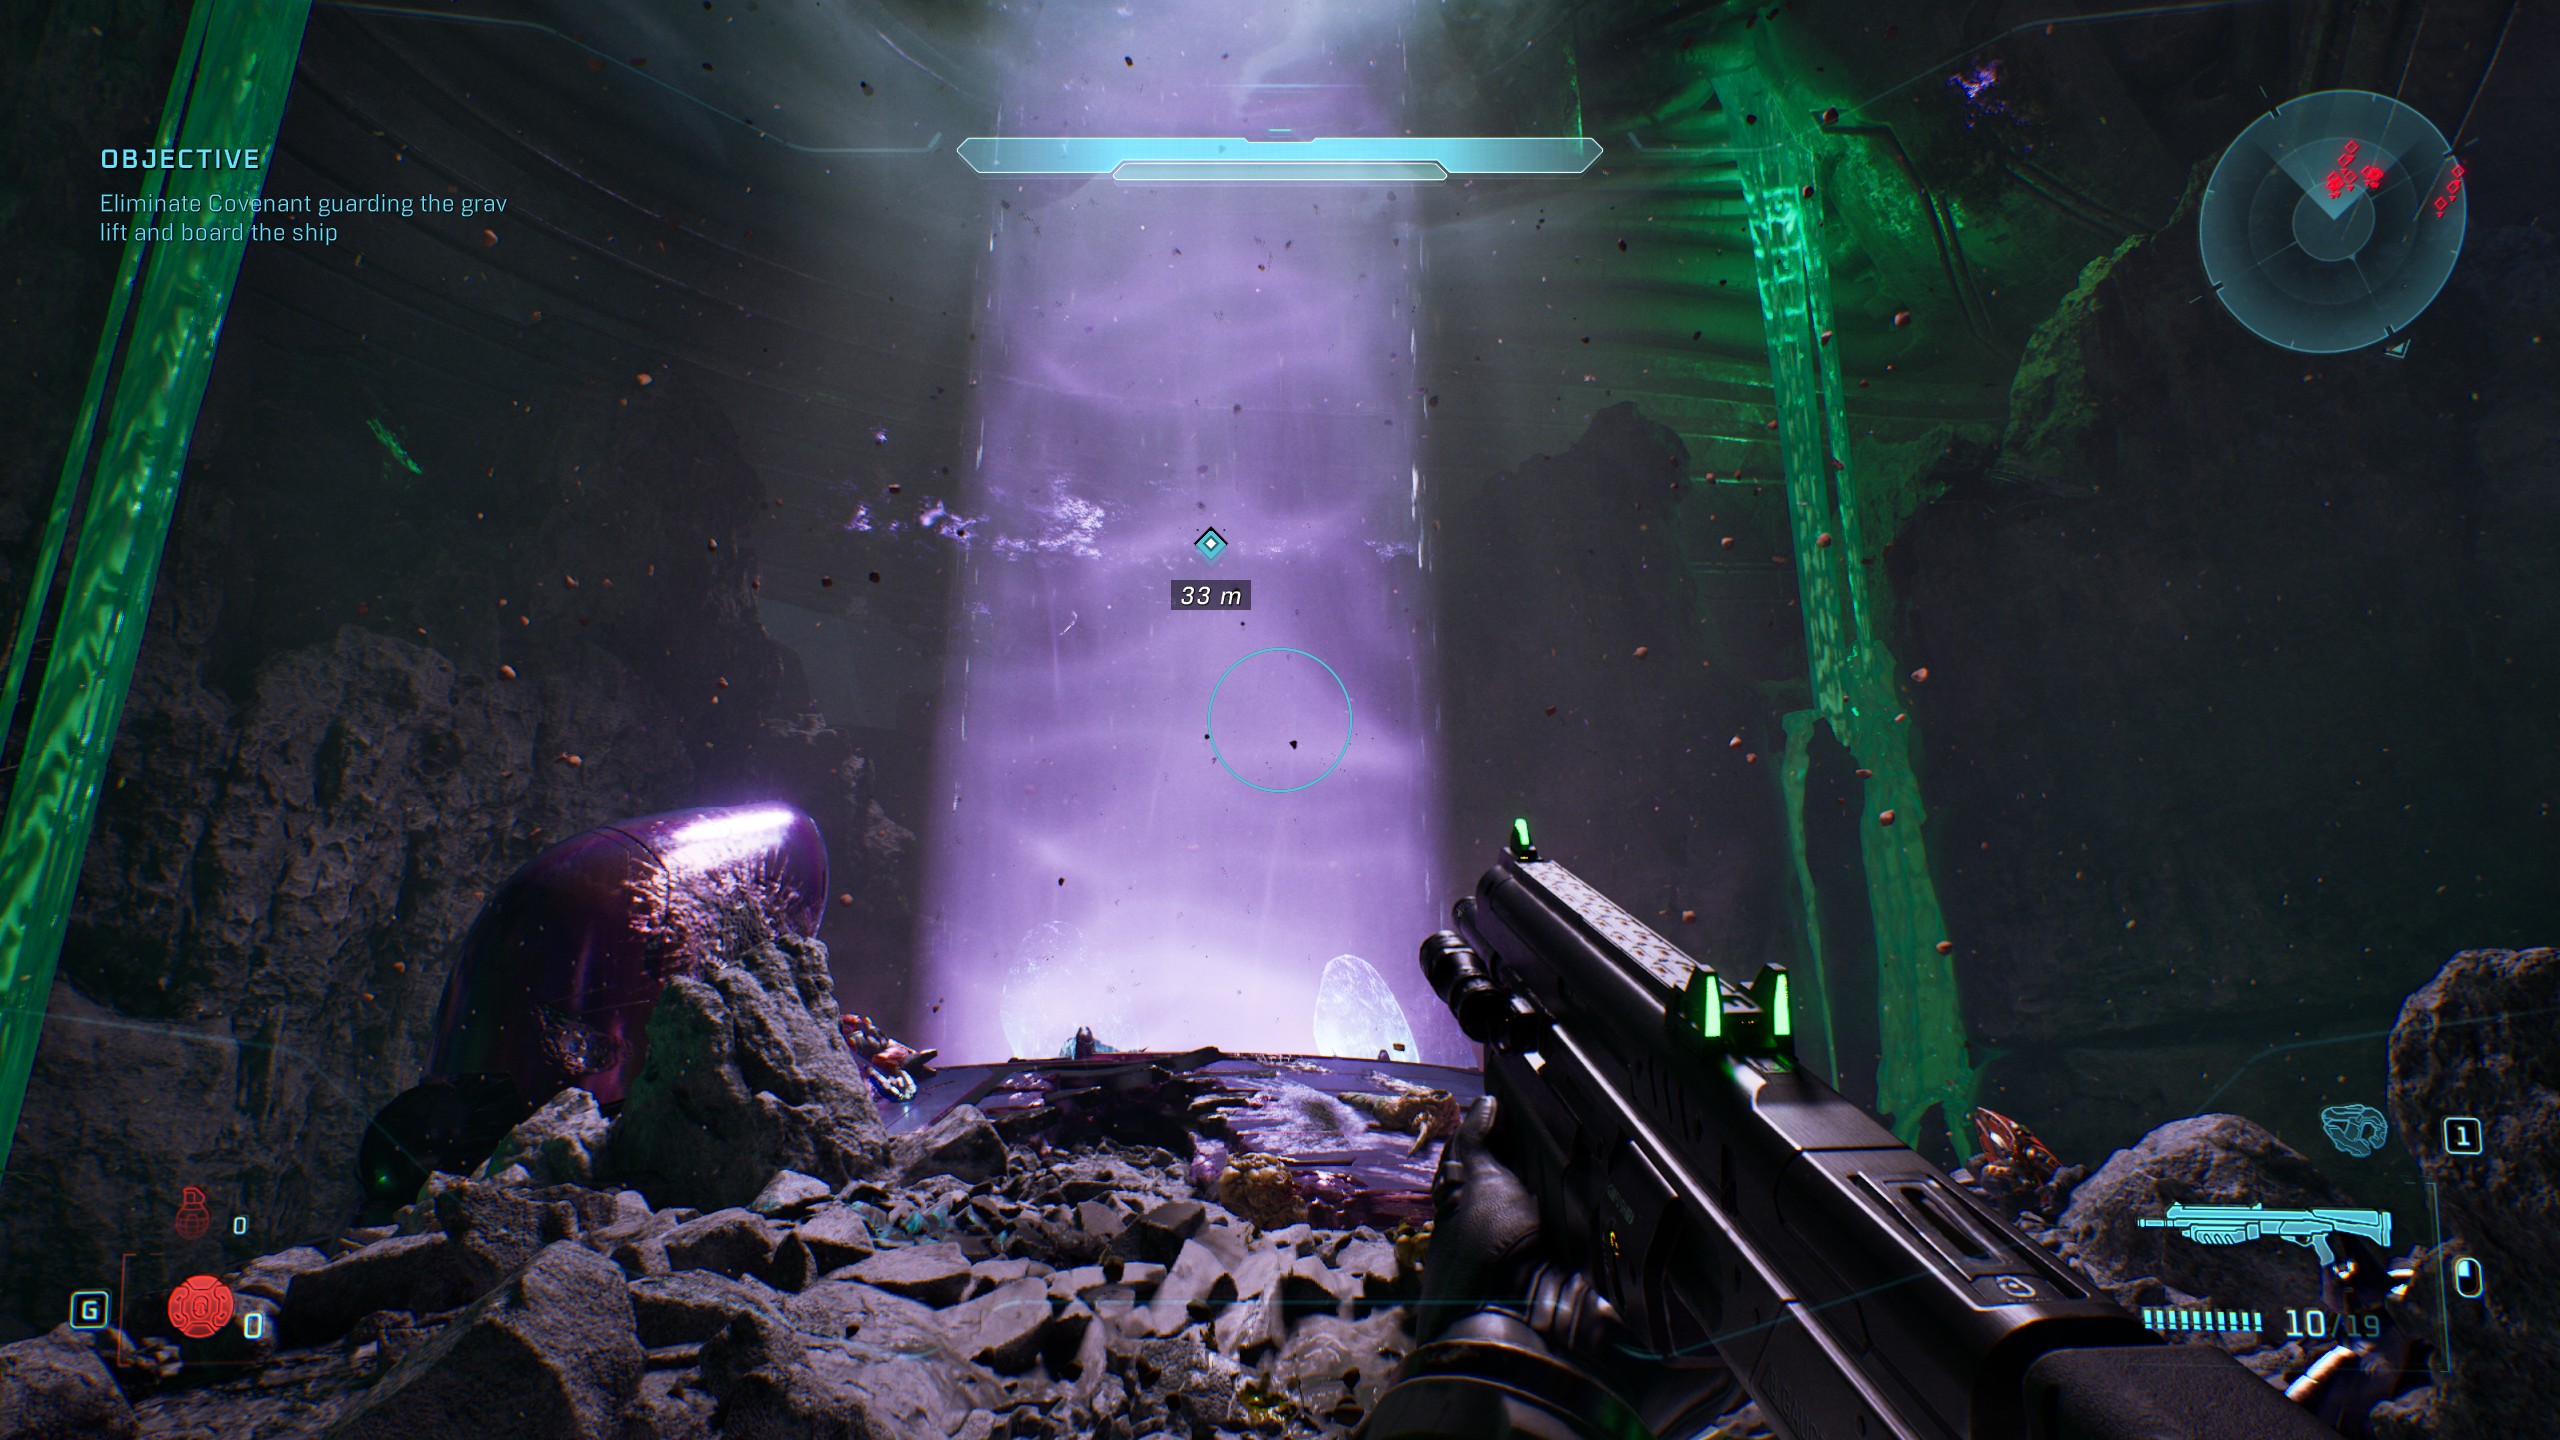
- Effect: Makes enemies throw and drop more grenades.
- Rally Point: Alpha
Without a doubt, the hardest skull to get in Halo: Campaign Evolved, partly because you need to be on Heroic difficulty for it to appear. This skull is timed and will despawn if you take more than a few minutes. From the start of the level, you need to:
- Rush through the first section to the grav lift (use the optical camo you can pick up at the bottom of the drop to make this easier)
- Defeat the marked enemies on the lift platform
- Stand in the centre and face away from the direction you came
- As soon as you start rising, hold X on controller to grab the skull
The reason this is so tricky is because of the increased difficulty, time constraint, and because the skull is right before the end of the grav lift, meaning you only have one chance to catch it as you pass by. Play on co-op if possible to increase chances of survival and catching the skull.
2. Blind
(Image credit: Halo Studios)
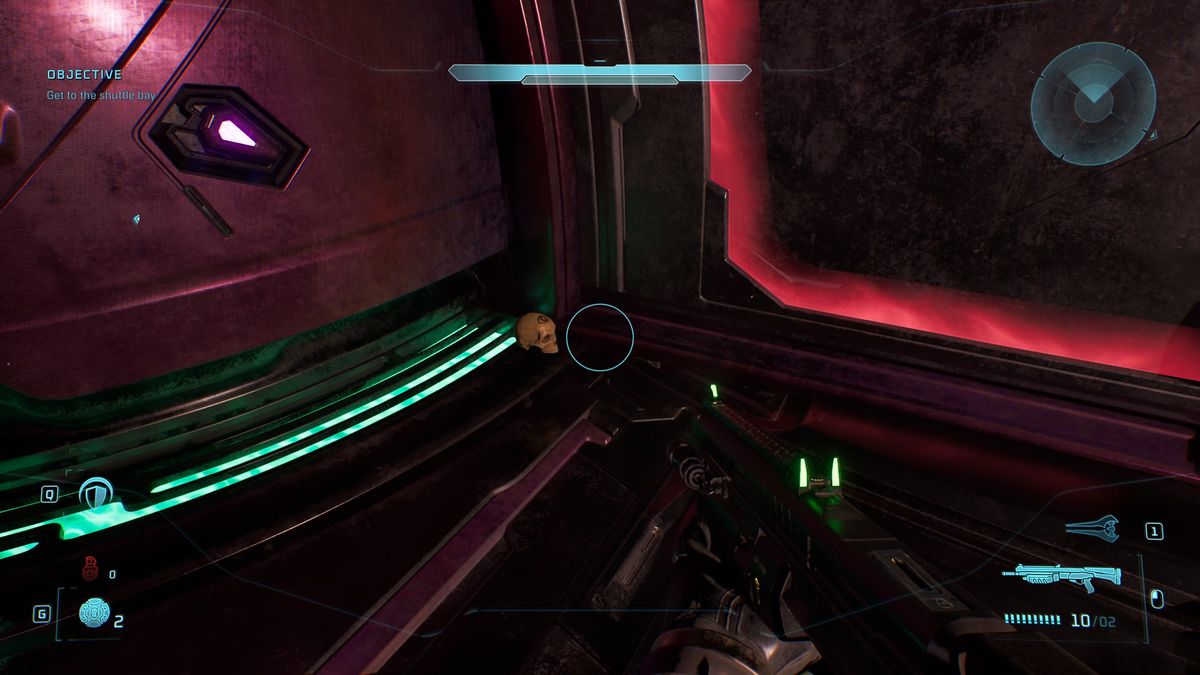
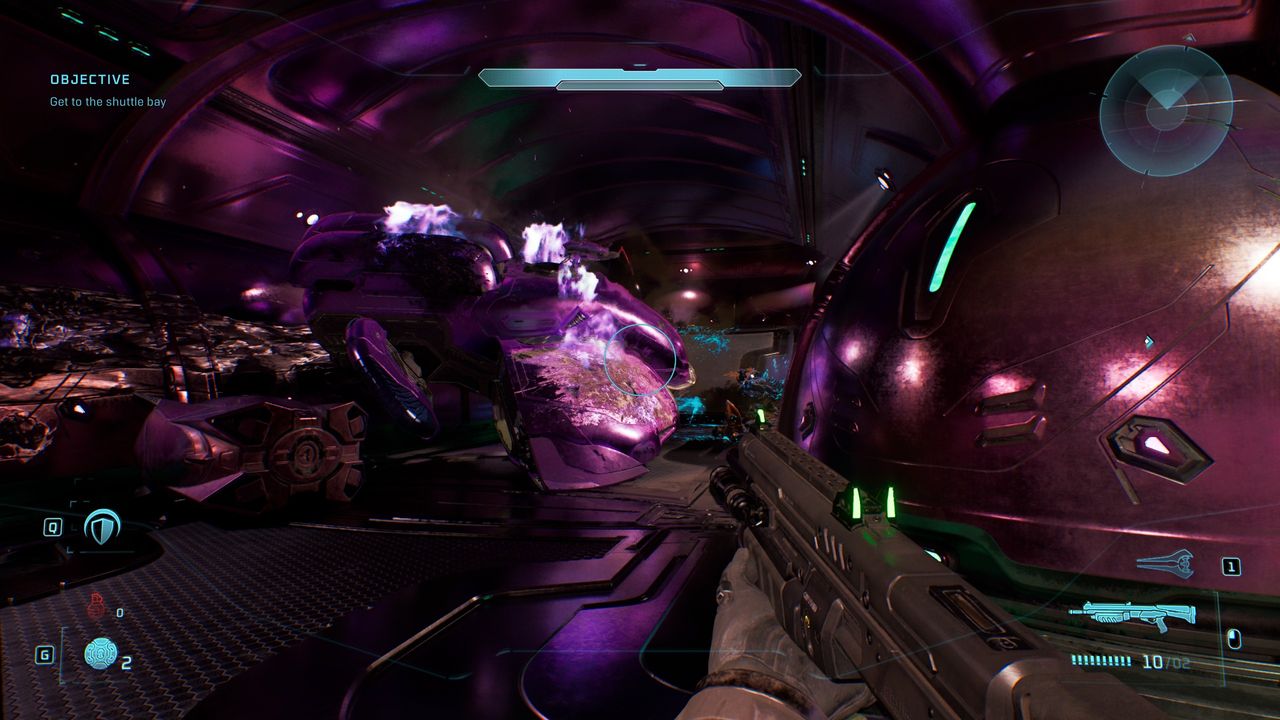
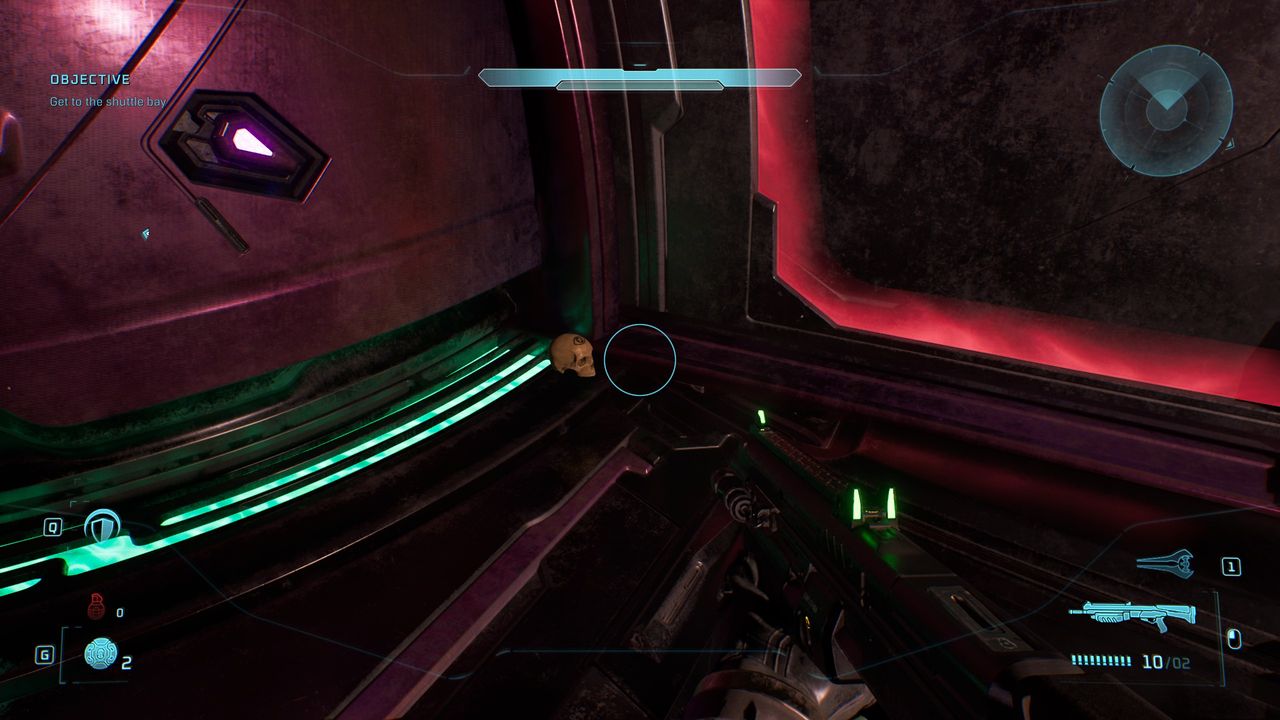
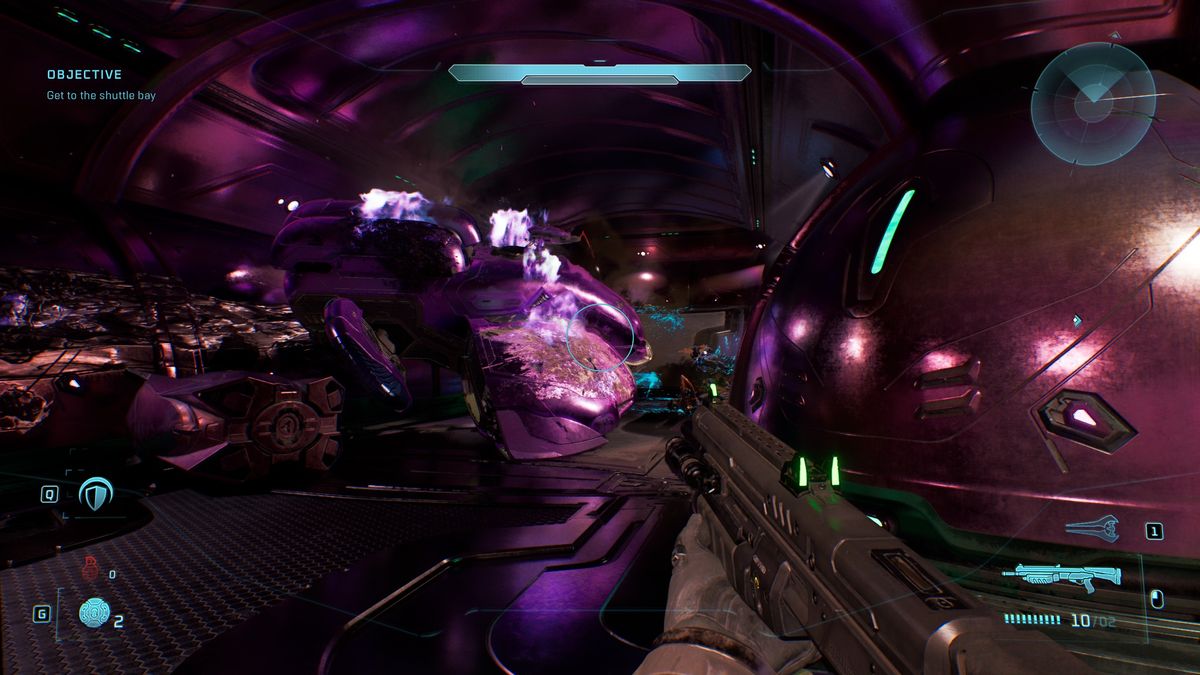
- Effect: HUD and weapons do not appear on screen.
- Rally Point: Bravo
After you board the ship, you’ll enter the upper level of a bay filled with ghosts and wraiths where Cortana comments that the Flood are gathering bodies in the corners. Drop down and look for the open doorway at the far end with the passage blocked by a destroyed Wraith and some Covenant crates. Blast them out of the way with a grenade and head up the corridor to find the skull by the locked door on the left.
3. Pinata
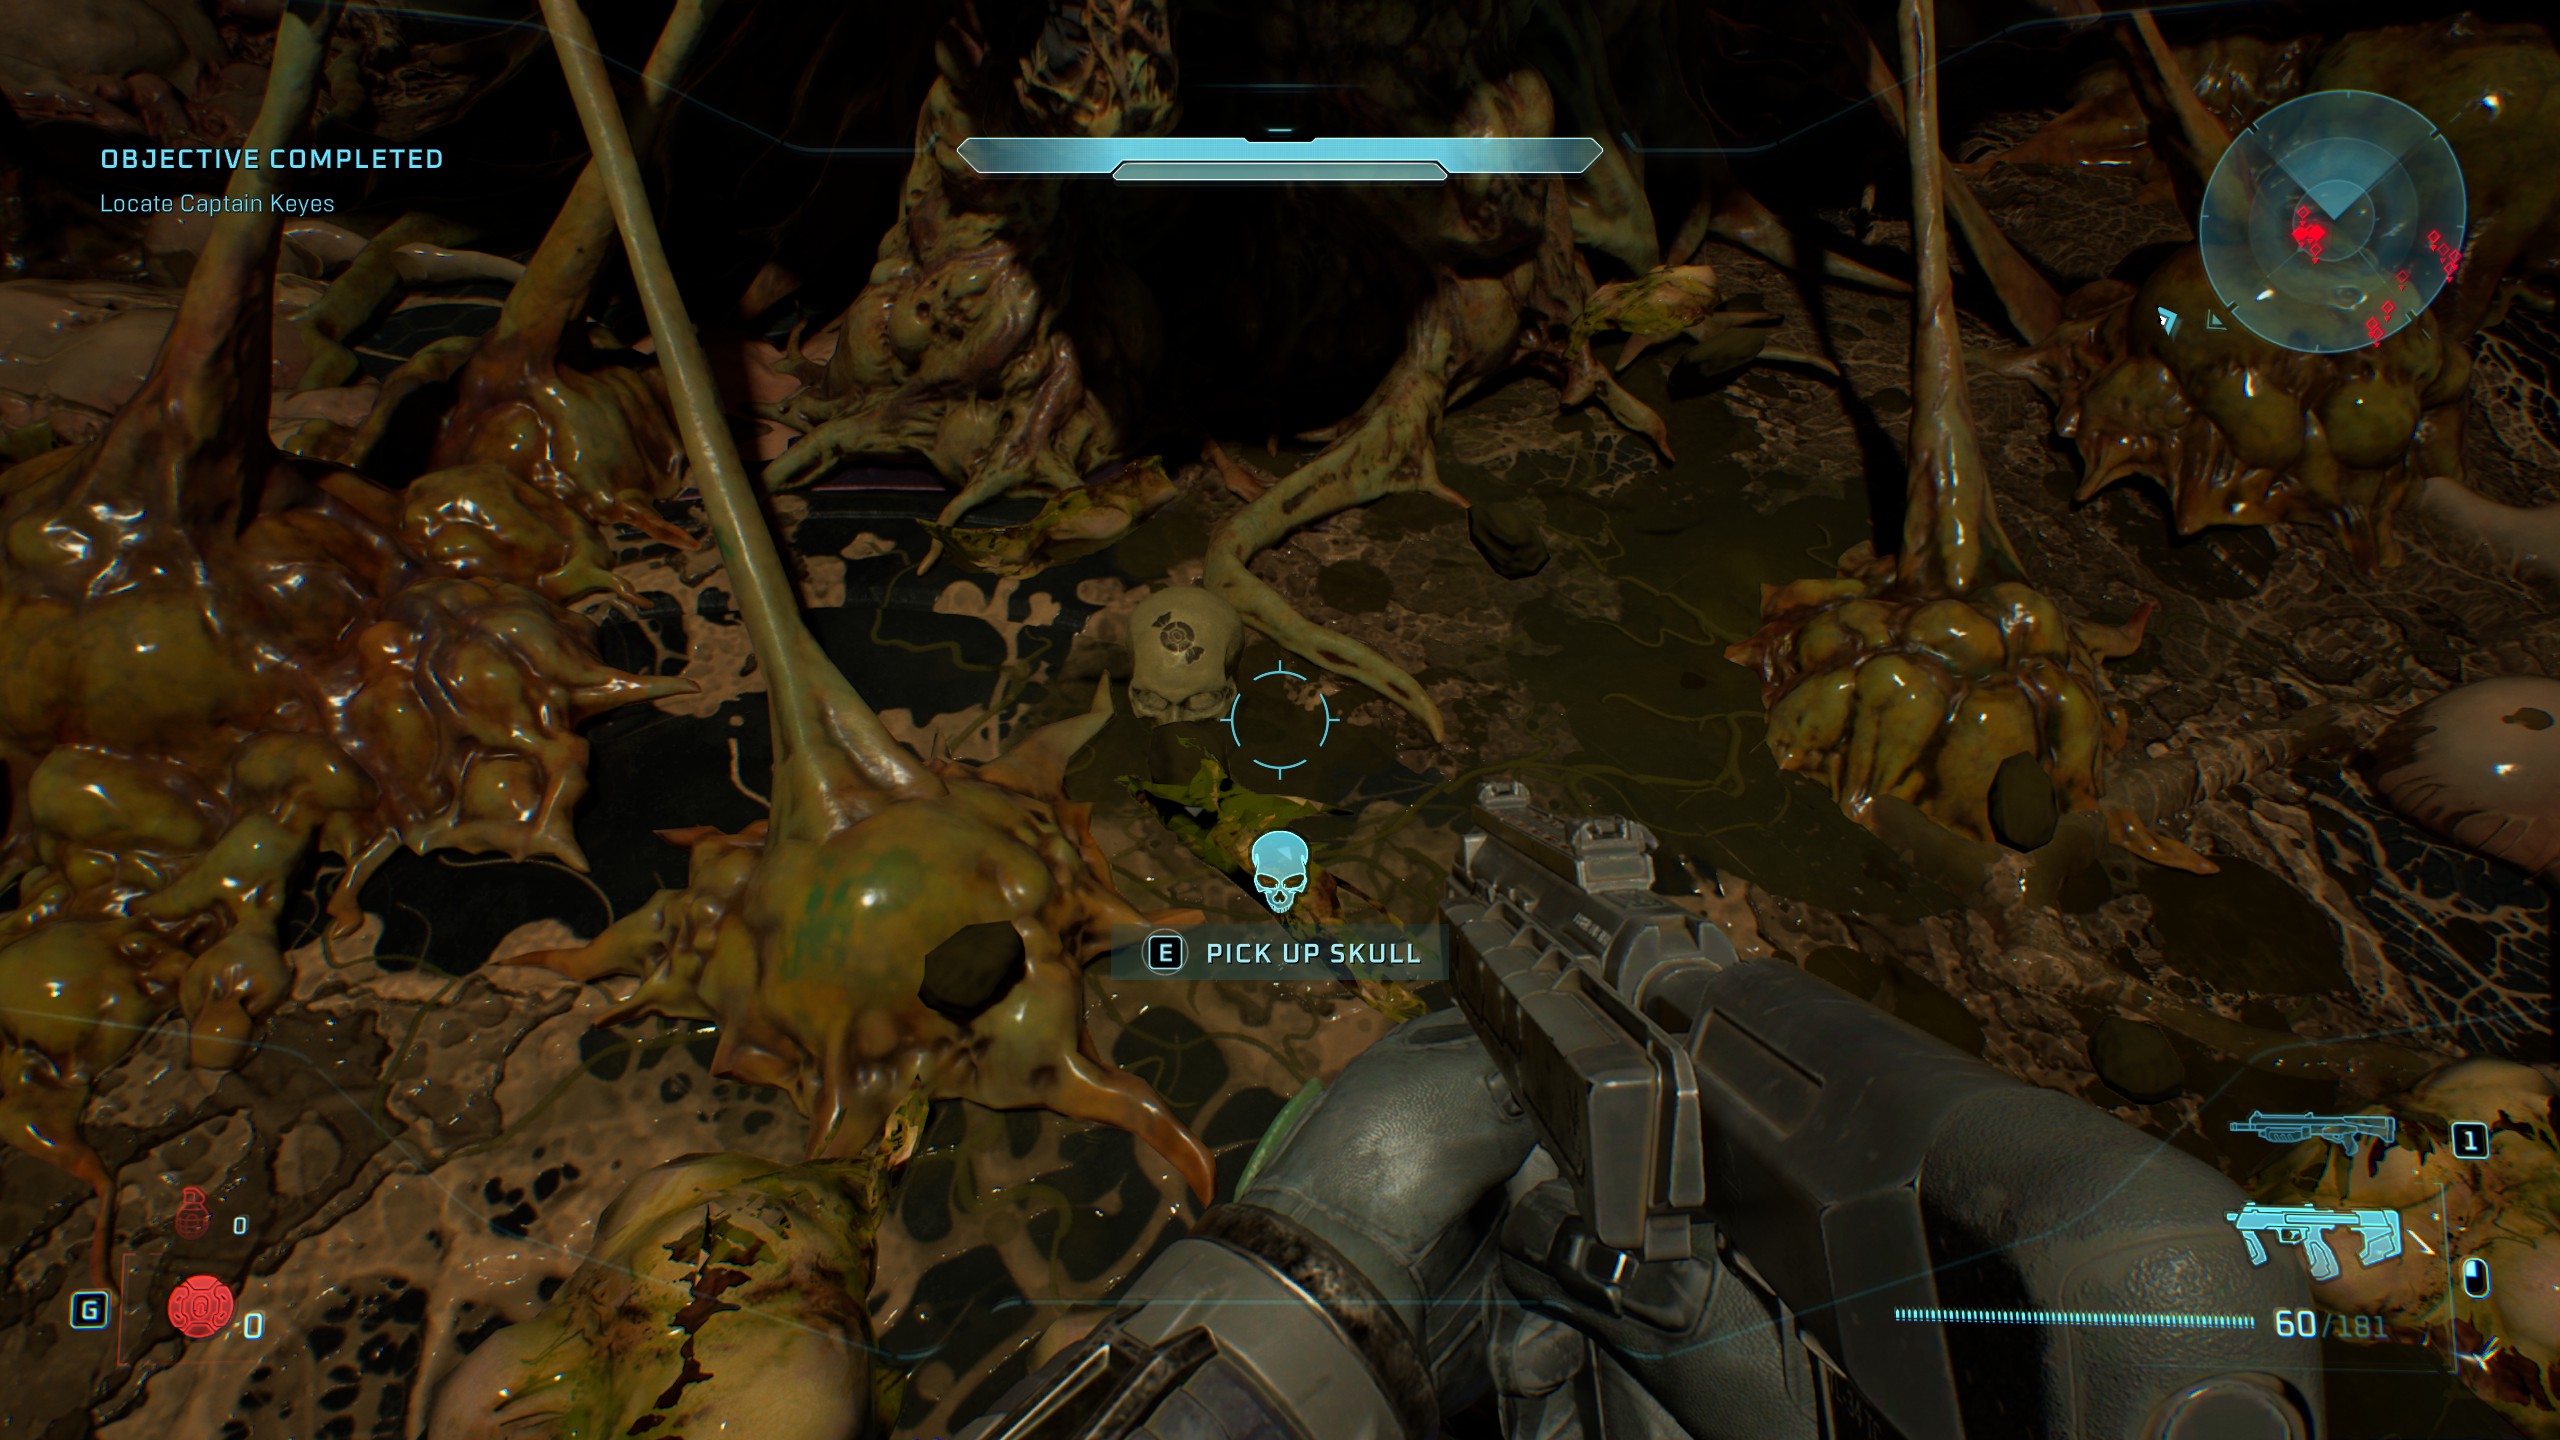
- Effect: Punching enemies makes them drop inert grenades.
- Rally Point: Charlie
After the cutscene plays with Keyes, turn around and melee the flood growth he’s in until this skull drops out on the floor in front of him.
The Maw skull locations
1. Stowed Reload
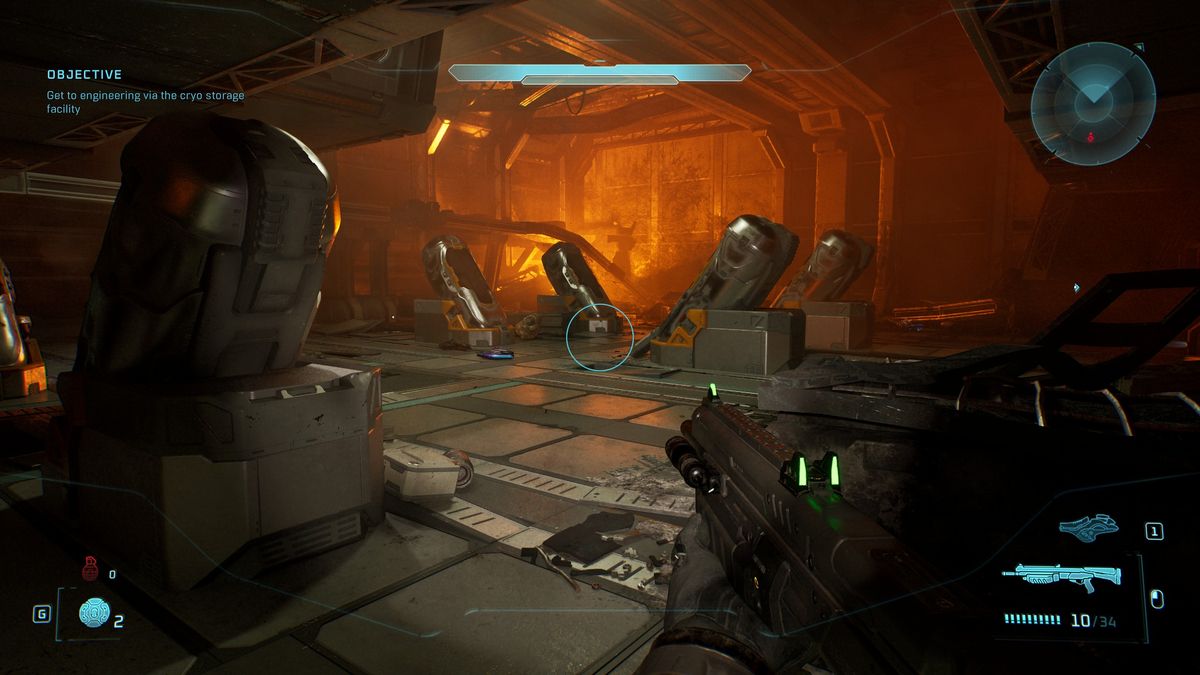
(Image credit: Halo Studios)
- Effect: Weapons continue to reload while stowed.
- Rally Point: Bravo
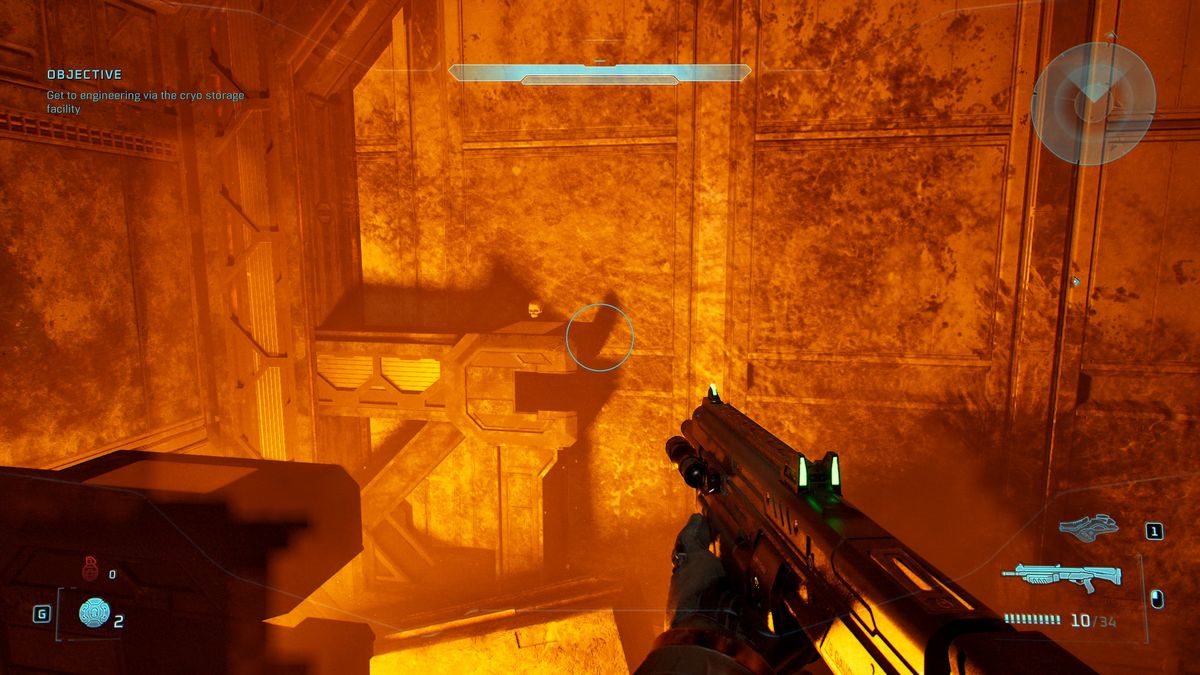
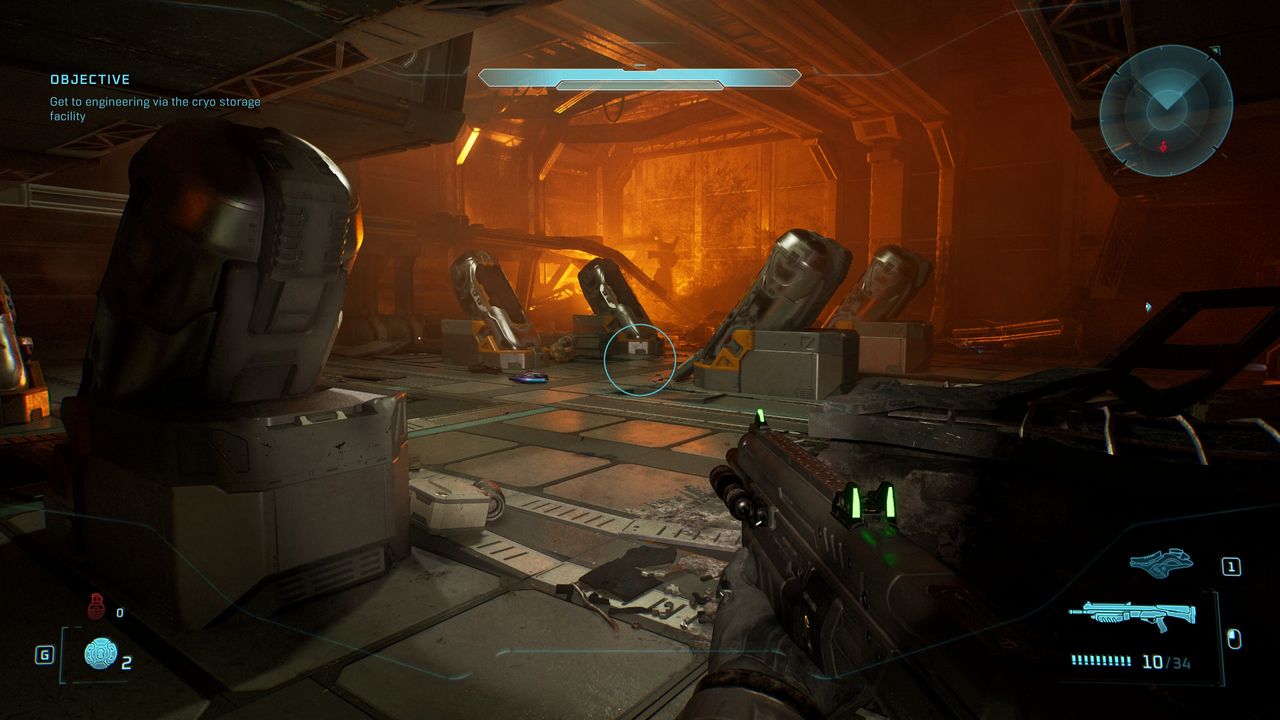
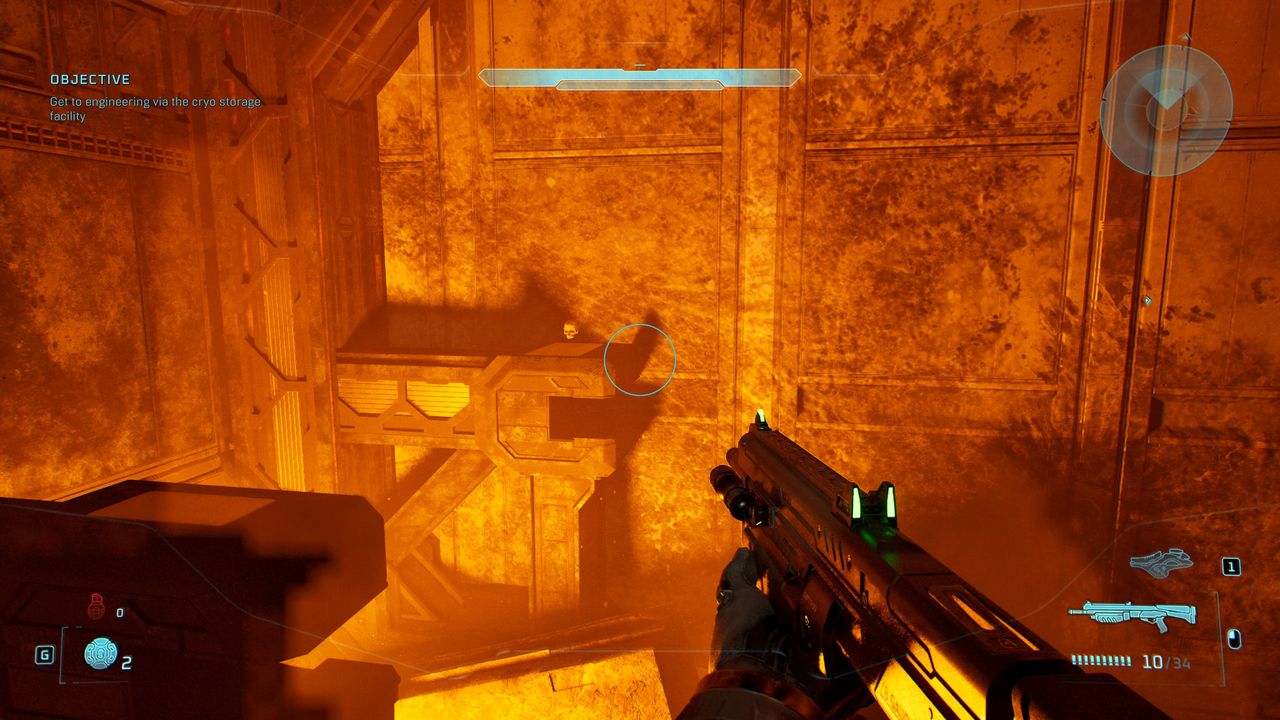
After Guilty Spark stops the countdown at the bridge, you’ll continue through the ship and arrive in a cryo pod bay that looks quite similar to the one you started the game in, with four pods in the centre facing each other. The skull is in the back left corner of the room on top of a pillar. You can jump to this from the walkway.
2. Boom
- Effect: Explosion radius is increased 2x.
- Rally Point: Bravo
When you enter the engine bay, go right up the slope, continue along the platform and go right through the door, follow the path up to the next floor, then turn left through the doorway and up to the next floor. Then go straight, turn right to where the far terminal is sticking out, jump across to the lower platform, then turn left and drop down between the pillar and the wall to spot the skull. This is quite complex, so follow the video above if confused.
3. Thunderstorm
- Effect: Upgrades the rank of most enemies.
- Rally Point: Charlie
During the final Warthog escape, continue along the main track until you reach the winding tunnel with pillars. You’ll pass one vent shortcut on your right, take it, and continue along the main corridor until you spot a second vent shortcut on your right. Go down this about halfway, then get out and look to your right to see the skull on the ground.
Boarding Action skull locations
1. Malfunction
(Image credit: Halo Studios)
- Effect: Upon respawn, a random element of your HUD no longer appears.
- Rally Point: Alpha
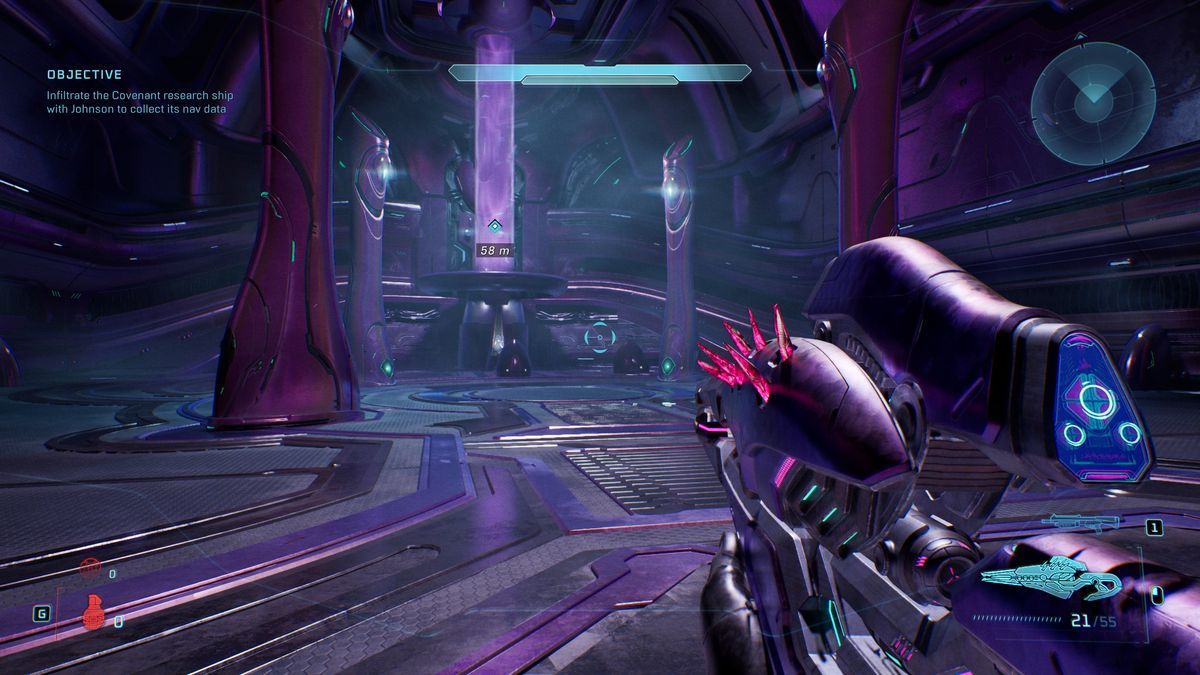
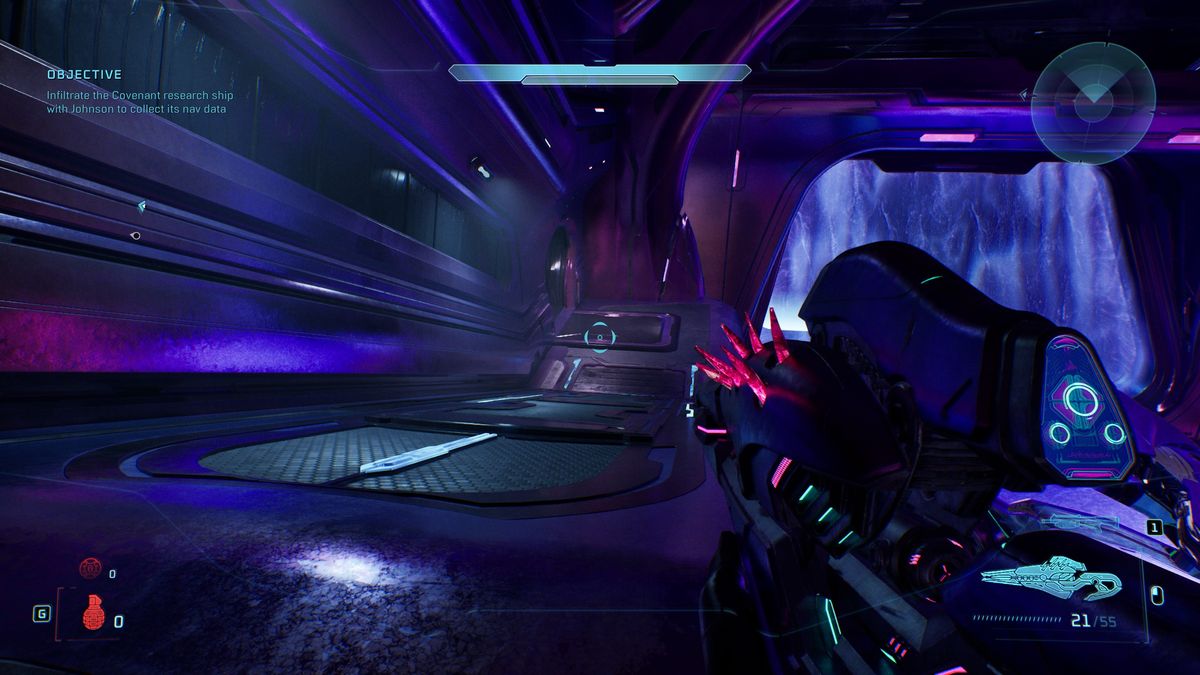
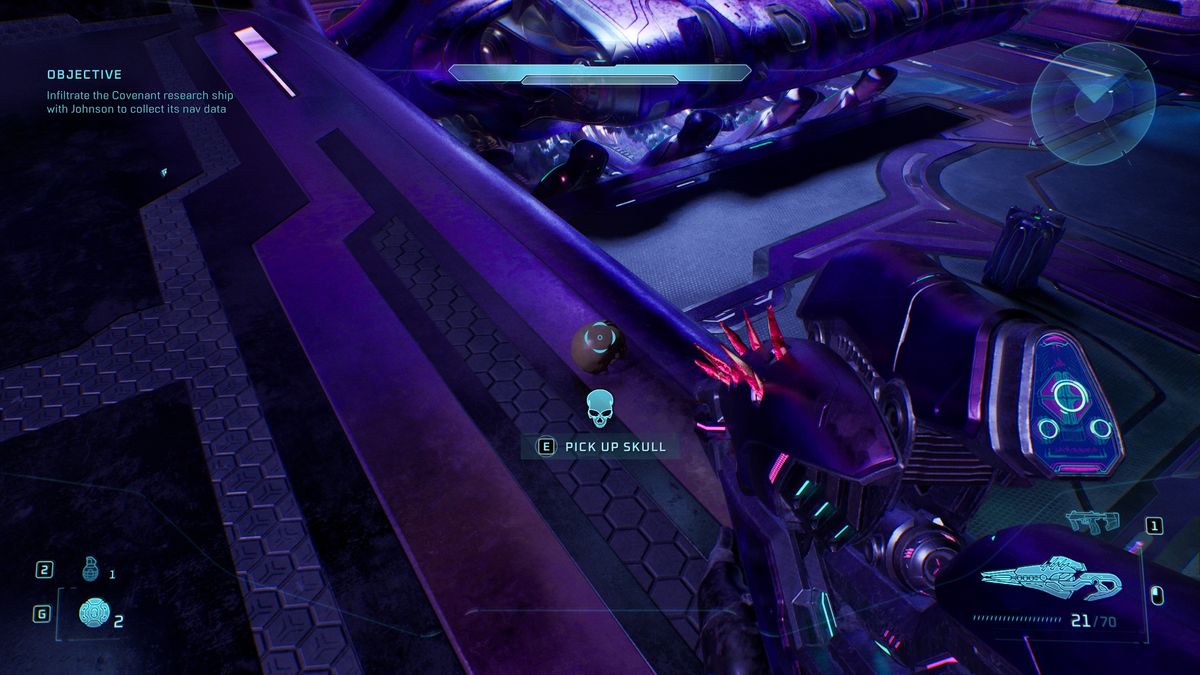
When you meet up with Johnson in the room with the grav lift and fight the two Hunters, after having progressed through the hangar via opposing walkways, head right down the walkway Johnson came up from and follow it. Go down the stairs, past the ship on the left and through the door, then right past the turret onto the walkway, where you’ll find the skull on ground overlooking the room with the dropship you started the mission in.
2. Johnny Ammo Seed
(Image credit: Halo Studios)
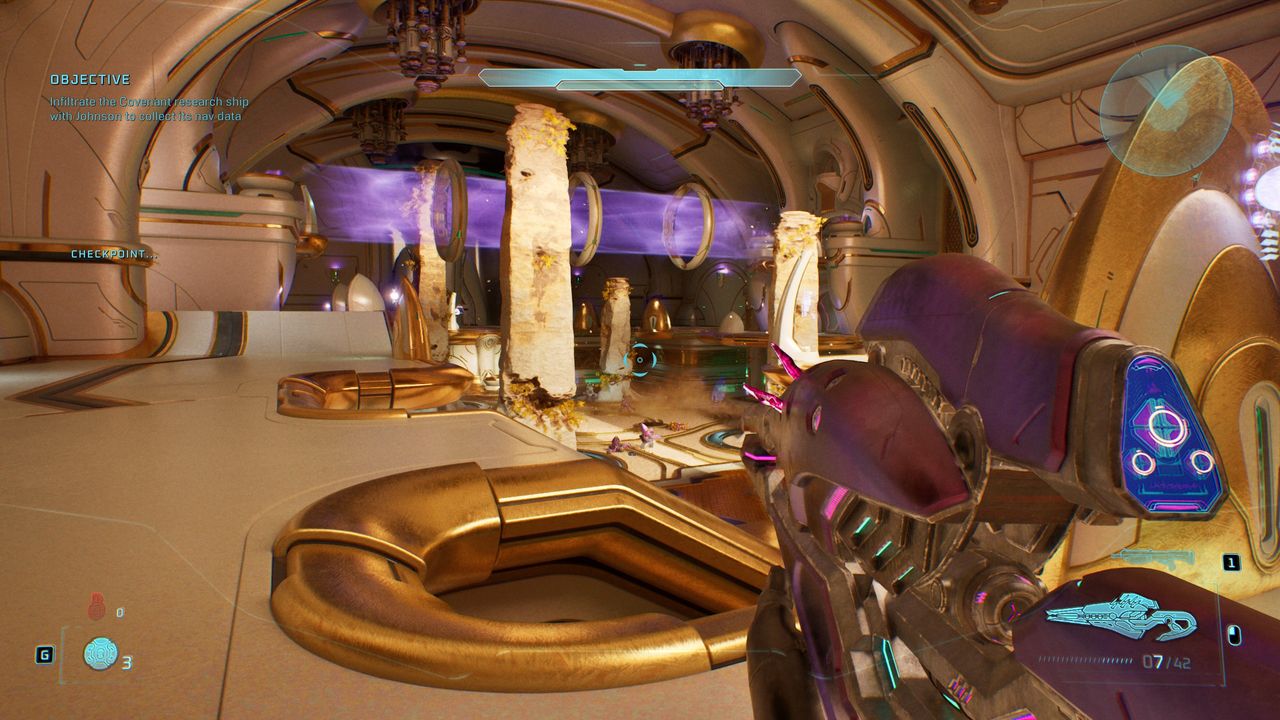
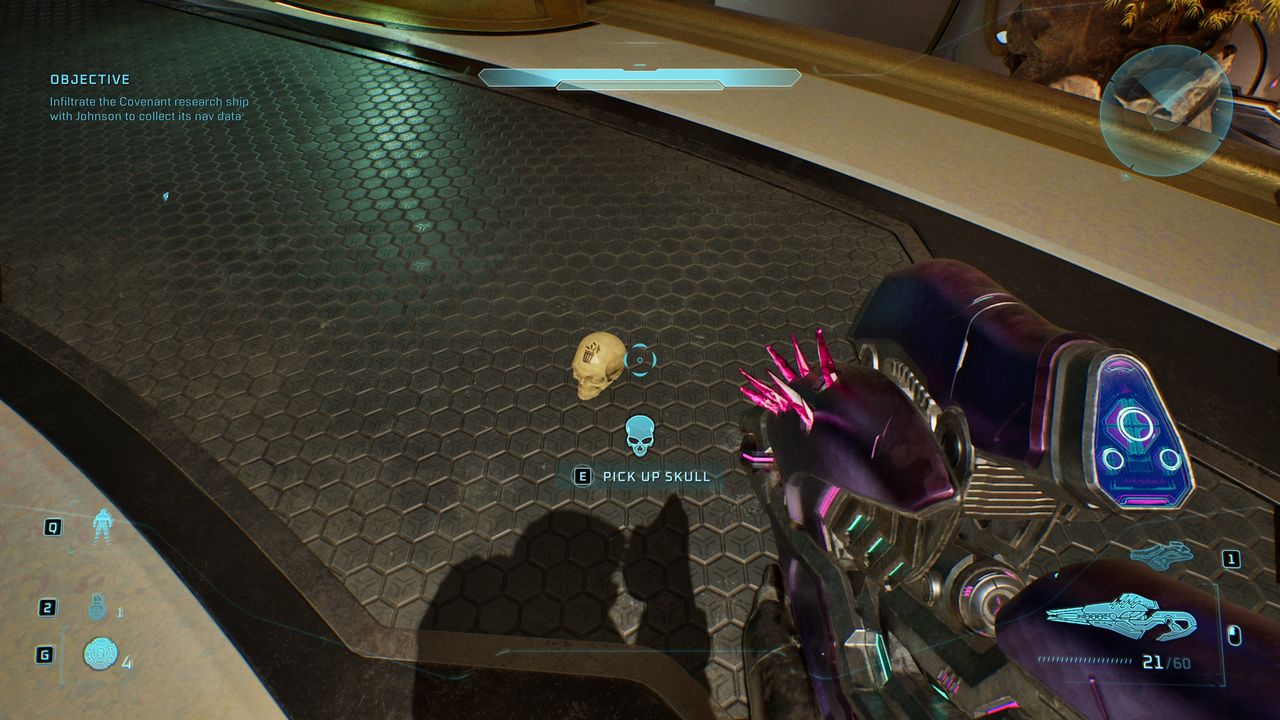
- Effect: When reloading, you lose the ammo remaining in the discarded clip.
- Rally Point: Bravo
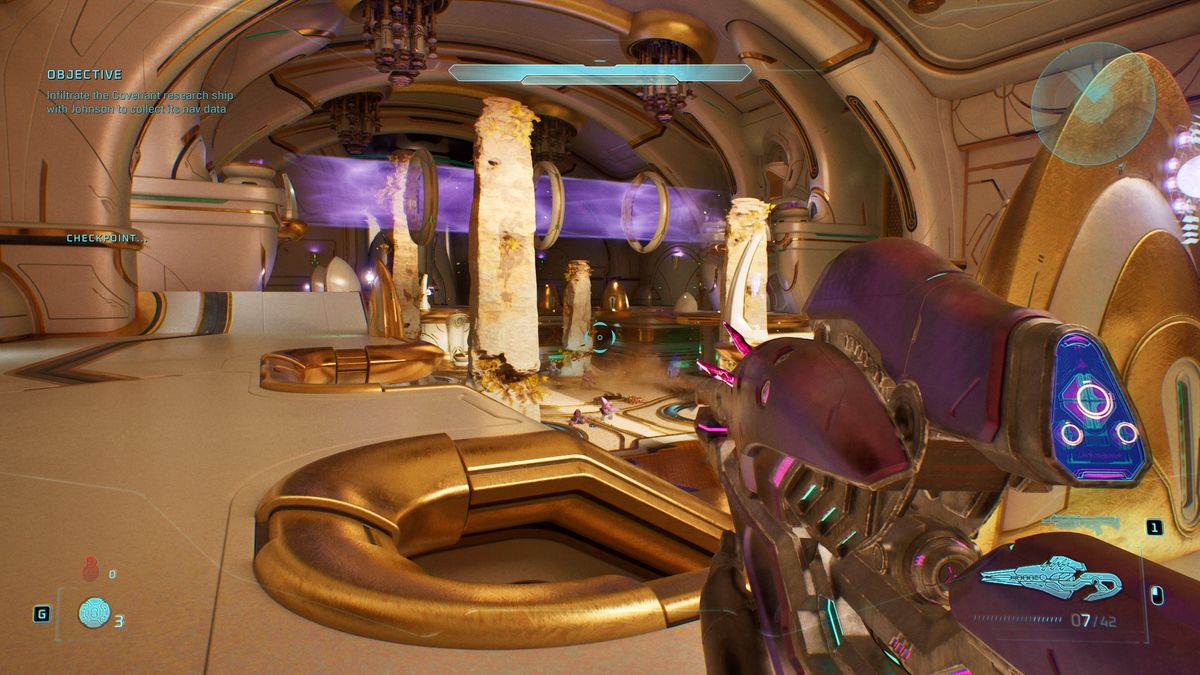
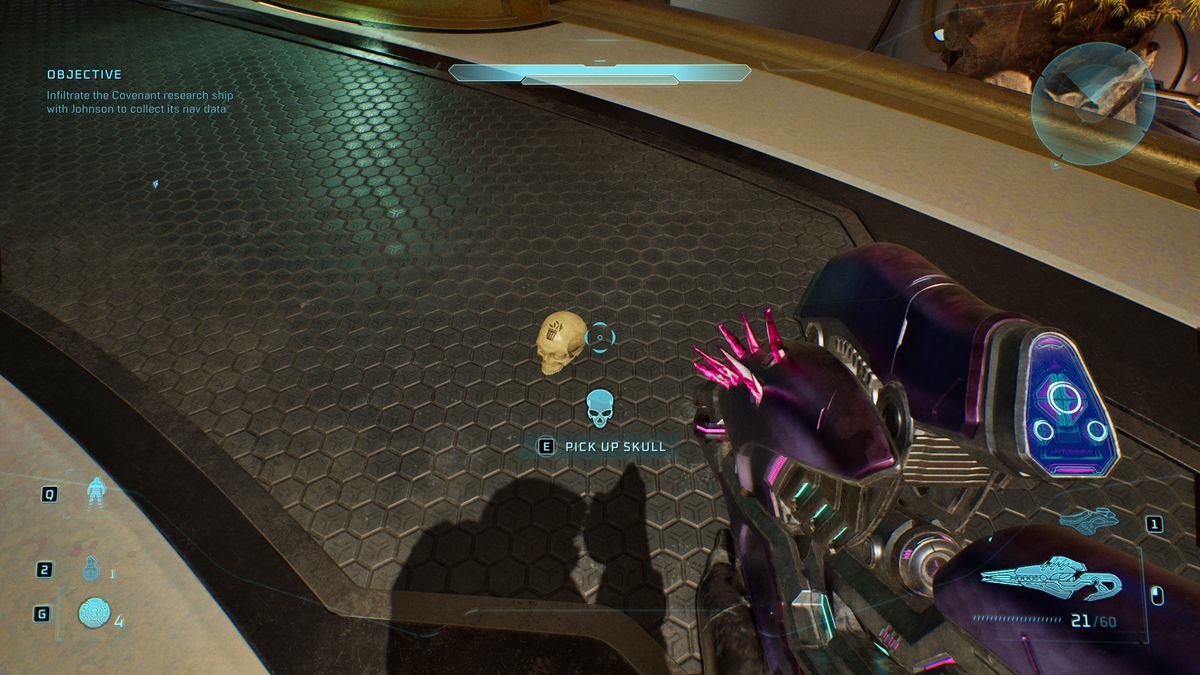
This skull is on the third level of platforms in the white and gold room just after you start Change of Plans. To get here, you’ll have to progress into the next training room with the gold energy sword Elites, climb the stairs at the far end, follow the platform around to the opposite side of the room, head left through the tunnels, and emerge into the third floor of the previous room (where Johnson was sniping from). The skull is on the walkway (by a bunch of elites) with the purple torch just ahead of you, so carry straight on, then turn right to find it.
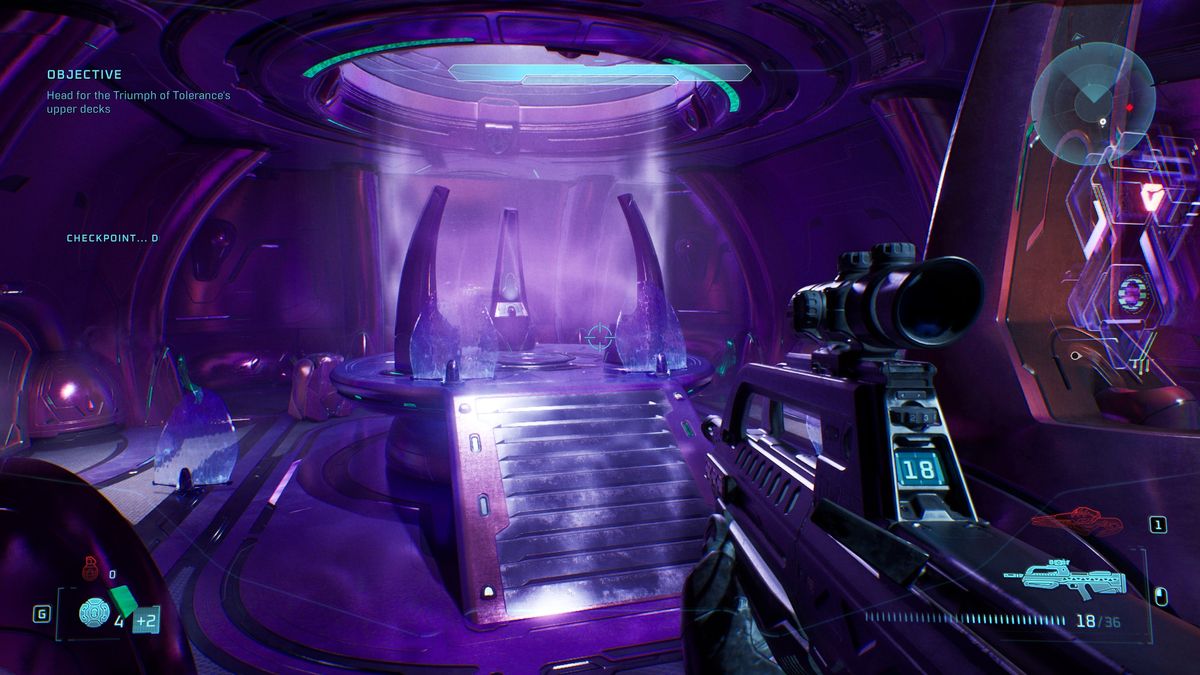
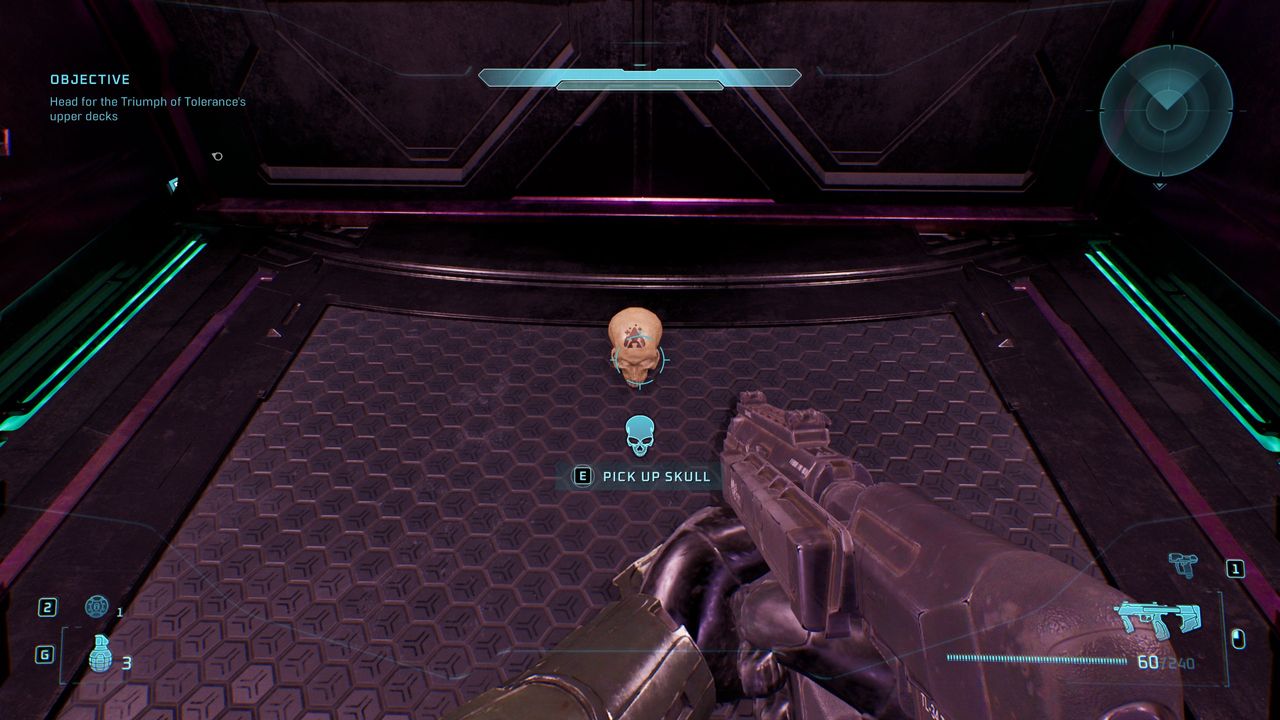
3. Leadhead
(Image credit: Halo Studios)
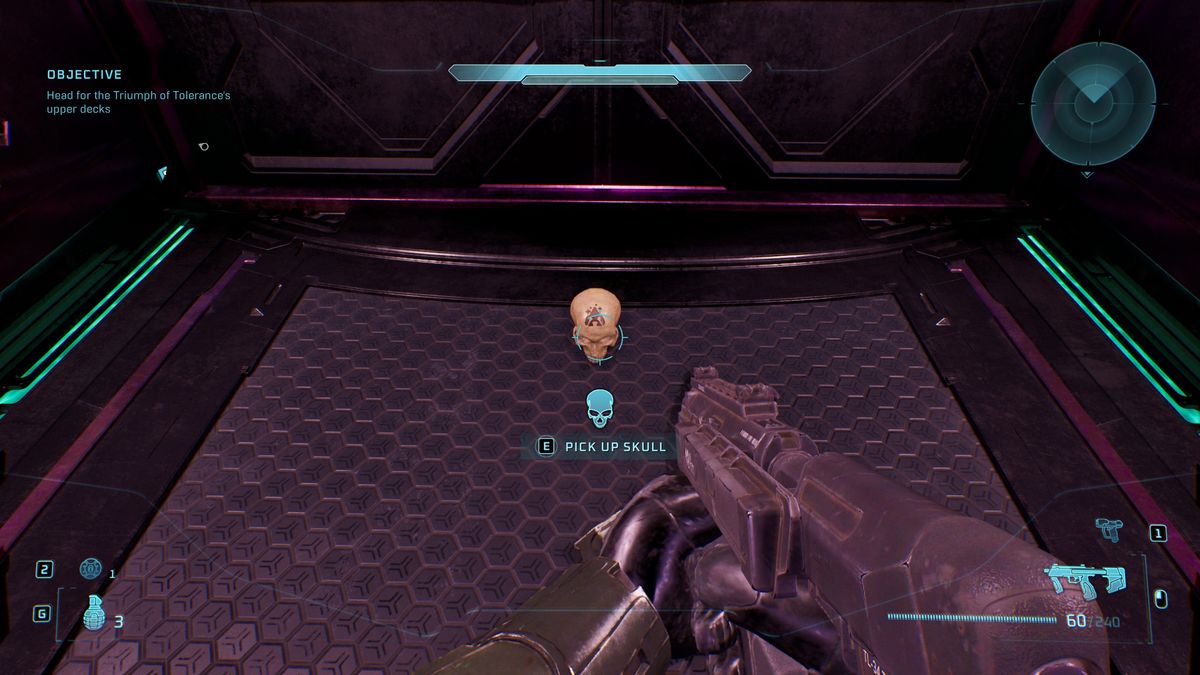
- Effect: Headshots no longer provide extra damage or instant kills.
- Rally Point: Delta
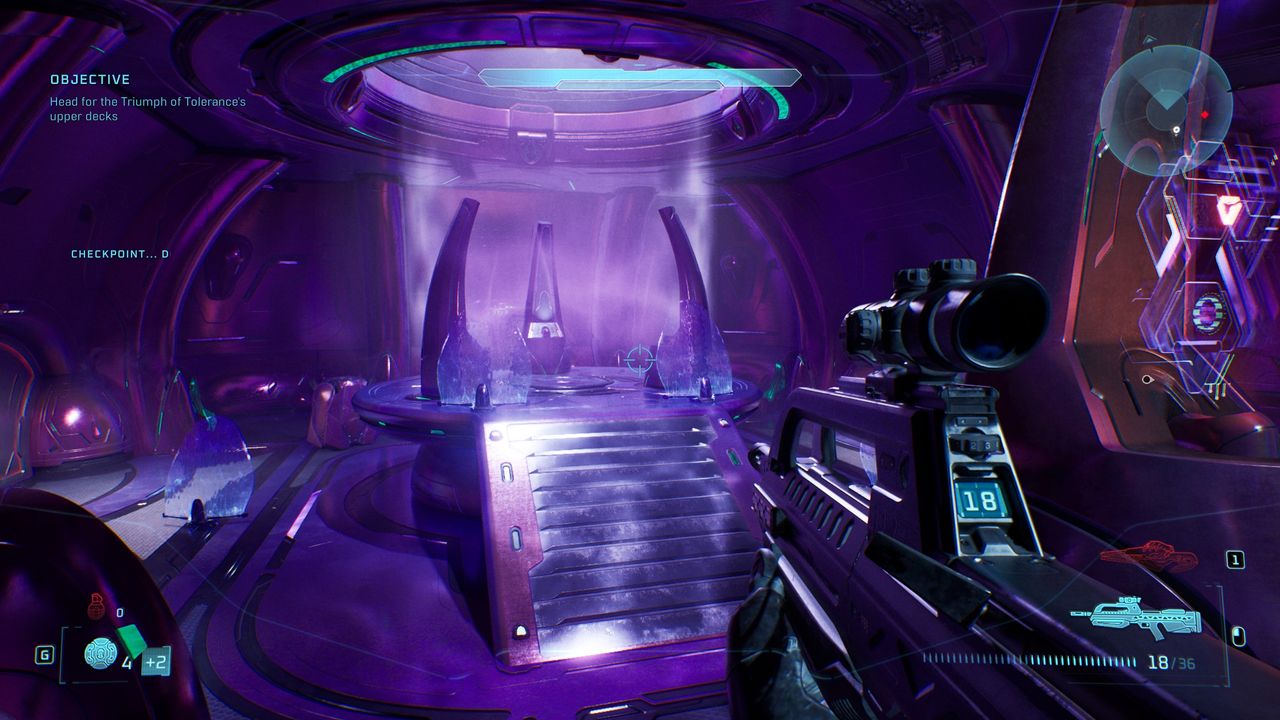
After you meet the Prophet and survive the ambush, you’ll return to the room where you originally entered the Gene Forge. After this, you’ll get an objective to reach the upper decks and will find yourself in a small room with a grav lift at its centre, fighting waves of Brutes and Elites. Once done, don’t go up the lift, but head through the door on the left side of the room to spot the skull a little way in.
The Most Dangerous Game skull locations
1. Temperamental
(Image credit: Halo Studios)
- Effect: Allies will attack the player more quickly if the player kills a friendly.
- Rally Point: Alpha
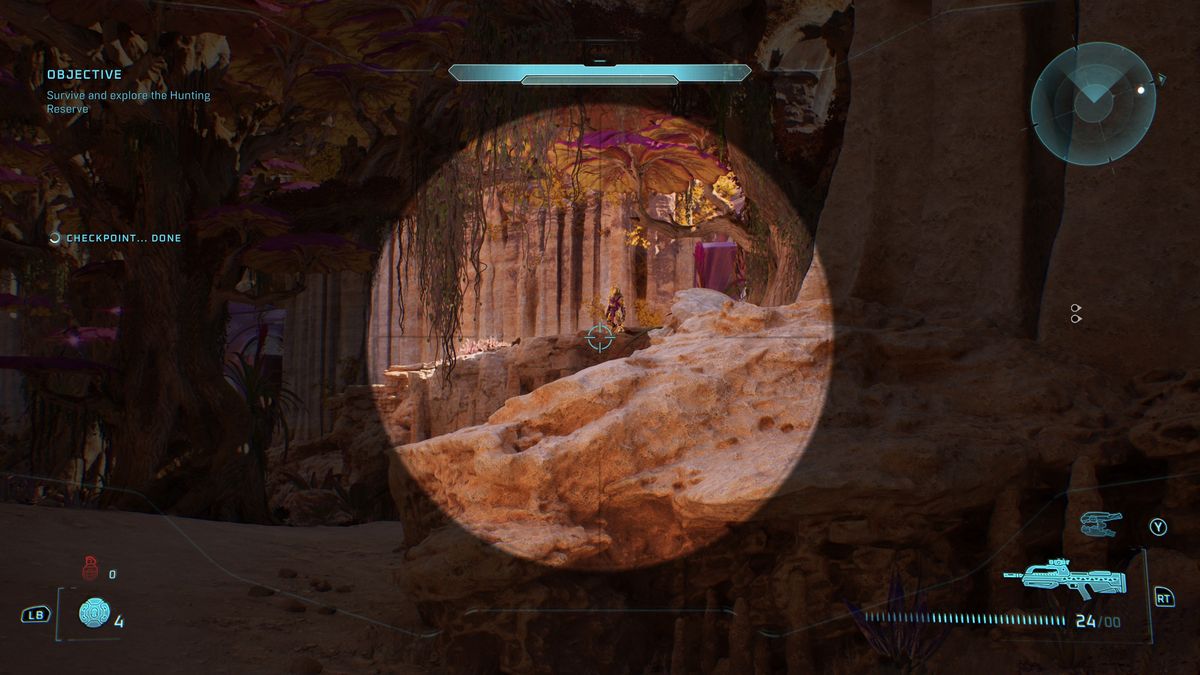
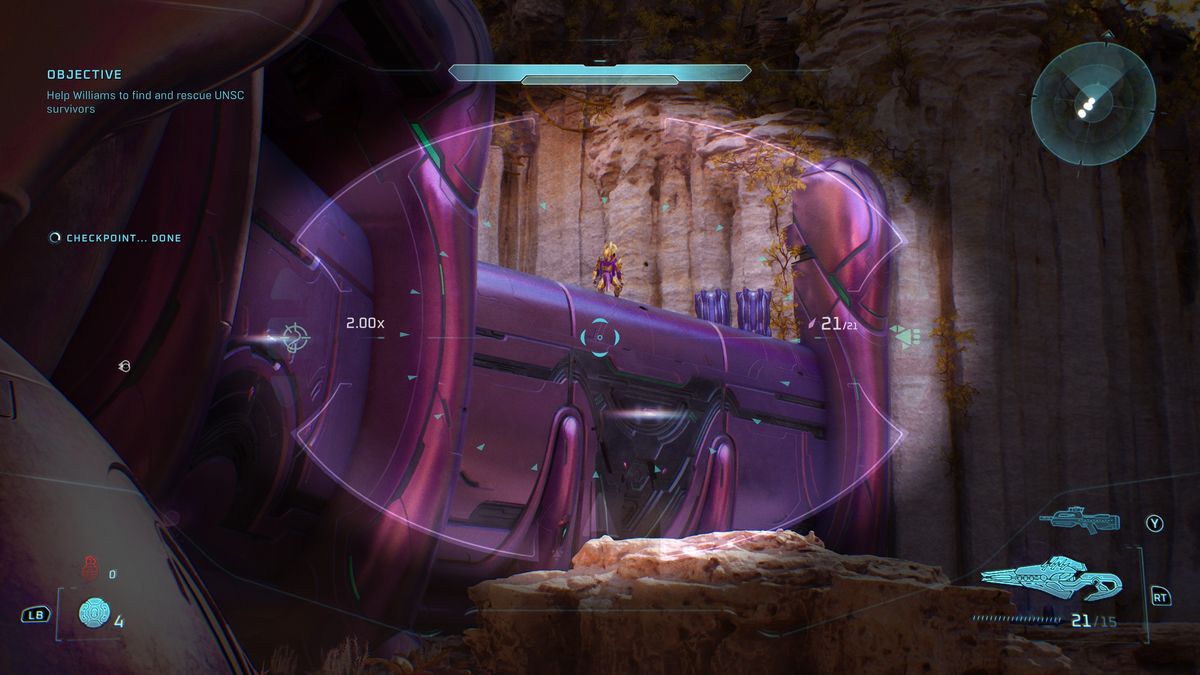
This is one of the more complex skulls to grab as it involves breaking a golden Elite’s shield three times throughout the level.
- After you meet Williams and enter the area with the mushrooms and the Jackal snipers, shoot the golden Elite standing up on the ledge to the right until you break his shield and he runs away.
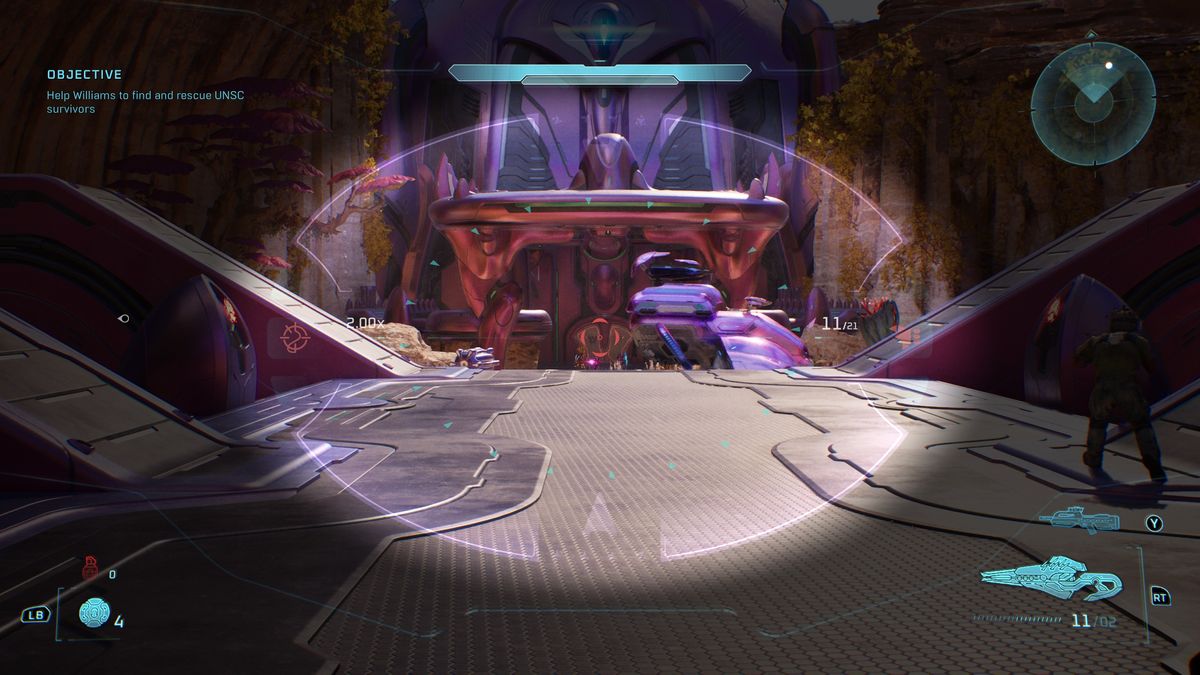
- Continue into the next area with the Covenant Base and the Wraith, just past the Wraith at the back door is the same golden Elite. Smash his shield before he escapes—this is also where you get the second skull, so check the next entry then check back here.
- After you free the prisoners in the cell block, you’ll emerge outside, at which point Johnson will mention he’s spotted a high value target and Williams will mention it’s the Elite that butchered her marines. He’s up and to the left as soon as you exit into the circular space. Break his shield and kill all the enemies.
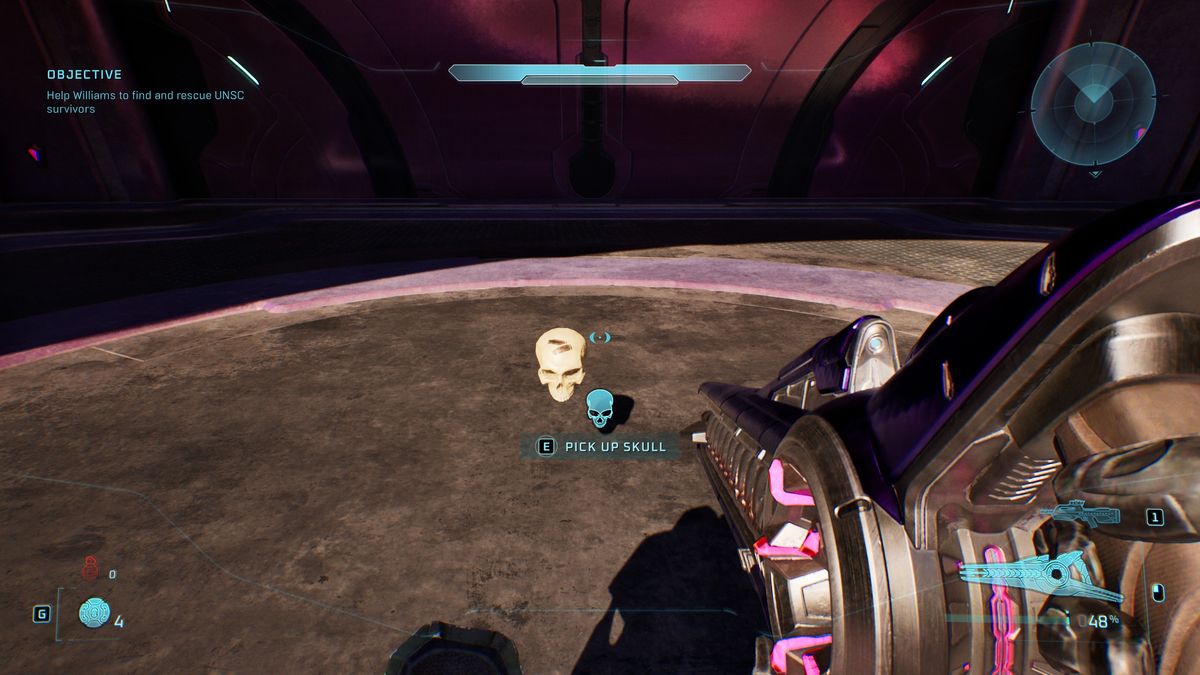
Once that’s done, make your way up to the central podium which the skull will have spawned in the centre of.
2. Recession
(Image credit: Halo Studios)
- Effect: Every shot expends twice the normal amount of ammo.
- Rally Point: Bravo
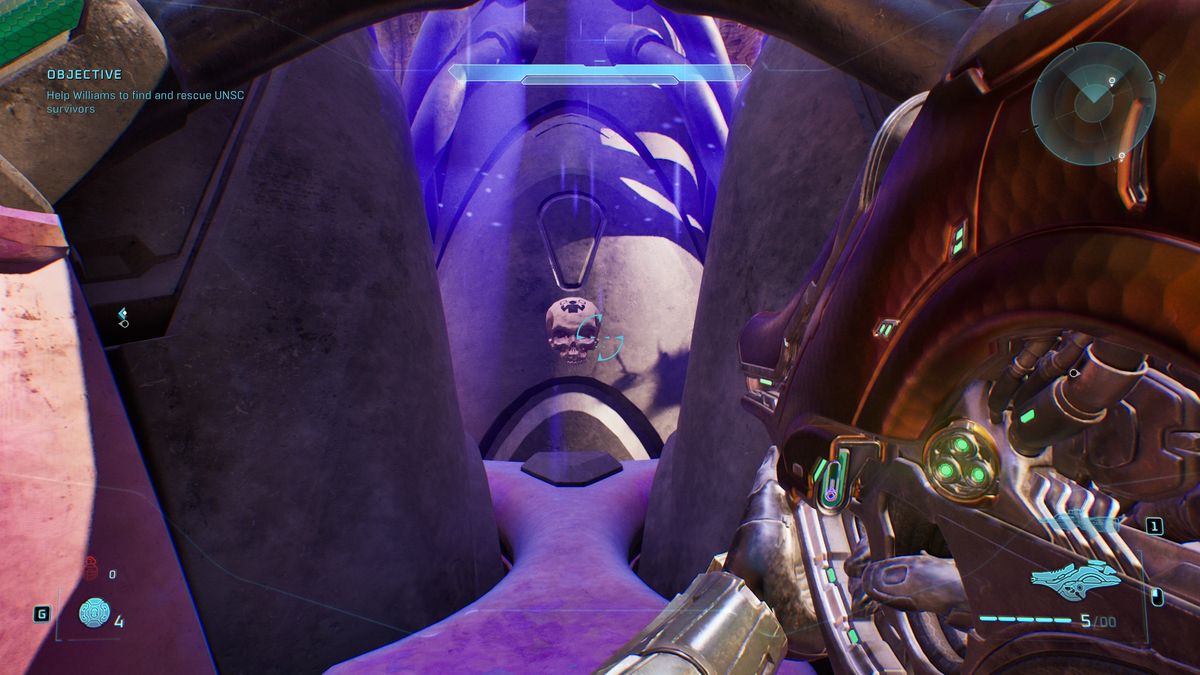
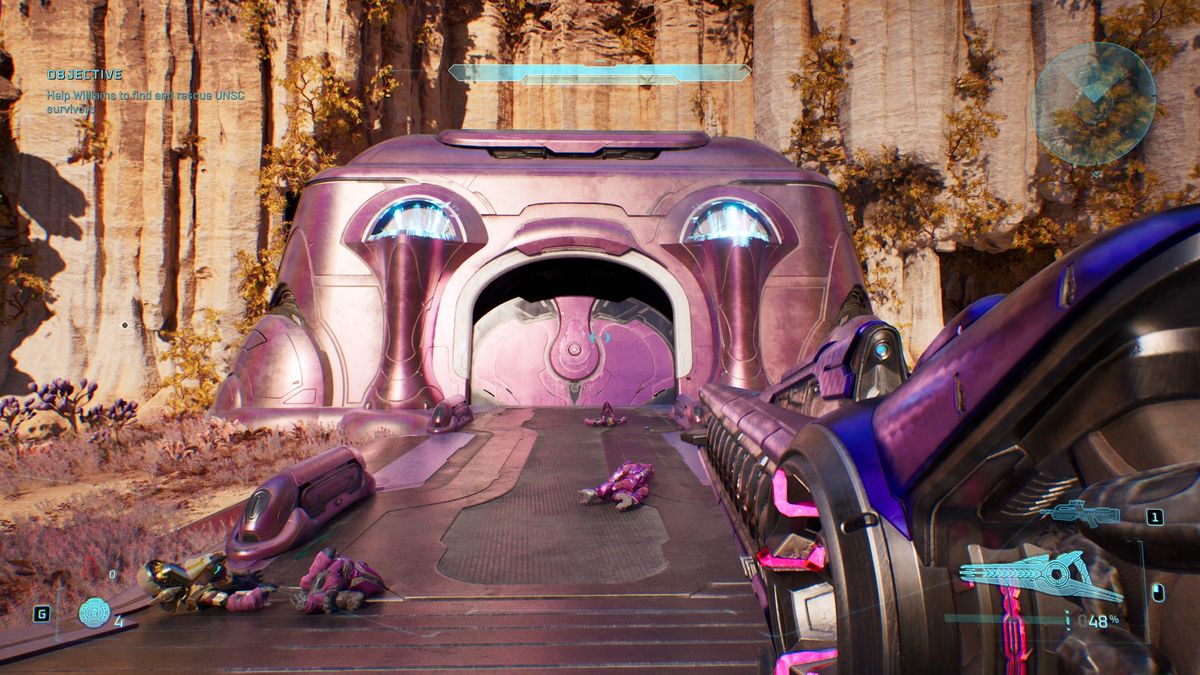
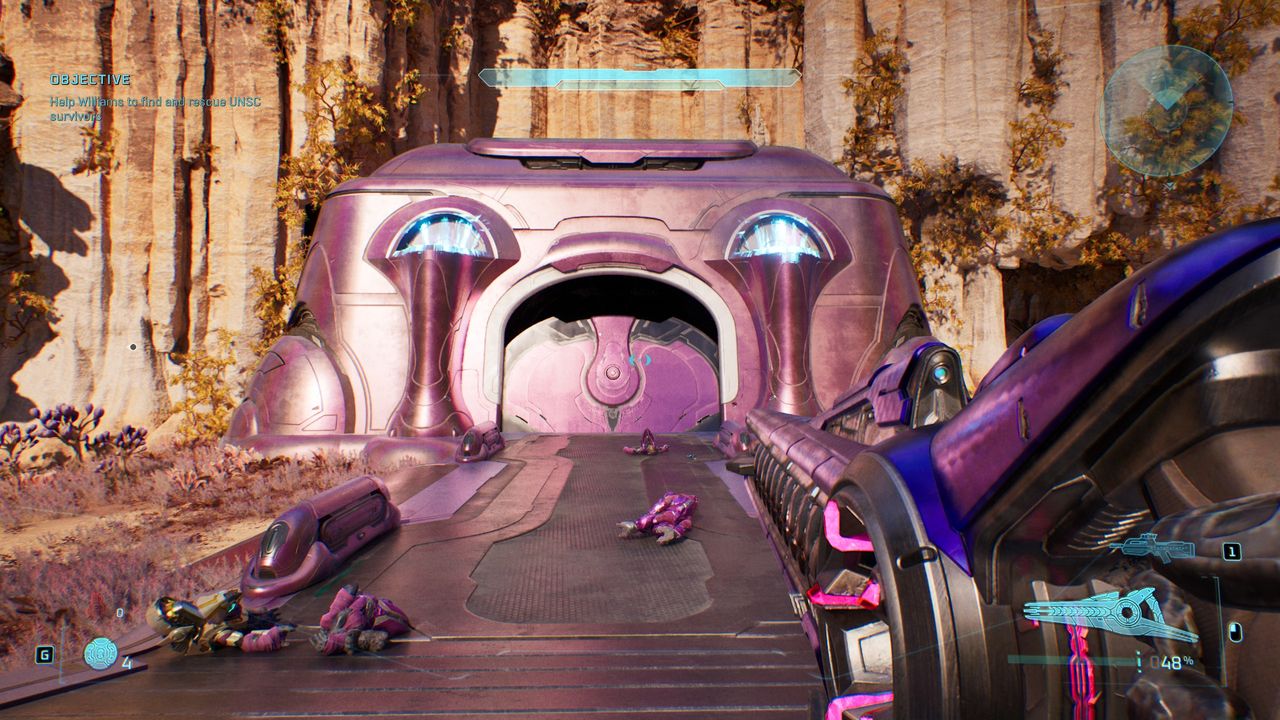
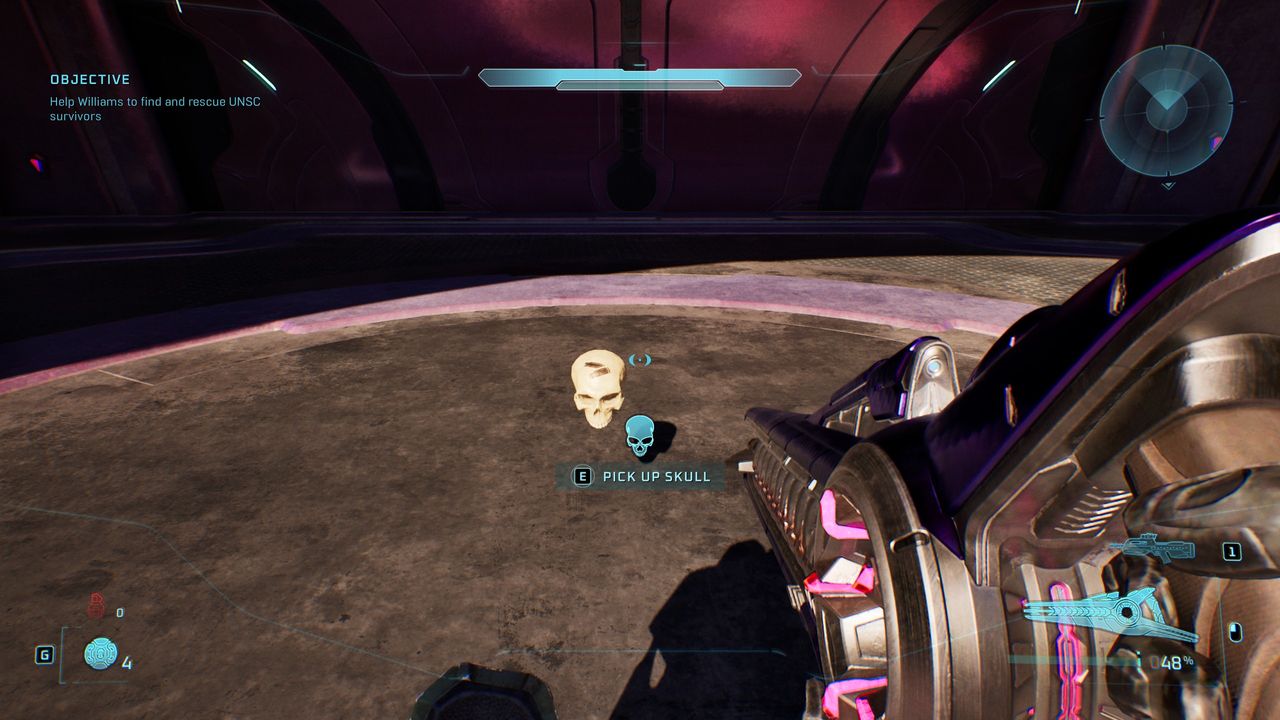
When facing the Wraith in the Covenant base area, turn around and look towards the door with the two torches on either side above. These have fuel barrels inside them you can blow up, opening the door and revealing the skull inside.
3. Ghost
- Effect: Enemies no longer flinch when taking fire.
- Rally Point: Charlie
After you cross the gravity bridge and Chief mentions to Williams “not being able to choose who we are,” the door will open into the next area with a couple of Elites with needle rifles ahead. The skull is directly above you on the left torch above the door. Climb around the tree to the left and hop onto the tree to get onto the cliff where the skull is.
Heavy Burden skull locations
1. Eyepatch
(Image credit: Halo Studios)
- Effect: All auto aim is disabled for all weapons.
- Rally Point: Alpha
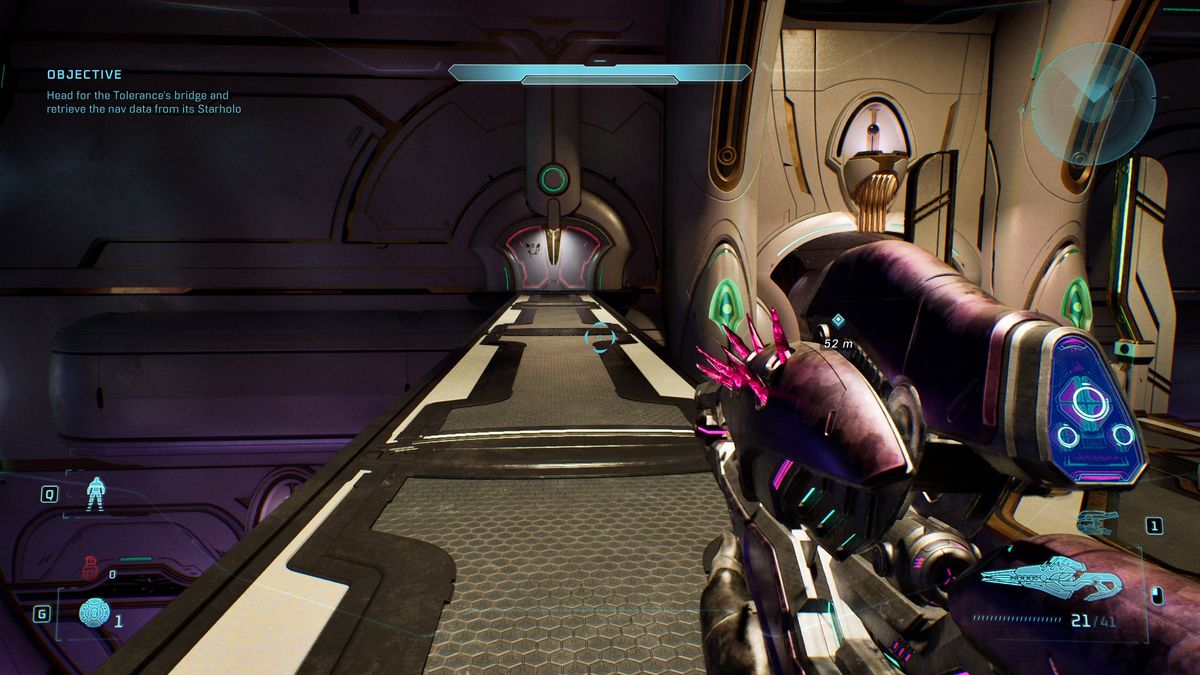
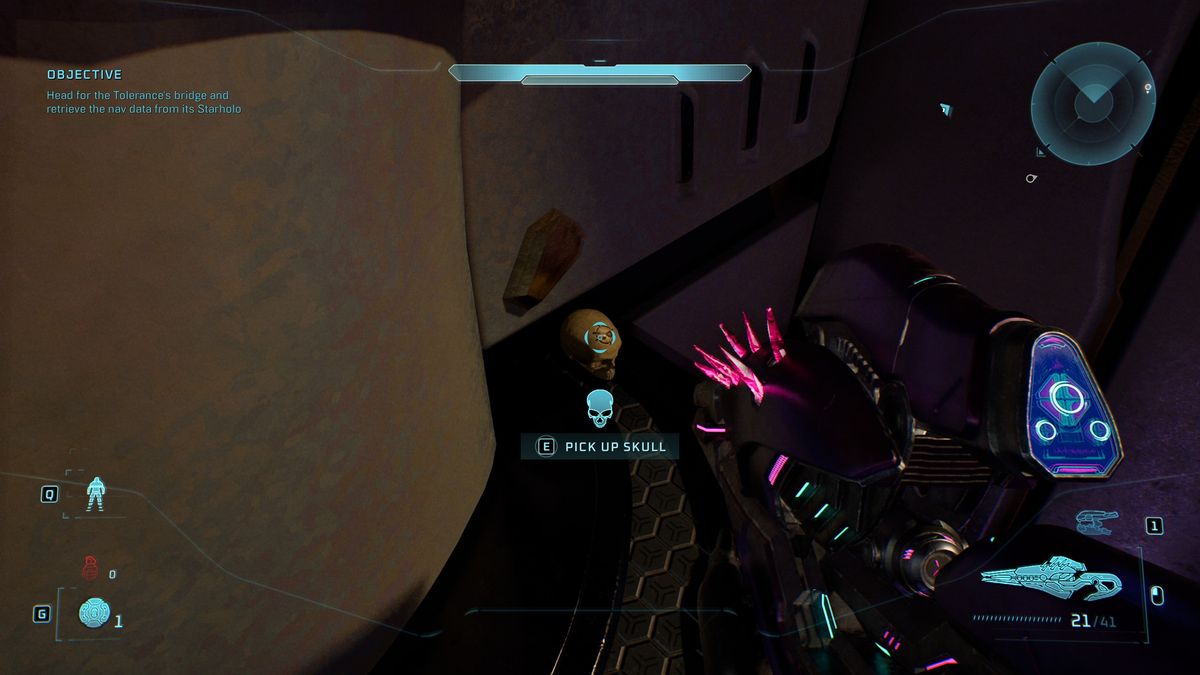
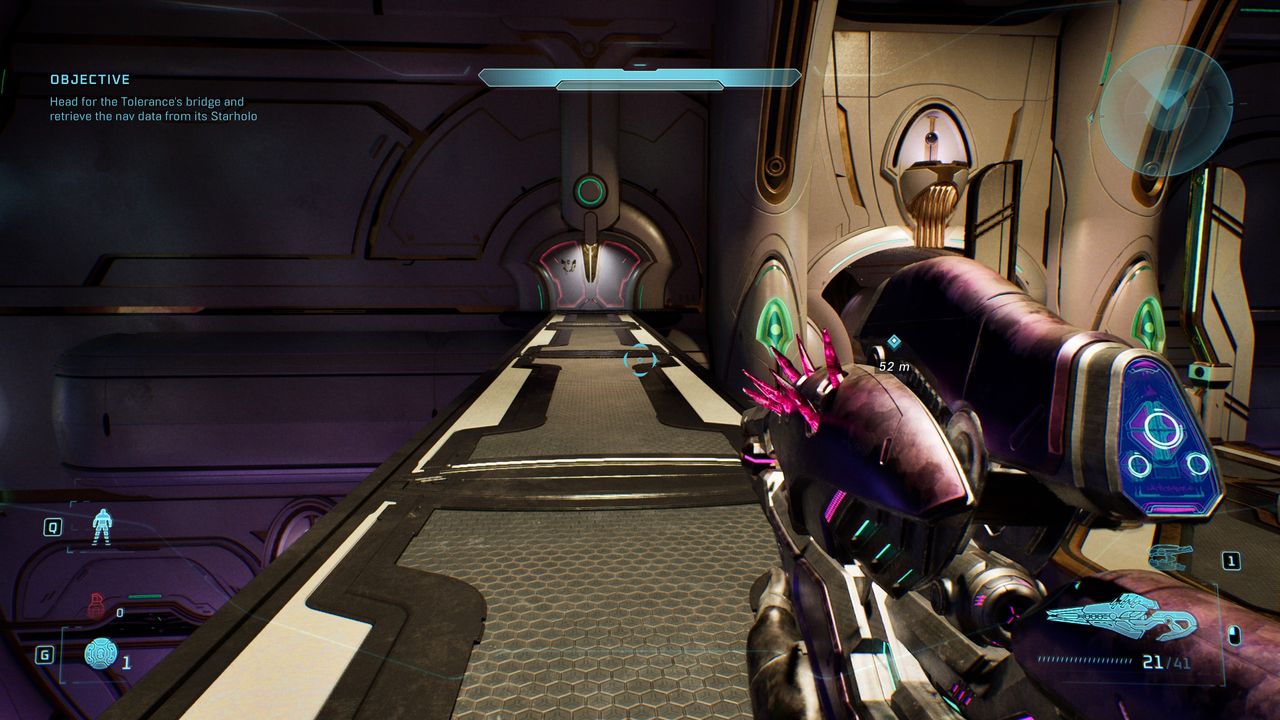
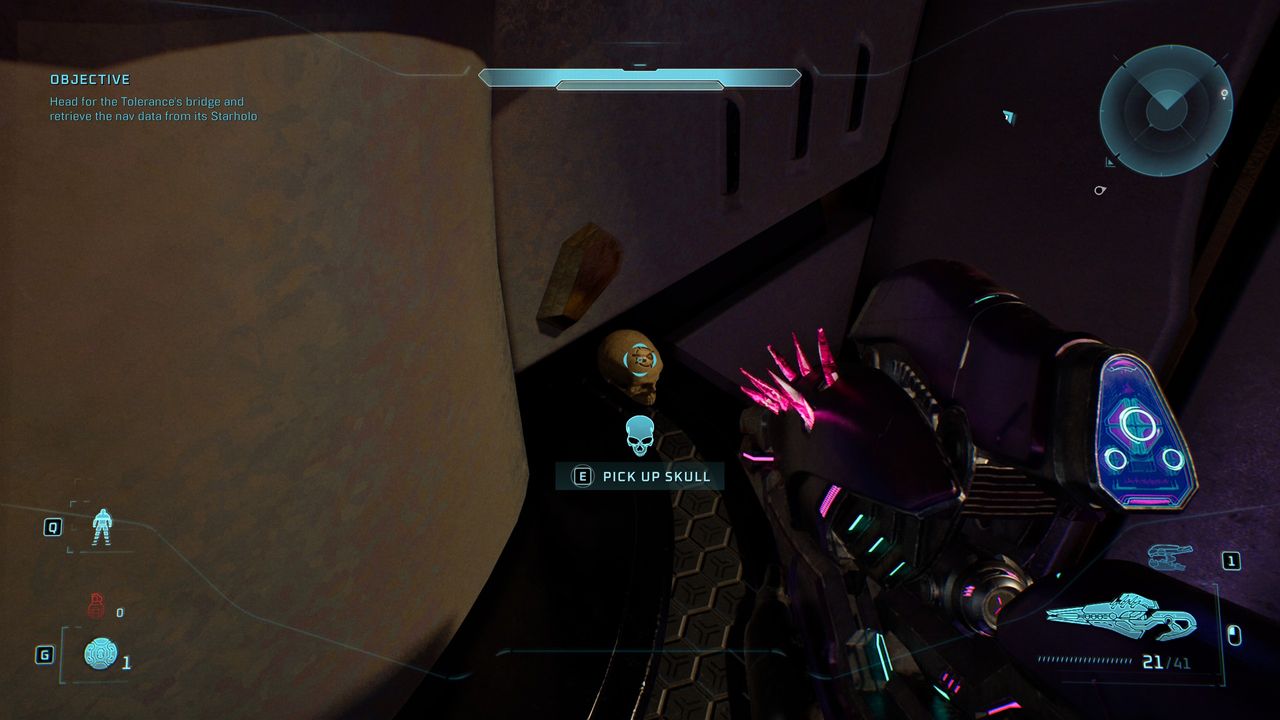
After you fight the Hunters in the room with the alien plants, continue through the area until you reach a bridge across a chasm, with a smaller bridge off to the left (which two Elites will come running along). Head through the door to your left and go along the smaller bridge to the door at the far end, where you’ll find the skull to your left.
2. Grunt Birthday Party
- Effect: Grunt headshots produce legendary celebrations.
- Rally Point: Bravo
After you descend from the ship’s bridge to meet up with Williams, you’ll pass through a bunch of rooms you’ve already been through before reaching a large room with some plants. As you descend a short stairs with a torch on the left, you’ll spot a rock-like natural structure with the skull on top. You have to jump to this from the central platform then jump to grab it, as in the video above.
3. Efficient
- Effect: Enemies killed while the player is at full health drop more ammo.
- Rally Point: Charlie
After you reactivate the power on the moving platform, continue under the bridge into the following room, where you need to jump off the platform and run over to the far left corner, and grab the skull before you die of the timeout countdown.


